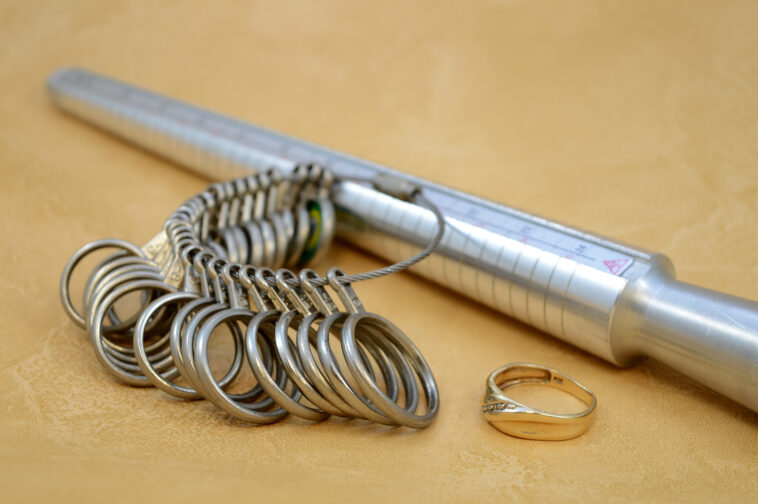
DIY Ring Size Adjuster
Are you tired of your favorite ring slipping off your finger or feeling too tight? Perhaps you've recently lost weight, causing your ring to become loose, or you've inherited a cherished heirloom that doesn't quite fit. Whatever the reason, fear not! In this comprehensive guide, we will explore the world of DIY ring size adjusters, helping you to make your ring fit perfectly without the need for professional resizing services.
Whether you're a craft enthusiast or someone looking for a cost-effective solution, creating your own ring size adjuster can be both fun and practical. We'll walk you through various methods, from easy and temporary fixes to more durable, semi-permanent solutions. Let's dive into the world of DIY ring size adjusters and find the perfect fit for your beloved ring.
What Is a DIY Ring Size Adjuster?
Before diving into the nitty-gritty details of creating your own ring size adjuster, let's start by understanding what it is.
A DIY ring size adjuster is a versatile and adaptable tool that allows you to modify the size of to make a ring smaller without resizing it fit more comfortably on your finger. This innovative accessory offers a convenient solution for resizing rings without resorting to permanent alterations. DIY ring size adjusters are typically crafted from a range of materials, such as silicone, plastic, or even common household items, making them accessible and affordable.
The primary function of these adjusters is to insert them into the ring band, where they effectively expand or contract to achieve a snug and secure fit. By doing so, they ensure that your ring stays comfortably in place on your finger, eliminating the need for costly and irreversible resizing procedures. This practical and economical option provides individuals with the flexibility to wear their favorite rings without worrying about discomfort or the inconvenience of resizing.
Why Adjusting Ring Size Matters
Before we delve into the DIY methods for adjusting ring sizes, let's understand why getting the right fit is so important.
The Importance of a Properly Fitted Ring
Wearing a ring that fits properly is not merely a matter of aesthetics; it also holds considerable practical and sentimental importance. Here's a comprehensive look at why ensuring the correct fit for your ring is essential:
- Comfort: The comfort factor cannot be overstated. A ring that is too tight can dig into your skin, causing discomfort and potentially leaving marks. Conversely, a loose-fitting ring can be annoying as it constantly slips and moves around on your finger, distracting you throughout the day.
- Safety: Safety is a paramount concern. Rings that are too loose are at a higher risk of falling off and getting lost. Conversely, overly tight rings can constrict blood flow to your fingers, leading to discomfort and potential health issues.
- Prevent Damage: Ill-fitting rings, especially loose ones, can rub against other jewelry worn on the same finger. This friction can lead to scratches and damage to both the ring and adjacent jewelry, potentially degrading their appearance over time.
- Sentimental Value: Many rings hold deep sentimental value, whether they are family heirlooms, engagement rings, or tokens of significant life events. Ensuring a perfect fit is not only about aesthetics but also about honoring the emotional significance of the piece. A ring that fits well is more likely to be worn and cherished.
- Long-Term Wear: For rings intended for long-term wear, such as wedding bands, a properly fitted ring is crucial. It ensures that you can comfortably wear it daily without discomfort or irritation, maintaining the symbolic representation of your commitment.
Now that we've established why ring size matters, let's move on to the exciting part—making your own ring size adjuster.
Temporary DIY Ring Size Adjusters
Temporary ring size adjusters are quick and easy solutions for those who need a short-term fix or want to experiment before committing to a permanent adjustment.
Tape Method
When it comes to DIY ring resizing, the tape method stands out as one of the easiest and most accessible techniques. This method can be particularly useful when you need a temporary fix or wish to adjust a ring's size without making permanent alterations. Here's a step-by-step guide:
Materials Needed:
- Clear tape (opt for medical or hypoallergenic tape for skin comfort).
Steps:
- Cut a Small Piece of Tape: Begin by cutting a small piece of clear tape, typically around 2-3 inches in length. It's essential to use transparent tape to maintain the ring's appearance.
- Wrap the Tape Around the Ring Band: Carefully apply the tape to the inside of the ring band. Ensure that it is evenly distributed around the inner circumference of the ring. The tape adds a layer of thickness to the band, effectively reducing its size.
- Trim Excess Tape: To achieve a neat and inconspicuous fit, trim any excess tape protruding from the edges of the ring band.
- Test the Fit: Slide the ring onto your finger to assess the fit. The tape should provide a snug adjustment, allowing the ring to stay securely in place without discomfort.
String Method
For those seeking a simple yet versatile DIY ring size adjustment, the string method offers a practical solution. It's an ideal choice when you want to modify a ring's size temporarily without resorting to permanent changes. Here's a detailed guide on how to employ the string method effectively:
Materials Needed:
- String or dental floss
- Scissors
Steps:
- Cut a Piece of String or Floss: Begin by cutting a piece of string or dental floss, measuring approximately 2-3 inches in length. The choice of string material should be comfortable against your skin.
- Thread the String Through the Ring: Carefully thread one end of the string through the ring. Ensure that it goes through the interior of the ring band and fits snugly but not excessively tight.
- Trim Excess String: Once the string is threaded through the ring and adjusted to the desired fit, trim any excess string protruding from both ends of the ring.
- Test the Fit: Gently slide the ring onto your finger. The string should provide a temporary adjustment, making the ring fit comfortably and securely.
These temporary methods are quick fixes and can be easily removed when you no longer need them. However, if you're looking for a more permanent solution, let's explore semi-permanent DIY ring size adjusters.
Semi-Permanent DIY Ring Size Adjusters
When you're seeking a more enduring solution to adjust your ring size, semi-permanent methods offer the perfect balance between quick fixes and professional resizing. These methods provide greater durability and long-term comfort, ensuring your ring fits just right. One such option is the use of sizing beads:
Sizing Beads
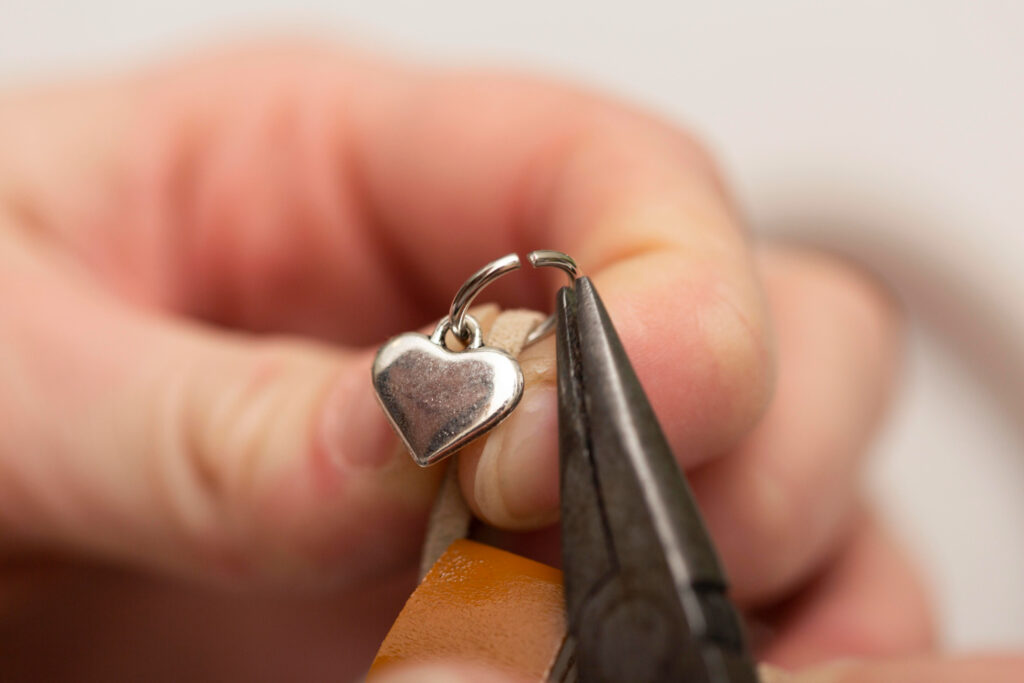
Sizing beads are tiny metal beads that can be added to the inner surface of the ring band, allowing you to customize the fit without the need for extensive alterations. This method is relatively straightforward and can be successfully executed at home with the appropriate tools and materials. Here's a step-by-step guide:
Materials Needed:
- Sizing beads (readily available online or at jewelry supply stores)
- Jewelry adhesive
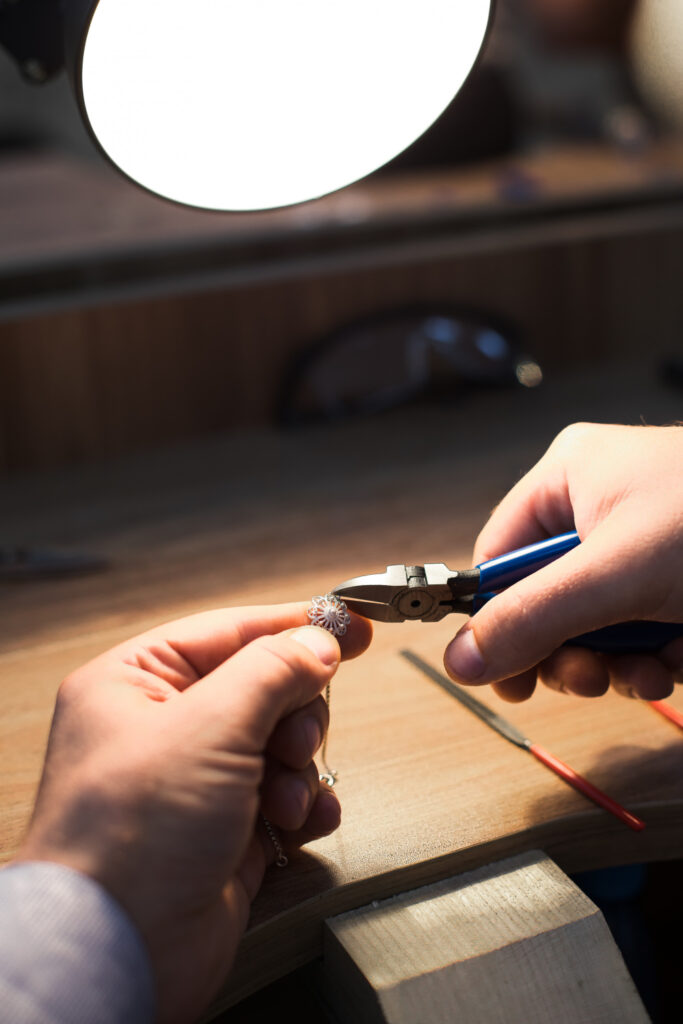
- Jewelry pliers
Steps:
- Apply Jewelry Adhesive: Begin by applying a small amount of jewelry adhesive to the inside of the ring band. Ensure that you use an adhesive suitable for jewelry applications to ensure a secure bond.
- Place Sizing Beads: Carefully position the sizing beads evenly along the adhesive-coated interior of the ring band. The placement of these beads is essential for achieving the desired fit, so take your time to ensure they are correctly spaced.
- Allow Adhesive to Dry: Allow the jewelry adhesive to dry thoroughly, following the manufacturer's recommended drying time. This ensures that the sizing beads are securely attached to the ring band.
- Test the Fit: Once the adhesive has completely dried, try on the ring to assess the fit. The sizing beads should provide a comfortable and snug adjustment, preventing the ring from sliding around on your finger.
Sizing beads are an effective way to adjust the size of your ring while maintaining its appearance.
Ring Guard/Resizer
Ring guards or resizers are ingenious accessories designed to provide a convenient and reversible semi-permanent solution for resizing rings. These flexible strips, usually made of plastic or silicone, are designed to fit snugly onto the inside of the ring, offering a comfortable and customizable fit. Here's a comprehensive guide on how to use them effectively:
Materials Needed:
- Ring guard/resizer (readily available online or at jewelry stores)
Steps:
- Select the Appropriate Ring Guard: Start by choosing a ring guard that matches the width of your ring band. It's crucial to ensure a snug fit, so consider measuring your ring band width for precision.
- Slide the Ring Guard In: Carefully insert the selected ring guard onto the inside of the ring band. The flexibility of the material allows it to conform to the shape of the ring, providing an adjustable fit.
- Trim Excess Material: To achieve a neat and seamless fit, trim any excess material from the ring guard. This step ensures that the guard remains inconspicuous and comfortable to wear.
- Enjoy the Comfort: Once the ring guard is in place and trimmed to perfection, try on the ring to experience the newfound comfort and security it offers. Your ring will now stay securely on your finger without the hassle of resizing.
Ring guards provide a comfortable and flexible adjustment that can be easily replaced if needed.
Professional Ring Resizing vs. DIY Methods
When it comes to adjusting the size of your ring, whether it's too loose or too tight, you have two primary options: professional resizing or DIY methods using adjusters. While DIY methods can be cost-effective and convenient, there are crucial considerations that may lead you to opt for professional resizing. Here are some factors to help you make an informed choice:
When to Choose Professional Resizing:
- Significant Size Change: If you require a substantial size adjustment for your ring, especially if it involves adding or removing metal from the band, professional resizing is strongly recommended. Professional jewelers have the skills and equipment needed to ensure precise and secure alterations.
- Valuable or Precious Rings: Rings that hold high monetary or sentimental value should undergo professional resizing. Professional jewelers follow strict protocols to safeguard the integrity of these cherished pieces, minimizing the risk of damage or loss.
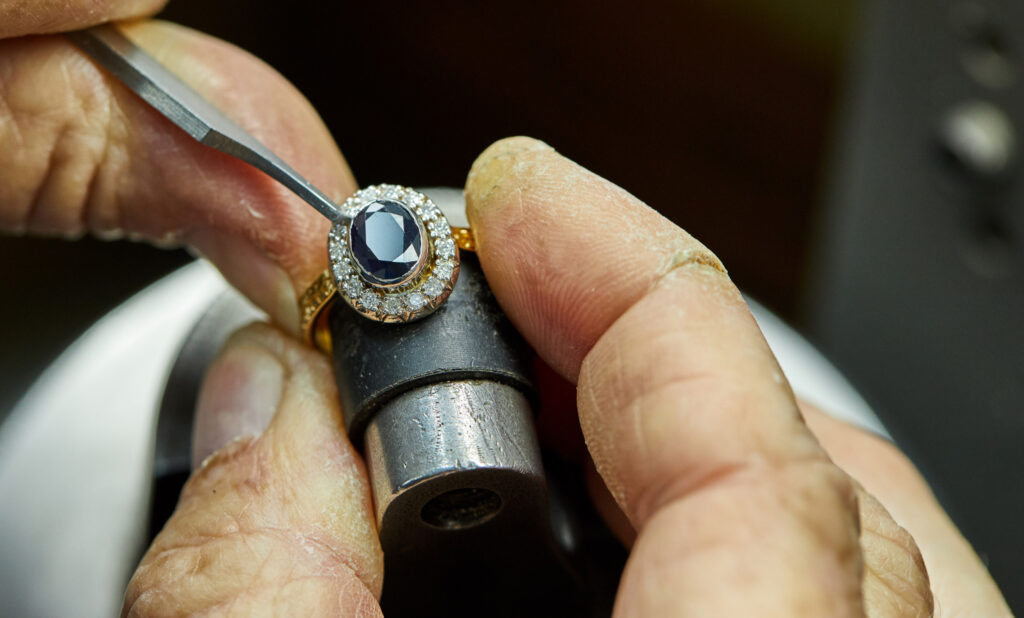
- Complex Designs: Rings with intricate designs, gemstones, or engravings demand specialized expertise to maintain their aesthetics during resizing. Professional jewelers possess the necessary craftsmanship to work with intricate details and delicate features, preserving the ring's overall beauty.
- Vintage or Antique Rings: Vintage and antique rings often require delicate handling and expertise in historical craftsmanship techniques. Professional resizing ensures that the ring retains its historical and aesthetic value.
- Precious Gemstones: Rings with precious gemstones, such as diamonds, sapphires, or emeralds, benefit from professional resizing to avoid damage to these valuable stones. Jewelers can safely remove and reset gemstones as needed.
- Warranty Considerations: Some rings may come with warranties that can be voided if resized by non-professionals. To maintain any manufacturer warranties, it's advisable to choose professional resizing.
Maintaining and Caring for Your Adjusted Ring
After successfully resizing your ring, it's vital to maintain and care for it to keep it in pristine condition. Here are essential tips to help you ensure the longevity of your adjusted ring:
Regular Cleaning
Make it a habit to clean your ring regularly to remove accumulated dirt, oils, and residues that can dull its appearance over time. Use a gentle jewelry cleaner or a mild soap and warm water solution. Brush the ring gently with a soft-bristle toothbrush to reach crevices and remove debris.
Avoid Harsh Chemicals
Be cautious when using harsh chemicals or cleaning products. Remove your ring before engaging in activities that involve exposure to chemicals, such as cleaning, swimming in pools with chlorine, or using bleach. These chemicals can potentially damage both the metal and any gemstones.
Periodic Inspections
Regularly inspect your ring for any signs of wear and tear, loose stones, or damage to the adjuster, especially if it's a DIY addition. Loose stones can be particularly problematic as they may fall out if not addressed promptly. If you notice any issues, consult a professional jeweler for necessary repairs.
Professional Maintenance
Consider scheduling periodic professional maintenance for your ring. Jewelers can assess the overall condition, tighten settings if needed, and perform any necessary repairs or adjustments. This proactive approach can prevent potential problems from worsening.
Proper Storage
When you're not wearing your ring, store it in a safe and secure place. Use a jewelry box with compartments or soft pouches to prevent scratches and minimize contact with other jewelry that may cause abrasions.
Ultrasonic Cleaners
If you have a DIY ring size adjuster in place, be cautious when using ultrasonic jewelry cleaners. The vibrations from these cleaners can potentially dislodge the adjuster. Consult the manufacturer's guidelines for compatibility with your specific adjuster.
FAQs
Q1: How can I make my ring tighter at home?
A: You can make your ring tighter at home using several methods:
- Use a Ring Guard: Purchase a ring guard or ring sizer insert from a jewelry store or online. Slide it onto the inside of the ring to make it fit snugly.
- Thread: Wrap a small piece of thread or dental floss around the base of the ring until it fits comfortably. Cut off any excess thread.
- Clear Nail Polish: Apply clear nail polish to the inside of the ring and allow it to dry. Repeat as needed until you achieve the desired tightness.
- Beads or Tubing: Slide small beads or a piece of plastic tubing onto the ring's shank until it fits well. Trim any excess material.
- Resizing Clips: Purchase ring resizing clips that attach to the bottom of the ring, making it smaller.
Q2: How do you make a homemade ring size adjuster?
A: You can create a homemade ring size adjuster using everyday items:
- Paperclip: Straighten a paperclip and cut it to the desired length. Form it into a U-shape and slip it onto the ring shank.
- Straw: Cut a small piece of straw and make a longitudinal cut to create a C-shaped insert. Slide it onto the ring.
- Surgical Tubing: Cut a small piece of surgical tubing and slit it lengthwise. Place it on the ring's shank.
- Electrical Tape: Wrap a layer of electrical tape around the inside of the ring, adding more layers as needed for a snug fit.
Q3: What can I use to adjust my ring size?
A: You can use various materials to adjust your ring size:
- Commercial Ring Guards: Purchase ring guards or ring size adjusters from jewelry stores or online.
- DIY Materials: Create your own adjusters using items like paperclips, straws, surgical tubing, or electrical tape, as mentioned earlier.
- Jewelry Sizing Beads: Invest in jewelry sizing beads that fit inside the ring to make it smaller.
- Professional Resizing: For a more permanent solution, consult a jeweler to resize your ring by cutting or adding metal.
Q4: How can I resize my ring fast?
A: Resizing a ring quickly can be done in a few ways:
- Professional Jeweler: Visit a local jeweler who offers quick resizing services. They can typically complete the job within a few hours to a day.
- DIY Adjusters: Use one of the homemade methods mentioned earlier, such as ring guards, paperclips, or tape, to temporarily adjust the size until you can get professional resizing done.
- Temporary Fixes: Explore options like clear nail polish or beads for temporary resizing until you can have a permanent adjustment made by a jeweler.
Conclusion
In the world of jewelry, the importance of a properly fitted ring cannot be overstated. It's not just about style; it's about comfort, safety, and preserving the sentimental value of those precious pieces that hold a special place in our hearts. As someone who has explored the realm of DIY ring size adjusters and their practicality, I can attest to the satisfaction of finding a solution that ensures my favorite rings fit just right.
The journey from temporary fixes like tape or string adjustments to semi-permanent methods like sizing beads or ring guards has not only been practical but also a rewarding DIY experience. These methods have allowed me to wear my rings with confidence, knowing they won't slip off unexpectedly or cause discomfort during daily activities.
However, it's crucial to remember that while DIY adjustments offer convenience and cost-effectiveness, they may not be suitable for every situation. For valuable, intricate, or historically significant rings, professional resizing by skilled jewelers remains the wisest choice to ensure the integrity and beauty of these treasured pieces.