I've noticed a growing passion for the DIY (Do-It-Yourself) movement, and I can completely understand why. DIY projects have become a significant part of my life, offering not just a way to express my creativity, but also helping me save some hard-earned cash, learn exciting new skills, and infuse my personal touch into my living space and possessions.
Whether you're someone like me who started as a complete novice or someone eager to expand their DIY repertoire, I'd love to share some of the essential DIY beginner basics to help kickstart your own DIY journey. So, let's roll up our sleeves and embark on this delightful adventure into the world of DIY!
What is DIY Beginner Basics?
The term “DIY” encompasses a wide range of activities, from home improvement and crafting to woodworking and electronics. At its core, DIY simply means taking on projects and tasks by yourself, without relying on professionals.
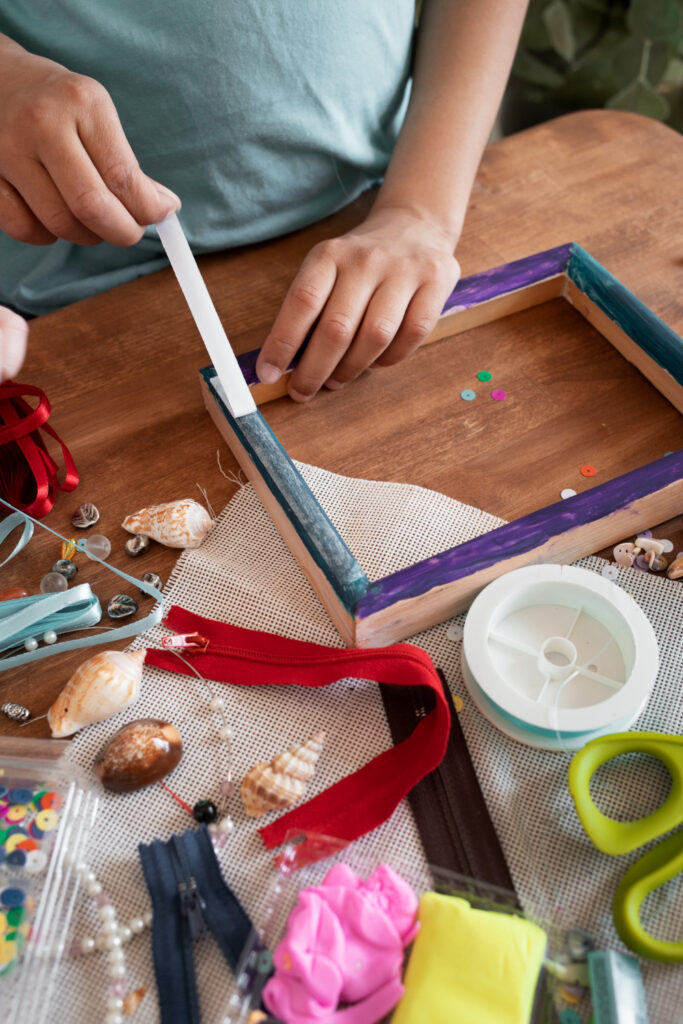
The world of DIY is vast and can encompass anything from sewing your clothes and creating unique home decor to building furniture or even tackling plumbing repairs. Whether you want to spruce up your living space, create handmade gifts, or enhance your home's functionality, DIY projects offer endless possibilities.
Explore our latest post on DIY Tools
Benefits of DIY Projects
Before we delve into the nitty-gritty of DIY beginner basics, let's explore some of the benefits that make DIY so appealing. These benefits go beyond just saving money and include personal growth and environmental considerations:
Cost Savings
One of the most significant advantages of DIY projects is the potential for cost savings. By undertaking tasks yourself, you can avoid labor costs and markups on materials, ultimately saving a substantial amount of money. This financial freedom can open up opportunities for more extensive projects or other personal investments.
Personal Satisfaction and Skill Development
Completing a DIY project brings a profound sense of personal accomplishment. The pride that comes from saying, “I made that!” is truly rewarding and can boost your self-esteem. Moreover, DIY projects provide an excellent opportunity to learn new skills. Whether it's plumbing, carpentry, sewing, or painting, each project offers a chance to hone your abilities and broaden your knowledge base.
Customization
DIY allows you to customize your projects to your liking. You have the creative freedom to choose colors, styles, and designs that reflect your personality and taste. Customization ensures that your creations are unique and tailored to your specific preferences, giving you a sense of ownership and pride in your work.
Environmental Impact
In an era where sustainability is increasingly important, DIY projects can contribute positively to the environment. Reusing and repurposing materials in DIY projects can be eco-friendly. By reducing waste and utilizing sustainable practices, you contribute to a greener planet and reduce your carbon footprint.
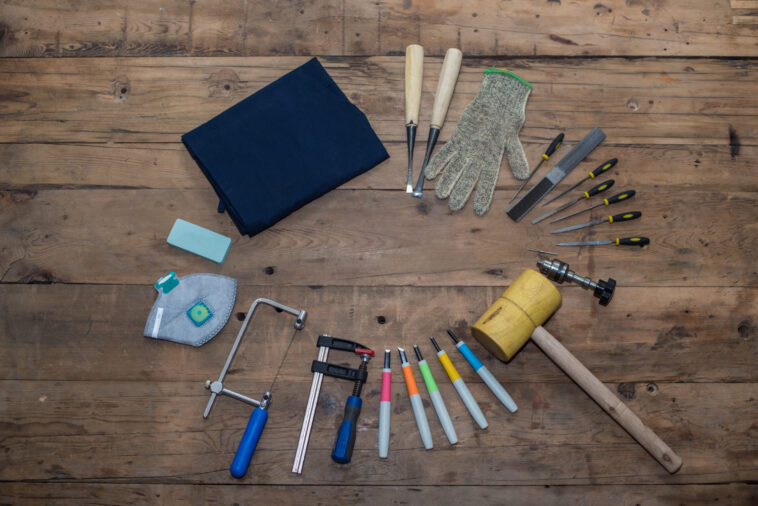
Getting Started: Essential Tools
To ensure a successful start to your DIY projects, it's crucial to equip yourself with a comprehensive set of tools. In addition to the basic tools briefly mentioned in the previous section, let's delve into a more detailed exploration of the essential tools and consider some additional ones that can greatly enhance your capabilities across a wide range of DIY endeavors:
- Measuring Tape: Accurate measurements are the backbone of any successful DIY project. Whether you're constructing furniture or hanging curtains, having a reliable measuring tape with both metric and imperial measurements is indispensable for precision.
- Hammer: The hammer is a versatile tool that serves various purposes, including driving nails and removing them. There's a diverse array of hammers available in different sizes and styles, so it's essential to select one that aligns with the specific requirements of your projects. A claw hammer is a versatile choice suitable for most DIY enthusiasts.
- Screwdrivers: Screwdrivers are fundamental for assembling and disassembling objects. They come in various types, with Phillips and flathead screwdrivers being the most common. Owning a set that encompasses multiple sizes and types will ensure you're equipped for a wide range of tasks.
- Pliers: Pliers are indispensable for gripping, bending, and cutting wires or materials. Needle-nose pliers, slip-joint pliers, and cutting pliers are some of the common types that can handle a multitude of tasks with ease.
- Level: A level is essential for guaranteeing that your DIY projects maintain straightness and levelness. Whether you're hanging shelves or installing cabinets, a level is your ticket to achieving a professional finish.
- Safety Gear: Prioritizing safety is paramount when engaging in DIY projects. Depending on the nature of the task, safety gear may include:
- Safety Glasses: Protecting your eyes from flying debris or hazardous materials.
- Gloves: Safeguarding your hands from sharp objects, chemicals, or rough materials.
- Ear Protection: Shielding your ears from loud noises, which can cause hearing damage over time.
- Dust Mask: Preventing the inhalation of harmful dust or fumes, particularly in woodworking or painting projects.
- Power Drill: A power drill is a versatile tool that greatly simplifies tasks such as drilling holes and driving screws. It's an indispensable tool for hanging shelves, assembling furniture, or installing hardware.
- Paint Brushes/Rollers: If your DIY projects involve painting walls, furniture, or crafts, it's essential to have a selection of paint brushes and rollers at your disposal. Different brushes and rollers are suitable for various surfaces and types of paint, ensuring a professional finish.
- Utility Knife: A utility knife is a versatile cutting tool ideal for a wide range of tasks, including cutting materials like cardboard, foam, or carpet. It's advisable to keep extra blades on hand for when the blade becomes dull, ensuring uninterrupted progress on your projects.
Choosing the Right DIY Project
Selecting the right DIY project is crucial, especially if you're a beginner. It's essential to choose projects that align with your interests, skill level, and available resources. Here are some factors to consider when selecting your first DIY project:
Interest
Start with something you're passionate about or genuinely interested in. Your enthusiasm for the project will keep you motivated throughout the process. Whether it's woodworking, crafting, gardening, or home improvement, pick something that excites you.
Complexity
As a beginner, it's advisable to start with simpler projects and gradually work your way up to more complex ones. Simple projects will help you build confidence and experience, making it easier to tackle larger and more challenging tasks in the future.
Materials and Tools
Ensure you have access to the necessary materials and tools for your chosen project. Consider the cost and availability of materials, as well as whether you already own or can easily acquire the required tools.
Budget
Stick to projects that fit your budget. While DIY can save you money in the long run, some projects may require an initial investment in tools or materials. It's essential to balance your desire for a project with your financial constraints.
Space
Consider the space required for your project. Some DIY projects may be better suited for indoor settings, while others are designed for outdoor spaces. Ensure that you have adequate room to work comfortably and store materials if needed.
By carefully evaluating these factors, you can choose a DIY project that aligns with your interests and sets you up for success. As you gain experience and confidence, you can progressively take on more ambitious projects.
Explore our latest post on DIY Repair Shop
Safety First: Precautions and Gear
Safety should always be a top priority in DIY projects. Accidents can happen, but by following essential safety precautions and wearing appropriate safety gear, you can significantly reduce the risk of injuries. Here are some crucial safety measures to keep in mind:
Wear Appropriate Protective Gear
Depending on the project, you may need various types of protective gear. Here's a breakdown of the safety gear you should consider:
- Safety Glasses: Protect your eyes from flying debris, dust, or chemicals. Safety glasses with side shields provide extra protection.
- Gloves: Depending on the task, choose gloves that offer protection against sharp objects, chemicals, or rough materials. Leather gloves are a versatile option for many DIY projects.
- Ear Protection: Prolonged exposure to loud noises can cause hearing damage. Ear protection, such as earmuffs or earplugs, is essential when using noisy power tools or machinery.
- Dust Mask: In projects involving sanding, painting, or working with dusty materials, wear a dust mask to prevent inhaling harmful particles. For tasks with chemical fumes, consider a respirator mask.
- Respirator Mask: For projects involving chemicals or volatile organic compounds (VOCs), such as painting or refinishing furniture, a respirator mask with appropriate filters is essential.
Work in a Well-Ventilated Area
Adequate ventilation is crucial for minimizing exposure to harmful fumes, dust, or gases. When working indoors, open windows and doors, and consider using fans or exhaust systems to ensure fresh air circulates through the space. In confined spaces, like basements or workshops, consider using a portable air filtration system to maintain air quality.
Read and Follow Instructions
Whether you're using tools, chemicals, or following specific project instructions, always read and adhere to manufacturer instructions and safety guidelines. Pay close attention to warnings and recommendations, as they can help you avoid accidents and injuries.
Keep Your Workspace Organized
Maintaining an organized workspace not only enhances efficiency but also reduces the risk of accidents. Cluttered areas can lead to trips and falls or make it challenging to locate tools and materials when needed. Invest in storage solutions, such as shelving, cabinets, or toolboxes, to keep your workspace tidy.
First Aid Kit
Accidents can happen, even when taking precautions. Always have a basic first aid kit on hand in case of minor injuries. Your kit should include items such as adhesive bandages, antiseptic wipes, adhesive tape, scissors, and tweezers. Familiarize yourself with basic first aid procedures to respond quickly in case of accidents.
Fire Safety
Be cautious when working with flammable materials, such as paint, solvents, or adhesives. Keep these materials away from open flames or heat sources, and have a fire extinguisher readily available in your workspace. Learn how to use the fire extinguisher properly in case of emergencies.
Know Your Limits
While DIY projects offer opportunities for growth and learning, it's essential to know your limits. If a project seems too complex or unsafe for your skill level, don't hesitate to seek professional help or guidance. Taking on tasks beyond your capabilities can lead to frustration and, more importantly, safety hazards.
By prioritizing safety and taking these precautions, you can enjoy your DIY projects with peace of mind, knowing that you're reducing the risk of accidents and injuries.
Step-by-Step DIY Project Guide
Now that you've covered the essential DIY beginner basics, let's outline a step-by-step guide for tackling your first DIY project. We'll use a simple project—building a wooden bookshelf—as an example to provide a more detailed and comprehensive understanding of the DIY process:
Gather Materials and Tools
Before you start any DIY project, it's crucial to gather all the necessary materials and tools. For our DIY bookshelf project, here's what you'll need:
Materials:
- Wooden boards (pine or plywood)
- Screws
- Wood glue
- Sandpaper
- Paint or wood finish (optional)
Tools:
- Measuring tape
- Saw (circular saw or handsaw)
- Power drill with screwdriver bits
- Level
- Safety gear (safety glasses, gloves, and ear protection)
Ensure that you have all the materials and tools ready and within easy reach before you begin your project. This will save you time and prevent interruptions during the construction process.
Measure and Cut
Accurate measurements are critical to the success of your DIY project. Measure and mark the desired shelf lengths on the wooden boards using a measuring tape and a pencil. Double-check your measurements to ensure they are precise.
Once you've marked the measurements, use a saw (either a circular saw or a handsaw, depending on your preference and the type of wood) to cut the boards along the marked lines. Take your time and use the appropriate safety precautions when operating the saw.
Assemble the Shelves
Now that you have your wooden boards cut to size, it's time to assemble the shelves. Follow these steps:
- Arrange the Boards: Lay out the cut boards on a flat, clean surface, such as a workbench or the floor, with the cut edges facing up. Arrange them in the order you want for your bookshelf.
- Apply Wood Glue:: Apply a generous amount of wood glue to the edges of the boards that will be joined together. Use a brush or a disposable foam brush to spread the glue evenly along the edges.
- Join the Boards: Press the glued edges of the boards together firmly. Use clamps to hold the boards in place while the glue dries. Ensure that the boards are aligned and level to create a sturdy and even shelf.
- Secure with Screws: Once the glue has dried (follow the manufacturer's recommended drying time), reinforce the joints by driving screws through the boards. Pre-drill pilot holes to prevent splitting the wood, and then insert screws at regular intervals along the seams. Use a power drill with screwdriver bits for this step.
- Check for Level: Use a level to ensure that the assembled shelves are straight and level. Make any necessary adjustments by tightening or loosening the screws as needed.
Sand and Finish
To give your DIY bookshelf a polished look and a smooth surface, sand the surfaces of the shelves using sandpaper. Start with coarse-grit sandpaper to remove any rough spots or imperfections, and gradually move to finer-grit sandpaper for a smoother finish.
After sanding, you have the option to apply paint or wood finish to enhance the appearance of the bookshelf. Painting or staining the wood can add a personal touch and complement your home's decor.
Mount or Place the Bookshelf
Depending on your preference and the design of your DIY bookshelf, you can either mount it on the wall or place it in your desired location. Let's explore both options:
Mounting on the Wall:
- If you choose to mount the bookshelf on the wall, you'll need appropriate wall anchors, screws, and a level.
- Determine the ideal height for your bookshelf and mark the locations where you'll attach it to the wall.
- Use a level to ensure that the mounting brackets or cleats are perfectly horizontal.
- Drill pilot holes into the wall and secure the mounting brackets or cleats with screws.
- Carefully lift the bookshelf and hang it securely on the mounted brackets.
- Double-check that the bookshelf is level and secure.
Placing in Your Desired Location:
- If you prefer to place the bookshelf on the floor or another surface, make sure the location is level and stable.
- Position the bookshelf where you want it and ensure it's properly aligned.
- If your bookshelf is heavy or top-heavy, you may consider attaching it to the wall for added stability using wall anchors.
Enjoy Your DIY Bookshelf
Congratulations! You've successfully completed your DIY bookshelf project. Now, it's time to enjoy your creation. Arrange your favorite books, decorative items, or personal mementos on the shelves to make the bookshelf truly yours.
Remember that this step-by-step guide can be adapted and applied to various DIY projects, whether you're building furniture, creating storage solutions, or crafting decorative pieces. Each project may have unique steps and considerations, so be sure to follow specific instructions and adapt your skills as needed.
Tips for Success
To ensure your DIY projects are a success and enjoyable experiences, here are some additional tips to keep in mind:
Plan Thoroughly
Before you start any DIY project, create a detailed plan. This plan should include measurements, materials, a step-by-step process, and a timeline. A well-thought-out plan helps you stay organized and on track throughout the project.
Practice Patience
DIY projects often require patience and attention to detail. Take your time and don't rush through the project. Mistakes are more likely to occur when you're in a hurry. Patience is a valuable skill in the world of DIY.
Learn from Others
Take advantage of the wealth of knowledge available from experienced DIYers. Watch DIY tutorials, read blogs, and seek advice from those who have tackled similar projects. Learning from others' experiences can save you time, money, and frustration.
Embrace Mistakes
Mistakes are a natural part of the learning process in DIY. Don't be discouraged by them; instead, embrace them as opportunities to learn and improve. Many seasoned DIY enthusiasts have a collection of stories about their early mishaps.
Stay Organized
Keep your tools and materials organized to avoid wasting time searching for items. Invest in storage solutions like toolboxes, shelving, or labeled containers. A tidy workspace enhances your efficiency and safety.
Seek Inspiration
Inspiration can come from various sources, such as magazines, Pinterest, or home improvement shows. Explore different styles and ideas to spark your creativity and make your DIY projects truly unique.
Common DIY Mistakes to Avoid
While DIY projects are enjoyable and rewarding, they can also be fraught with challenges. To help you navigate your DIY journey successfully, let's delve into some common mistakes that beginners often make and how to avoid them:
Lack of Planning
One of the most significant mistakes is diving into a project without proper planning. Skipping the planning phase can lead to costly errors and wasted time. Take the time to create a detailed plan, gather materials, and understand the steps involved.
Ignoring Safety Precautions
Neglecting safety gear and precautions can result in injuries. Always wear the appropriate protective gear for the task at hand and follow safety guidelines. Your well-being should be your top priority.
Choosing Overly Complex Projects
Starting with projects beyond your skill level can be frustrating and discouraging. It's essential to choose projects that align with your current abilities and gradually work your way up to more complex tasks as you gain experience.
Neglecting Maintenance
Failing to maintain your DIY creations can lead to premature deterioration. Regular upkeep and maintenance are crucial for preserving the quality and longevity of your projects. Make a schedule to inspect and maintain your DIY creations as needed.
Underestimating Costs
Be realistic about the budget for your DIY projects. While DIY can save money in the long run, some projects may require an initial investment in tools or materials. Calculate costs accurately and be prepared for unexpected expenses.
By being mindful of these common mistakes and proactively avoiding them, you can enhance your DIY journey and increase your chances of success.
Conclusion
Embarking on the journey of DIY projects can be incredibly rewarding and enjoyable. By following the comprehensive DIY beginner basics outlined in this guide, you'll be well-equipped to take on various projects, from simple crafts to more complex home improvements. Remember to prioritize safety, plan carefully, and enjoy the process of creating something with your own hands.
Start small, gain confidence, and let your creativity flourish through DIY. Whether you're transforming your living space, crafting unique gifts, or learning new skills, the world of DIY offers endless possibilities. So, why wait? Dive into the world of DIY and discover the satisfaction of turning your ideas into tangible creations.
Sources
https://www.voxpopme.com/market-research-blog/diy-market-research/
https://cooltool.com/blog/pros-and-cons-of-diy-market-research