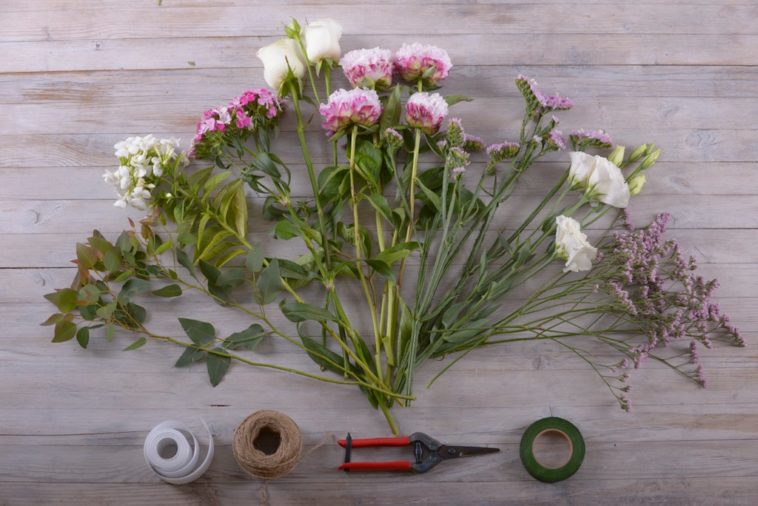
How to DIY a Wedding Bouquet
Your wedding day is one of the most special occasions in your life, and every detail matters, including your bridal bouquet. Creating your own wedding bouquet can add a personal touch and allow you to express your unique style on your big day. DIYing a wedding bouquet may seem intimidating, but with the right guidance and a little creativity, you can design a stunning bouquet that perfectly complements your wedding theme. In this comprehensive guide, we will take you through the step-by-step process of DIYing a wedding bouquet, from choosing the flowers and greenery to assembling and preserving the final masterpiece.
Why DIY Your Wedding Bouquet?
DIYing your wedding bouquet offers several advantages and allows you to personalize your bouquet to reflect your style and preferences. Here are a few reasons why you might consider DIYing your wedding bouquet:
- Cost Savings: Creating your own bouquet can be more budget-friendly compared to purchasing a pre-made bouquet from a florist. By sourcing and arranging the flowers yourself, you can save a significant amount of money without compromising on beauty and style.
- Customization: DIYing your bouquet allows you to have complete control over the design, colors, and flower choices. You can select blooms that hold special meaning to you or coordinate with your wedding theme, creating a truly personalized and meaningful bouquet.
- Creative Expression: Designing your own bouquet gives you the freedom to express your creativity and showcase your unique style. You can experiment with different flower combinations, textures, and arrangements to create a one-of-a-kind bouquet that reflects your personality.
- Memorable Experience: Crafting your wedding bouquet can be a memorable and enjoyable experience. It provides an opportunity to bond with loved ones, such as bridesmaids or family members, as you gather and arrange the flowers together, adding an extra layer of sentimentality to your special day.
Choosing the Right Flowers and Greenery
Selecting the perfect flowers and greenery is essential for creating a beautiful and cohesive bouquet. Here are some tips to help you choose the right blooms:
- Consider Your Wedding Theme: Your bouquet should align with your overall wedding theme and color scheme. Consider the style, ambiance, and colors of your wedding when selecting flowers. Whether you're going for a rustic, romantic, or modern theme, choose blooms that complement the desired aesthetic.
- Seasonal Availability: Opt for flowers that are in season during your wedding. Seasonal blooms tend to be more readily available, cost-effective, and fresher. Research which flowers are in season during your wedding month and select those that resonate with you.
- Flower Meanings: Some flowers hold symbolic meanings, which can add depth and significance to your bouquet. Consider incorporating flowers that convey messages of love, happiness, or other emotions that are meaningful to you and your partner.
- Texture and Shape: Create visual interest and dimension in your bouquet by incorporating flowers with different textures and shapes. Combine blooms with varied petal structures, such as roses, ranunculus, or peonies, along with filler flowers and greenery to add volume and texture.
- Color Palette: Choose a color palette that complements your wedding theme and personal preferences. Opt for a harmonious blend of colors or create contrast by pairing complementary shades. Consider the colors of your wedding dress, bridesmaid dresses, and other floral arrangements to ensure a cohesive look.
Once you've finalized your flower selections, make a list of the blooms and quantities you'll need. Consider having a few extra stems to account for any imperfections or last-minute changes.
Essential Tools and Supplies
To successfully create your wedding bouquet, you'll need a few essential tools and supplies. Gather the following items before you start:
- Floral Clippers or Pruners: These are essential for cutting the flower stems cleanly and at the desired lengths. Choose a sharp pair of clippers that will make clean cuts without crushing the stems.
- Floral Tape: Floral tape is used to secure the stems together as you assemble the bouquet. It provides support and helps keep the arrangement intact. Choose a high-quality floral tape that is flexible and easy to work with.
- Floral Wire: Floral wire is useful for reinforcing delicate blooms or adding stability to certain parts of the bouquet. It can also be used to create cascading or trailing elements if desired. Opt for floral wire in a suitable gauge for your bouquet design.
- Ribbons or Fabric for Wrapping: Select ribbons or fabric that complement your bouquet and wedding theme. Ribbons can be used to wrap the stems and add a finishing touch to the bouquet. Choose a width and length that allows for comfortable handling and a beautiful drape.
- Water Tubes (Optional): Water tubes can help keep the flowers hydrated if you're creating the bouquet in advance. These small tubes can be attached to the stems and filled with water, extending the lifespan of the blooms.
- Bouquet Holder (Optional): A bouquet holder can provide a structured base for arranging the flowers and make the process more manageable. It typically has a foam core that holds the stems in place.
Having these tools and supplies ready will ensure a smooth and efficient bouquet-making process.
Preparing the Flowers and Greenery
Before you start designing your bouquet, it's important to prepare the flowers and greenery properly. Follow these steps for optimal results:
- Trim the Stems: Using your floral clippers, trim the stems of the flowers and greenery at an angle. Trim off any excess foliage or thorns that will be below the water line. Aim for the desired length, keeping in mind the size and shape you envision for your bouquet.
- Remove Lower Leaves: Strip off any leaves that would fall below the water line or touch the bouquet holder (if using one). This ensures a clean and tidy look and prevents the leaves from rotting in the water.
- Hydrate the Flowers: Place the prepared stems in water-filled containers or vases. Allow them to hydrate for a few hours or overnight before assembling the bouquet. This step ensures that the flowers are hydrated and in optimal condition for arranging.
- Keep Greenery Fresh: If using greenery, mist or lightly spray the leaves with water and store them in a cool and humid environment to prevent wilting. Keeping the greenery fresh until the time of assembly will enhance the overall appearance and longevity of your bouquet.
By properly preparing the flowers and greenery, you'll ensure that they are in the best condition for arranging and will stay fresh for your special day.
Designing Your Bouquet
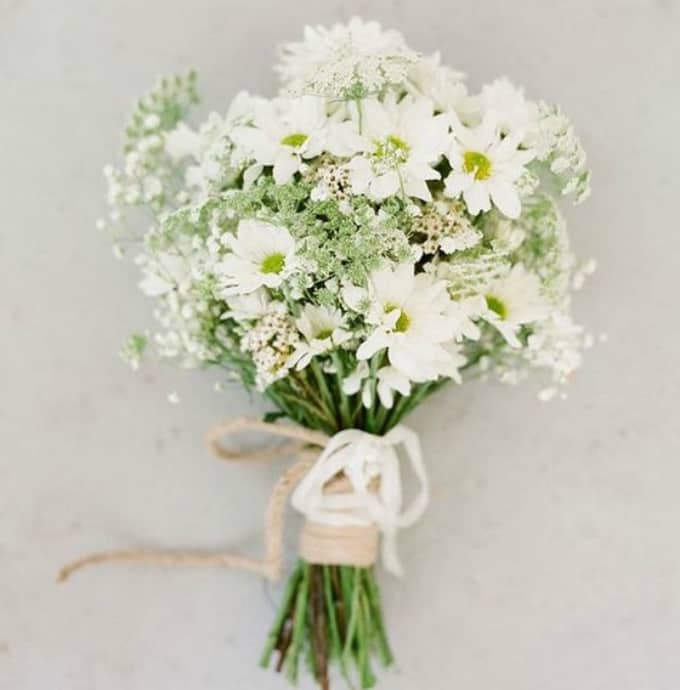
Designing your bouquet involves creating a visually appealing arrangement by combining different flowers and greenery. Here are the steps to design your dream bouquet:
- Choose a Focal Point: Select a focal flower or a few larger blooms that will serve as the centerpiece of your bouquet. This can be a standout bloom or a cluster of blooms in complementary colors.
- Add Secondary Flowers: Arrange secondary flowers around the focal point, creating a balanced and cohesive design. These blooms should complement the focal flowers in color, shape, or texture.
- Incorporate Filler Flowers: Fill in the gaps between the focal and secondary flowers with filler blooms. Filler flowers are smaller, delicate blooms that add volume, texture, and movement to the bouquet.
- Integrate Greenery: Place sprigs of greenery strategically throughout the bouquet to add depth, texture, and a natural element. Greenery can provide contrast and serve as a backdrop for the flowers.
- Consider the Shape and Size: As you arrange the flowers, consider the overall shape and size of the bouquet. You can create a rounded, cascading, or asymmetrical shape, depending on your personal style and preferences.
Assembling and Wrapping the Bouquet
Once you're satisfied with the arrangement, it's time to assemble and wrap the bouquet. Follow these steps to create a polished and secure final product:
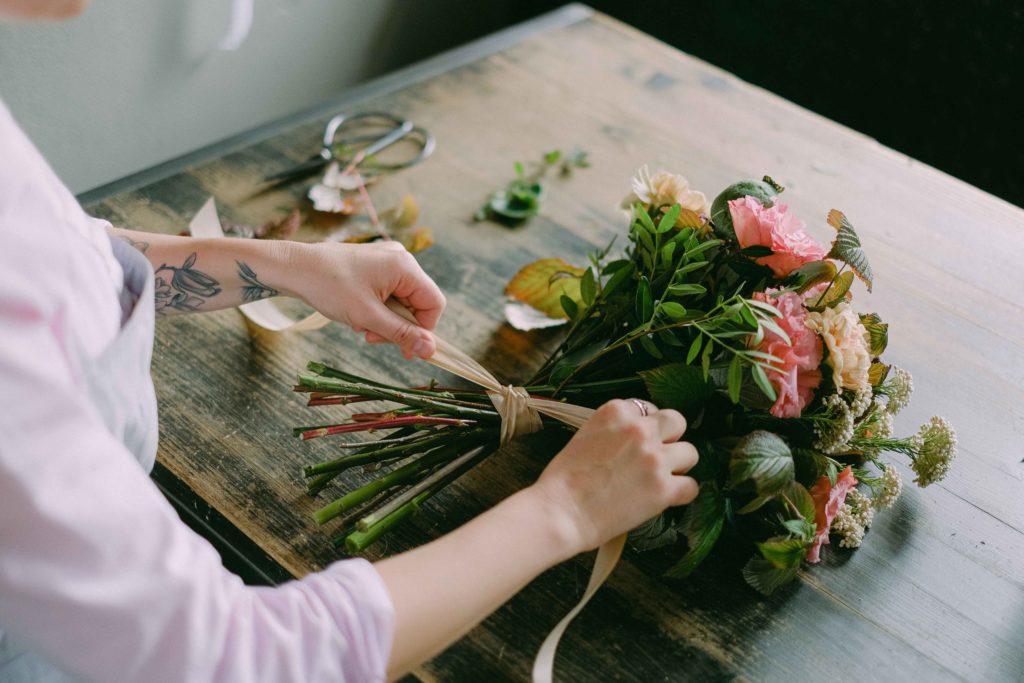
- Secure the Stems: Hold the bouquet firmly in one hand, ensuring that the stems are aligned at the bottom. Using floral tape, wrap it tightly around the stems, starting about an inch below the flower heads. Continue wrapping down, overlapping the tape as you go, until you reach the end of the stems. Cut the tape and press it securely to secure the arrangement.
- Trim the Stems: Trim the stems to your desired length. This step will depend on your preference and the overall look you want to achieve. You can opt for a longer, trailing bouquet or a more compact and rounded one.
- Wrap the Stems with Ribbon: Take your chosen ribbon or fabric and start wrapping it around the taped section of the stems. Begin at the top, near the flower heads, and continue wrapping downward. Ensure the ribbon is taut but not too tight, allowing for a comfortable grip. Secure the end of the ribbon with a pin, adhesive, or a small stitch if needed.
- Add Finishing Touches: To enhance the aesthetic appeal of the bouquet, consider adding additional decorative elements, such as lace, pearls, or brooches. These embellishments can be attached to the ribbon or incorporated into the bouquet itself, adding a personal touch to your creation.
Preserving Your Bouquet
Preserving your wedding bouquet allows you to cherish it as a keepsake long after your special day. Here are some preservation methods to consider:
- Air Drying: Hang your bouquet upside down in a cool, dry place, away from direct sunlight. This method allows the flowers to naturally dry while retaining their shape and color. It may take a few weeks for the bouquet to fully dry, so be patient during the process.
- Pressing: Pressing the flowers is another popular preservation technique. Place the individual blooms between the pages of a heavy book, ensuring they are spaced apart. Leave them in the book for several weeks, checking periodically until they are fully pressed and dried.
- Professional Preservation: If you want to ensure optimal preservation and have a professionally crafted keepsake, consider seeking the services of a professional bouquet preservation specialist. These specialists can freeze-dry or use other advanced techniques to preserve your bouquet in a beautiful display case or frame.
Whichever preservation method you choose, make sure to handle the dried flowers with care to avoid damage.
Conclusion
DIYing your wedding bouquet can be a rewarding and fulfilling experience that adds a personal touch to your special day. By following the step-by-step guide outlined in this article, you'll have the knowledge and confidence to create a stunning bouquet that reflects your unique style and personality.
Remember to consider your wedding theme, choose the right flowers and greenery, gather the essential tools and supplies, and take your time in designing and assembling the bouquet. With careful preparation, attention to detail, and a dash of creativity, your DIY wedding bouquet will be a beautiful and cherished symbol of your love and celebration.


