DIY Incubator
I've always been captivated by the idea of witnessing the incredible miracle of life firsthand, and I'm thrilled to say that I've turned this dream into a reality with my very own DIY Incubator. Whether you share my passion for poultry farming or you're simply a curious hobbyist like me, embarking on the journey to construct your homemade hatchery is not only enlightening but also incredibly rewarding. Let me take you through the step-by-step process of creating a fully functional DIY Incubator, just as I did, and share the joy of watching life unfold in your own home.
Understanding the Basics of Incubation
Before embarking on the construction of an incubator, it is vital to grasp the fundamental principles of incubation. These foundational aspects play a pivotal role in the successful development of bird embryos.
Temperature Regulation
The temperature within the incubator must be meticulously controlled for successful hatching. Typically, for most bird eggs, the optimal temperature range falls between 99°F and 102°F (37.2°C – 38.9°C). This warmth is crucial for the embryos to develop properly, and any significant deviations can lead to unfavorable outcomes.
Humidity Control
Maintaining an appropriate humidity level is equally important during incubation. In the initial incubation period, it is recommended to maintain a relative humidity level between 40% and 50%.
However, during the final three days before hatching, this should be increased to a range of 65% to 75%. Consistent humidity levels prevent the eggs from losing excessive moisture, which could otherwise harm the developing embryos.
Ventilation Requirements
Oxygen is a vital component for the development of embryos inside the eggs. Conversely, the build-up of carbon dioxide (CO2) can be detrimental to their growth.
Therefore, a well-designed DIY incubator should incorporate strategically placed ventilation holes to ensure adequate airflow. These openings allow for the exchange of oxygen and the removal of CO2, fostering a healthy environment for the developing embryos.
Materials Needed
To embark on your DIY incubator project, you'll need a comprehensive list of materials to ensure a successful hatching environment. Here's an expanded description of the materials required:
- Container: Choose a suitable container as the foundation of your incubator. You can opt for a styrofoam cooler or a wooden box. These materials offer good insulation to help maintain a stable temperature inside the incubator.
- Ventilation Fan: Incorporate a small fan, similar to those used in computer systems, to ensure consistent air circulation. Proper ventilation is vital for distributing heat evenly and preventing hotspots.
- Heating Element: Select a heating element or a light bulb with an appropriate socket to regulate the temperature within the incubator. Ensure that the chosen heating element can maintain a steady temperature within the desired range for the specific type of eggs you are incubating.
- Temperature and Humidity Monitoring: Install a digital thermometer and hygrometer inside the incubator. These devices are essential for monitoring and maintaining the correct temperature and humidity levels throughout the incubation process. Invest in a high-quality digital thermometer and hygrometer for accurate readings.
- Water Tray: To manage humidity levels effectively, include a water tray within the incubator. This tray allows you to add or remove water as needed to maintain the desired humidity range. It is crucial for preventing excessive moisture loss from the eggs.
- Egg Holding Mechanism: Provide a secure means of holding the eggs in place. You can use an egg carton or a mesh tray specifically designed for this purpose. The chosen method should allow the eggs to be positioned horizontally, as most bird eggs require this orientation for successful incubation.
- Ventilation Holes or Spacers: Ensure proper airflow within the incubator by incorporating ventilation holes or small spacers. These openings allow for the exchange of fresh air and the removal of carbon dioxide. Proper ventilation is crucial for the well-being of the developing embryos.
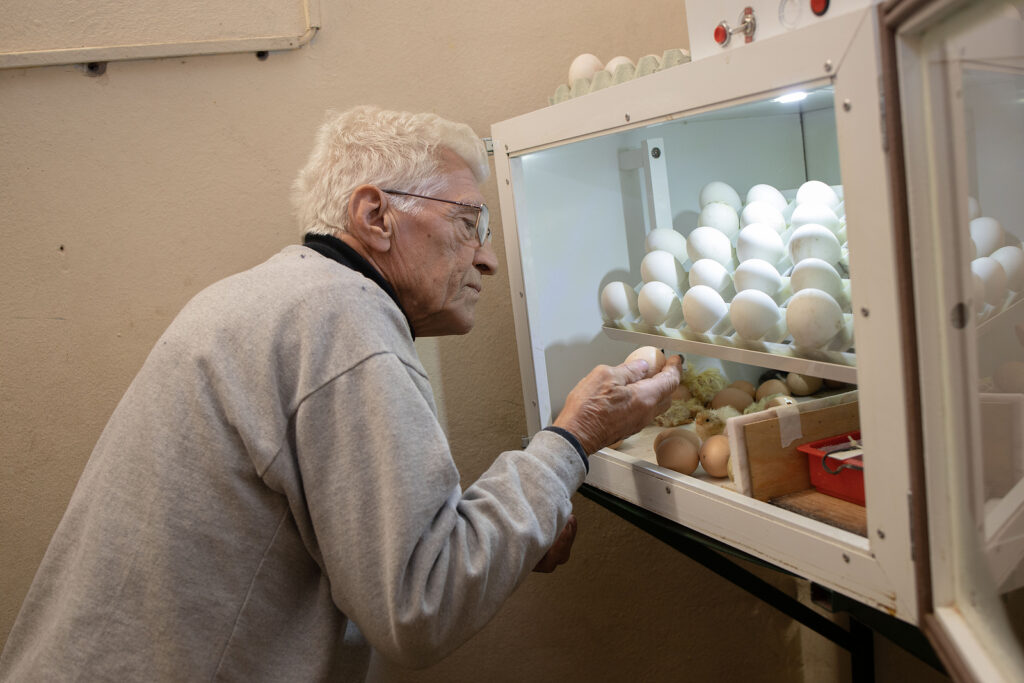
- Optional Viewing Window: For added convenience and observation, consider adding a plexiglass viewing window to your DIY incubator. This feature allows you to monitor the progress of the embryos without frequently opening the incubator, which can disrupt the environment.
Steps to Build Your DIY Incubator
Select and Prepare the Chamber
Begin by choosing the incubation chamber, either a styrofoam cooler or a wooden box. If using wood, ensure it's properly insulated by adding insulation material or by lining it with insulating foam sheets. Adequate insulation helps maintain a stable internal temperature.
Install the Heating Element
Position your chosen heating element or light bulb in one corner of the chamber. This corner will serve as the heat source for your incubator. It's crucial to use a thermostat to control and maintain a precise temperature within the desired range for the specific eggs you're incubating. This step ensures that the developing embryos receive consistent and ideal warmth.
Set Up the Ventilation Fan
Place a small fan in the incubator opposite to the heating element. This fan is essential for distributing heat evenly throughout the incubator, preventing temperature variations and hotspots. Ensure that the fan operates at a low speed to avoid rapid temperature fluctuations, which could negatively impact the incubation process.
Integrate a Water Tray
Add a water tray at the bottom of the incubator to regulate and maintain the necessary humidity levels. The water tray is a critical component for preventing excessive moisture loss from the eggs. Monitor the water level regularly and adjust it as needed to maintain the desired humidity range.
Position the Eggs
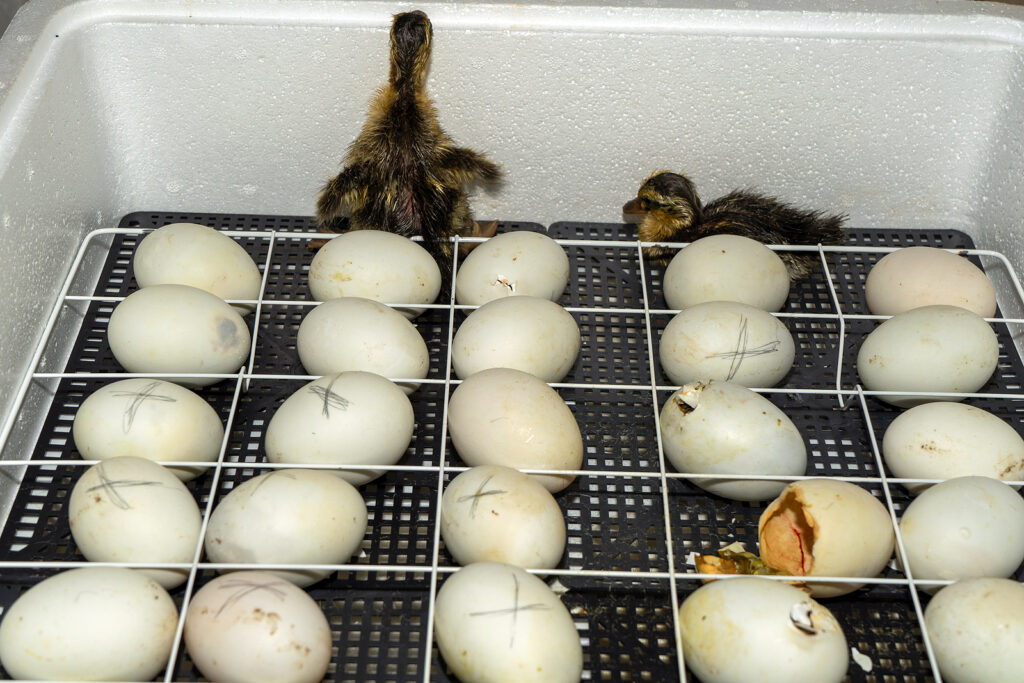
Use an egg carton or a mesh tray specifically designed for holding eggs. Place your eggs inside, ensuring they are positioned horizontally. Turning the eggs is essential for uniform embryo development; therefore, remember to manually turn them at least three times a day, unless you have an automatic egg turner.
Create Adequate Ventilation
Drill a series of tiny holes (approximately 5-10) in the chamber to provide essential ventilation. Be cautious not to make the holes too large, as this could adversely affect both humidity and temperature levels inside the incubator. Proper ventilation ensures a continuous supply of fresh oxygen and the removal of carbon dioxide.
Optional Monitoring Window
If you desire a way to observe the progress of the embryos without frequently opening the incubator, you can create a monitoring window. Cut out a section of the cooler lid or the top of the wooden box and replace it with a piece of plexiglass. This plexiglass window allows you to monitor the eggs' development without disturbing the internal environment.
Monitoring & Maintenance
Monitoring and maintaining your DIY incubator is a crucial aspect of ensuring a successful hatching process. Here's a more detailed guide on how to monitor and maintain the key factors within your incubator:
Temperature
- Regular Temperature Checks: Continuously monitor the internal temperature of your incubator using the digital thermometer. It's essential to maintain a consistent temperature within the recommended range for the specific type of eggs you are incubating. Check the thermometer at least twice daily to ensure accuracy.
- Adjust the Heating Element: If you observe temperature fluctuations or deviations from the desired range, promptly adjust the heating element or light bulb as needed. Utilize the thermostat to fine-tune the temperature and maintain a stable environment for the developing embryos.
Humidity
- Hygrometer Monitoring: Keep a close eye on the digital hygrometer to track humidity levels within the incubator. Humidity plays a critical role in preventing moisture loss from the eggs. If the humidity levels drop below the recommended range, take action to address this issue.
- Maintaining Humidity: To increase humidity, add water to the designated tray within the incubator. This step helps to raise the humidity level within the chamber. Conversely, if the humidity levels become too high, consider slightly opening the ventilation holes to allow excess moisture to escape. Achieving and maintaining the ideal humidity range is crucial for successful incubation.
Turning Eggs
- Regular Egg Rotation: Ensure that you turn the eggs regularly to promote even development of the embryos. Turning the eggs at least three times daily is essential to prevent the embryos from sticking to the eggshell and to facilitate proper growth.
- Automated Egg Turners: If you wish to streamline the egg-turning process and reduce the risk of human error, consider investing in an automatic egg turner. These devices gently rotate the eggs at regular intervals, ensuring uniform development. Automated turners can be purchased or constructed for your DIY incubator.
Troubleshooting Common Issues
Fluctuating Temperature
- Check Heating Element: If you notice temperature fluctuations within the incubator, examine the heating element or light bulb. Ensure that it's functioning correctly and that it's equipped with a thermostat for precise temperature control. If necessary, replace or recalibrate the thermostat.
- Fan and Element Placement: Evaluate the placement of both the fan and the heating element. Ensure that the fan is positioned opposite the heating element to facilitate even heat distribution. Adjust their placement if necessary to achieve uniform temperatures throughout the incubator.
Inconsistent Humidity
- Water Tray Management: To address inconsistent humidity levels, verify that the water tray is adequately filled. Monitor it regularly and replenish it as needed to maintain the desired humidity range. Additionally, consider using a hygrometer to obtain accurate humidity readings.
- Ventilation Hole Size: Examine the size of the ventilation holes. If they are too large, they may lead to excessive moisture loss, causing humidity fluctuations. If required, reduce the size of the holes or cover them partially to regulate humidity levels more effectively.
No Development in Eggs
- Fertilization Verification: Before incubation, confirm that the eggs were fertilized. You can do this through a process called “candling,” where you shine a light through the egg to check for signs of embryo development. If you're certain the eggs are fertile and still see no development, other factors may be at play.
- Temperature and Humidity Consistency: Review your incubation records to ensure that temperature and humidity levels remained consistent throughout the incubation period. Sudden temperature or humidity fluctuations can disrupt embryo development. Make adjustments to your incubator setup if necessary to maintain stability.
- Egg Turning: Ensure that the eggs were turned regularly, at least three times a day. Proper egg turning is crucial for the uniform development of embryos. If you don't have an automatic egg turner, manual turning is necessary.
- Egg Quality: Consider the quality of the eggs themselves. Poor-quality or damaged eggs may not develop, regardless of ideal incubation conditions. Select high-quality, clean, and undamaged eggs for incubation to maximize your chances of successful hatching.
FAQs about DIY Incubators
What is a DIY Incubator, and Why Should I Build One?
A DIY incubator is a handmade contraption engineered to provide optimal conditions for bird eggs to hatch. These incubators are crafted by enthusiasts for various reasons, such as experiencing the marvel of life, raising poultry for agricultural purposes, or as an engaging and educational hobby project.
What Are the Critical Factors to Consider When Constructing a DIY Incubator?
When embarking on a DIY incubator project, it's essential to factor in temperature control, humidity management, ventilation specifications, and suitable materials. The precision of these elements plays a pivotal role in fostering the successful development of bird embryos.
What Materials Are Necessary for Building a DIY Incubator?
Building a DIY incubator requires several materials, including a container (e.g., styrofoam cooler or wooden box), a ventilation fan, a heating element or light bulb with a socket, temperature and humidity monitoring instruments, a water tray, an egg holding mechanism, ventilation holes or spacers, and optionally, a viewing window made of plexiglass.
How Do I Maintain Optimal Temperature and Humidity Levels in My DIY Incubator?
To sustain the correct temperature, utilize a thermostat-controlled heating element or light bulb, and continuously monitor the temperature using a digital thermometer. For humidity control, employ a water tray and monitor humidity levels with a hygrometer, adjusting the water supply as needed to maintain the desired humidity range.
How Often Should I Turn the Eggs in My DIY Incubator, and Why Is This Practice Important?
To promote uniform embryo development and prevent embryos from adhering to the eggshell, eggs should be turned at least three times daily. This essential step ensures that the embryos receive adequate nourishment from the yolk.
Is It Possible to Automate the Egg-Turning Process in My DIY Incubator?
Yes, automating egg turning can be achieved by integrating an automatic egg turner into your DIY incubator setup. These devices gently rotate the eggs at regular intervals, ensuring uniform development. You can either purchase an automatic egg turner or construct one to enhance the efficiency of your incubator.
How Should I Address Temperature or Humidity Fluctuations in My DIY Incubator?
In the event of temperature fluctuations, conduct a thorough examination of the heating element or light bulb, as well as the positioning of the fan and heating element. For humidity variations, ensure the water tray is adequately filled and consider modifying the size of ventilation holes to maintain stable conditions.
How Can I Determine If My Eggs Are Fertile Before Initiating the Incubation Process?
Fertility verification can be accomplished through a technique known as “candling.” This involves shining a light through the egg in a darkened room to observe signs of embryo development. Fertile eggs will exhibit distinct changes as the embryo progresses.
What Is the Optimal Temperature and Humidity Range for Incubating Bird Eggs?
The recommended temperature range for most bird eggs falls between 99°F and 102°F (37.2°C – 38.9°C). Humidity levels should be maintained at approximately 40% to 50% during initial incubation and raised to 65% to 75% during the final three days preceding hatching.
Are There Any Common Challenges or Issues to Be Aware of When Utilizing a DIY Incubator?
Common issues that may arise include temperature and humidity fluctuations, eggs failing to develop, and issues related to egg quality. Vigilant monitoring and regular maintenance are essential practices to address these challenges and enhance the chances of a successful hatching process.
Conclusion
In conclusion, my journey into DIY incubation has been profoundly rewarding, allowing me to witness the incredible miracle of life firsthand. Constructing and maintaining an incubator has taught me valuable life lessons in patience, responsibility, and the deep connection we can establish with the developing embryos. Beyond the mechanics of incubation, there's a sense of wonder and anticipation that comes with each day of progress, leading up to the moment of hatching.
Whether you're a seasoned poultry enthusiast or just curious about life's wonders, I wholeheartedly encourage you to embark on your own DIY incubation adventure. It's not only about nurturing eggs but also fostering a profound appreciation for the beauty and resilience of life, and that's a journey worth taking.
Sources
https://digitalcommons.calpoly.edu/cgi/viewcontent.cgi?article=1127&context=bmedsp
https://www.ncbi.nlm.nih.gov/pmc/articles/PMC3830803/
https://www.ilo.org/wcmsp5/groups/public/––ed_emp/—emp_ent/—ifp_seed/documents/publication/wcms_820562.pdf