I've become absolutely enamored with gel nails, and it's not hard to see why. Gel nails offer an unbeatable combination of durability and a stunning finish that never fails to captivate me. While indulging in a luxurious salon experience for gel nails can be a real treat, it can also put quite a dent in your wallet.
Thankfully, I've discovered that achieving salon-quality gel nails is entirely possible from the comfort of my own home. With this comprehensive guide, I'm excited to take you on a journey into the world of DIY gel nails – a journey that not only saves you money but also leaves you with beautiful, long-lasting nails you can be proud of. So, let's dive right in and unlock the secrets to mastering DIY gel nails!
Why Choose DIY Gel Nails
When it comes to maintaining beautiful nails, opting for DIY gel nails offers several advantages beyond just a cost-efficient solution. Here's a more detailed look at why choosing to do your own gel nails can be a game-changer:
Cost-Efficiency
The financial benefits of DIY gel nails cannot be overstated. While salon gel nail appointments are undeniably luxurious, they can add up quickly, becoming a significant expense over time. When you take the DIY route, you not only save money on salon fees but also on transportation costs. Moreover, you'll have the freedom to purchase your favorite gel nail products, which can be more cost-effective in the long run compared to frequent salon visits. By investing in quality tools and polishes, you'll be able to enjoy beautiful nails without breaking the bank.
Convenience
DIY gel nails offer unparalleled convenience. Say goodbye to the frustrations of trying to book a convenient salon appointment that fits your busy schedule. With DIY, you're in control of when and where you do your nails. Whether it's a late-night touch-up or a relaxing weekend spa day at home, you can schedule your manicure at a time that suits you best. No more waiting for appointments, dealing with crowded salons, or experiencing last-minute cancellations.
Creative Freedom
One of the most exciting aspects of DIY gel nails is the endless creative possibilities it offers. You become the artist of your own canvas, experimenting with a vast array of nail colors, designs, and techniques. You can tailor your nail look to match your mood, the season, or a special occasion. This creative freedom allows you to express your unique style and personality through your nails. Additionally, you can continually evolve your nail game, trying out new trends and perfecting your skills over time.
Self-Care and Relaxation
Doing your own gel nails can become a form of self-care and relaxation. Many people find the process therapeutic, providing a sense of tranquility and mindfulness. It's an opportunity to pamper yourself, take a break from the demands of daily life, and focus on enhancing your natural beauty. You can create a soothing environment at home, complete with your favorite music, scents, and lighting, making the nail care routine a calming and enjoyable experience.
Hygiene and Safety
With DIY gel nails, you have complete control over the hygiene and safety of the products and tools you use. You can ensure that everything is properly sanitized and in good condition, reducing the risk of infections or allergic reactions. This level of oversight may not always be guaranteed in a salon setting, where tools and products are shared among clients.
Gather Your Supplies
To embark on the journey of achieving flawless DIY gel nails, it's crucial to gather a comprehensive array of supplies. Having all the necessary tools and products at your fingertips will not only streamline the process but also elevate the quality of your at-home manicure. Here's an in-depth look at the supplies you'll need:
- Gel Nail Kit: Begin by investing in a high-quality gel nail kit. These kits typically include gel nail polish, base coat, top coat, and various essential tools for the gel nail application process. It's advisable to opt for kits from reputable brands, as they often yield better results due to superior formulations and durability.
- Gel Nail Polish: Choose your preferred gel nail polish colors. Gel polishes come in an extensive range of shades and finishes, from classic solids to shimmering metallics and eye-catching glitters. The versatility of gel polish allows you to experiment with different looks and styles, making it a versatile addition to your nail care arsenal.
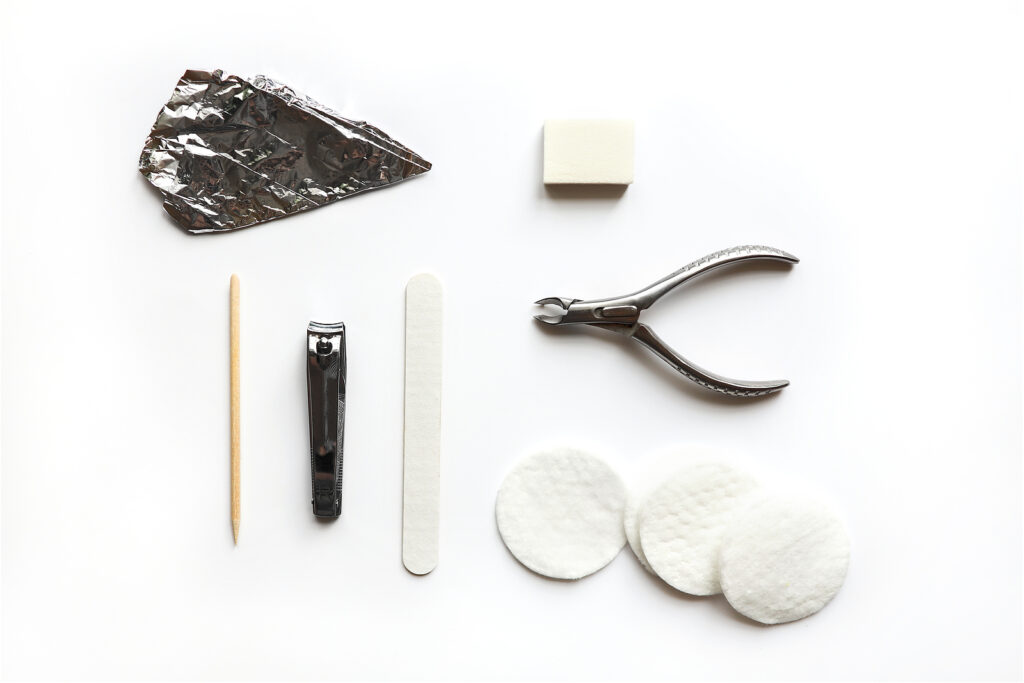
- Nail Prep Kit: A well-rounded nail prep kit is essential for achieving a flawless gel nail application. This kit should include items such as cuticle pushers, nail files, buffers, and nail cleanser. Properly preparing your nails ensures an even surface and optimal adhesion of the gel polish, resulting in a professional-looking manicure.
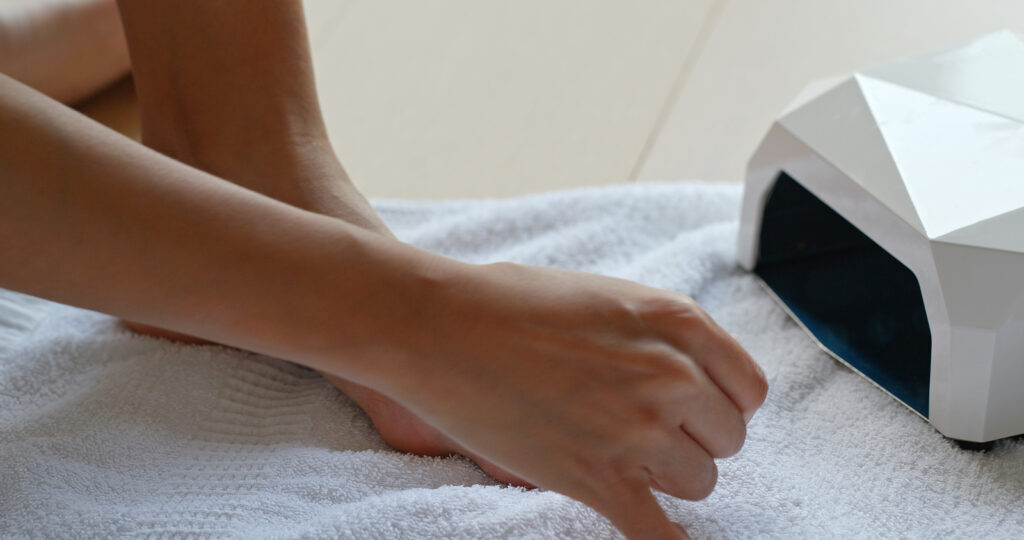
- UV or LED Lamp: To cure the gel polish effectively, you'll need a UV or LED lamp. UV lamps are cost-effective but have longer curing times, while LED lamps are faster but may come at a slightly higher price point. Choose the one that aligns with your preferences and budget. A reliable lamp is crucial to ensure the gel dries and hardens correctly, providing long-lasting results.
- Isopropyl Alcohol: Isopropyl alcohol is a must-have for cleaning your nails before applying the gel polish. It serves to eliminate any oils, residue, or contaminants from the nail's surface, creating an optimal canvas for the gel polish to adhere to. This step is crucial for achieving a smooth and flawless finish.
- Nail Polish Remover: Keep nail polish remover on hand for correcting any mistakes during the application process or for when it's time to remove your gel nails for a fresh manicure. A reliable nail polish remover ensures that you can easily fix any errors without compromising the overall look of your nails.
- Nail Art Tools (Optional): If you're inclined to get creative with your nail designs, consider adding nail art tools to your collection. These optional items include nail brushes for intricate detailing, dotting tools for creating patterns, and nail decals for adding unique embellishments. Having these tools at your disposal allows you to take your DIY gel nails to the next level, experimenting with various artistic expressions.
Check out our post on DIY Tools
Step-by-Step Guide to DIY Gel Nails
Now that you have your supplies ready, let's walk through the process of achieving salon-quality gel nails at home diy gel-x nails.
Preparation: Nail Care and Safety
Prior to embarking on your DIY gel nail journey, it's crucial to prioritize thorough nail care and safety measures. These preparatory steps not only lay the foundation for a successful gel manicure but also contribute to the overall health and appearance of your nails. Here's an in-depth guide on how to prepare your nails:
- Start with Clean Nails: Begin by ensuring that your nails are completely clean and devoid of any remnants of previous nail polish. To achieve this, use a reliable nail polish remover to effectively eliminate any residue. This step is vital as it guarantees a clean slate for the gel nail application, promoting optimal adhesion and a flawless finish.
- Shape Your Nails: Next, use a high-quality nail file to shape your nails according to your desired length and preferred shape. Whether you opt for a classic square, elegant oval, or trendy almond shape, shaping your nails precisely is essential for achieving the manicure style you desire. Additionally, gently push back your cuticles using a cuticle pusher to maintain a clean and tidy nail bed.
- Buff the Nail Surface: Utilize a gentle buffer to lightly buff the surface of your nails. This step serves the purpose of creating a smooth and even canvas for the gel polish to adhere to. By buffing the nail surface, you remove any imperfections or irregularities, ensuring that the gel polish application results in a polished and professional appearance.
- Cleanse Your Nails: Dampen a lint-free nail wipe or a cotton ball with isopropyl alcohol and meticulously cleanse each nail. This thorough cleansing process is crucial for eliminating any lingering oils or residues on the nail's surface. A pristine, oil-free nail is essential for promoting strong adhesion of the gel polish.
- Apply a Base Coat: The foundation of your gel manicure begins with the application of a thin layer of gel base coat. Pay close attention to capping the free edge of each nail, as this helps enhance adhesion and durability. The base coat not only provides a secure bond between your natural nails and the gel polish but also serves as a protective barrier to prevent staining and damage.
Application: Gel Nail Polish
The application of gel nail polish is a pivotal phase in achieving a salon-quality manicure at home. Properly applying the gel polish ensures a vibrant, long-lasting color and a polished finish. Here's an in-depth guide on how to apply gel nail polish:
- Apply the First Coat: Begin by selecting your preferred gel nail polish color and prepare to apply a thin, even coat to each nail. It's crucial to exercise precision during this step to avoid touching the skin or cuticles. In case you accidentally get polish on your skin, swiftly remedy it by using a clean brush or an orange stick to gently remove the excess before proceeding.
- Cure Under the UV/LED Lamp: After applying the first coat of gel polish, it's time to cure your nails under the UV or LED lamp. Refer to the manufacturer's instructions for the recommended curing time, which typically ranges from 30 to 60 seconds for LED lamps and 2 to 3 minutes for UV lamps. Curing is a critical step as it ensures the gel polish dries and hardens correctly, resulting in a durable, chip-resistant finish.
- Apply a Second Coat: Depending on the opacity of your chosen gel polish color, you may find it necessary to apply a second thin coat. This additional coat not only enhances the vibrancy of the color but also contributes to its longevity. Once again, be meticulous in applying the gel polish evenly, avoiding contact with the skin or cuticles. After the second coat is applied, cure your nails under the UV or LED lamp following the manufacturer's instructions.
- Top Coat: To seal and protect your gel manicure, it's highly recommended to apply a thin layer of gel top coat after the color layers are cured. This top coat adds an extra layer of shine and extends the life of your manicure. Ensure you cap the free edge of each nail for added durability.
- Final Cure: After applying the top coat, it's essential to give your nails a final cure under the UV or LED lamp. This step solidifies the top coat, providing a glossy, long-lasting finish. Follow the manufacturer's instructions for the specified curing time.
- Cleanse Sticky Residue: Some gel polishes may leave a sticky residue on the nails after curing. If this occurs, you can use isopropyl alcohol or a specialized gel cleanser to gently wipe away the residue and reveal the brilliant shine of your gel manicure.
Curing: The Magic of UV/LED Lamps
Understanding the intricacies of the curing process is pivotal for achieving impeccable DIY gel nails. UV or LED lamps play a transformative role by solidifying the gel, rendering it hard and resilient. Here's an in-depth look at the essential aspects of curing your gel nails:
- Follow Manufacturer's Instructions: Every gel nail brand may have its unique formulations and requirements for curing. To ensure optimal results, it's imperative to meticulously follow the instructions provided with your gel polish and lamp. These instructions typically encompass curing times, recommended lamp settings, and any additional tips specific to the brand. Deviating from these guidelines may affect the quality and longevity of your gel manicure.
- Cure Each Hand Separately: If your chosen UV or LED lamp doesn't have the capacity to accommodate both hands simultaneously, consider curing one hand at a time. This sequential approach ensures that each nail receives the appropriate exposure to the lamp's UV or LED light, facilitating proper drying and hardening of the gel polish. Be patient and take your time to ensure thorough curing for every nail.
- Avoid Over-Curing: While it's essential to cure your nails adequately, over-curing can potentially lead to nail brittleness and reduced flexibility. Overexposure to the UV or LED light can result in overly rigid gel, which may be prone to chipping or cracking. To prevent this, strictly adhere to the recommended curing times provided by the gel polish manufacturer. These times are carefully calibrated to strike a balance between durability and flexibility, ensuring your manicure remains beautiful and resilient.
- Invest in a Reliable Lamp: The quality and efficiency of your UV or LED lamp significantly impact the curing process. Investing in a reputable and reliable lamp is a wise choice, as it ensures consistent and accurate curing results. While UV lamps may have longer curing times (typically 2-3 minutes per coat), LED lamps offer the advantage of quicker curing (usually 30-60 seconds per coat). Choose a lamp that aligns with your preferences and time constraints, and ensure it's compatible with the gel polish you're using.
- Keep Your Lamp Clean: Regularly clean the lamp's bulbs and interior surfaces to maintain its effectiveness. Dust or residue on the lamp can interfere with the curing process, leading to inconsistent results. Follow the lamp's user manual for proper cleaning and maintenance procedures.
Finishing Touches: Shaping and Cleaning
The final steps of your DIY gel nail journey are crucial for achieving a flawless and long-lasting manicure. These finishing touches enhance the appearance and durability of your nails. Here's an in-depth guide on how to complete your gel manicure:
- Apply the Top Coat: After successfully curing the last coat of gel color, it's time to apply a thin layer of gel top coat to each nail. This top coat serves multiple purposes. Firstly, it adds a stunning gloss and shine to your nails, accentuating the vibrancy of the color. Secondly, it acts as a protective barrier, safeguarding your manicure from daily wear and tear, including chipping and fading.
- Cure the Top Coat: To ensure the top coat achieves its intended results, place your nails under the UV or LED lamp once again. Follow the curing instructions provided by the gel polish manufacturer for the top coat. Proper curing is essential for solidifying the top coat, resulting in a glossy, long-lasting finish. Typically, curing times for top coats are shorter than those for color coats.
- Clean and Shape: Once your nails are fully cured and have emerged from the lamp, it's important to address any residual stickiness left by the top coat. To do this, use isopropyl alcohol or a specialized gel cleanser on a lint-free nail wipe or cotton ball to gently clean each nail's surface. This step not only removes any sticky residue but also reveals the brilliant shine of your gel manicure.
- Shape Your Nails: Take a moment to shape your nails to your desired length and shape using a nail file. This step allows you to refine the overall look of your manicure and ensure that each nail is uniform in appearance. Whether you prefer square, oval, or almond-shaped nails, shaping provides the finishing touch to your nail design.
- Buff the Edges: For a perfectly smooth finish, gently buff the edges of your nails using a buffer. This step helps to eliminate any roughness or imperfections and ensures that the edges of your nails are seamlessly integrated into the overall manicure diy gel x nails.
Tips for a Flawless Finish
Achieving salon-quality gel nails from the comfort of your home is a rewarding endeavor, but it requires practice, precision, and dedication to detail. To help you embark on this journey with confidence and attain impeccable results, here are some additional tips and tricks:
Thin Layers for Optimal Results
When applying both gel polish and top coat, always aim for thin, even layers. Thin coats ensure better curing and durability of your manicure. Thick layers may not cure properly, leading to potential issues such as wrinkling, uneven texture, or premature chipping. Take your time to build up thin, smooth coats for a professional finish.
Cap the Edges for Durability
To enhance the longevity of your gel nails, make sure to cap the free edge of each nail with every coat. Capping involves applying a thin layer of gel polish or top coat along the tip or edge of your nail. This extra layer helps prevent chipping and peeling, maintaining the integrity of your manicure.
Precision Is Key: Avoid Skin Contact
Pay meticulous attention to detail when applying gel polish. It's crucial to avoid any contact with the skin and cuticles during the application process. If gel polish accidentally comes into contact with the skin, use a clean brush or an orange stick to gently remove it before curing. This precision not only ensures a clean and polished look but also helps prevent potential skin irritation.
Utilize a Timer for Accurate Curing
Proper curing is essential for the success of your gel manicure. To ensure precise curing times, use a timer. Follow the manufacturer's instructions for curing times, and resist the temptation to rush the process. Adequate curing results in a long-lasting, chip-resistant manicure.
Maintain Clean Brushes and Tools
Keep your brushes and application tools clean and free of residual gel polish. Clean brushes provide precise and consistent application, allowing you to achieve the desired look with ease. Additionally, regularly cleaning your tools ensures that they remain in good condition and prolongs their lifespan.
Practice Makes Perfect
Lastly, remember that practice is key to mastering the art of DIY gel nails. Don't be discouraged by initial attempts or minor imperfections. As you gain experience, your skills will improve, and you'll become more proficient in achieving flawless gel manicures.
Conclusion
In conclusion, my journey into the realm of DIY gel nails has been a truly transformative experience. It's not just about saving money; it's about the creative freedom, convenience, and self-care it brings into my life. The allure of gel nails, with their unmatched durability and stunning finish, is now an everyday luxury I can enjoy from the comfort of my own home.
What makes this journey special is the ability to express my unique style and personality through my nails. From experimenting with various colors and designs to embracing different trends, every manicure becomes a reflection of my mood and creativity.
Beyond aesthetics, the process of doing my own gel nails has become a form of self-pampering and relaxation, allowing me to escape the daily grind and focus on enhancing my natural beauty. It's a journey that combines artistry, convenience, and self-indulgence, and I'm excited to continue perfecting my skills while enjoying the cost-efficient luxury of salon-quality nails.
Sources
https://www.ncbi.nlm.nih.gov/pmc/articles/PMC3996786/
https://www.medicalnewstoday.com/articles/are-gel-nails-bad-for-you