If you're anything like me and you've got a burning passion for DIY projects, then buckle up because I've got the ultimate guide to DIY Day just for you! Picture this: you've got a full day to spare, and you're itching to dive into some hands-on creativity. Well, my friend, you're in for a treat. In this blog post, we're going to embark on an exciting journey through a vast landscape of DIY projects that you can conquer in just 24 hours.
Whether you're a seasoned DIY guru, a crafty enthusiast, or a complete newbie eager to kickstart your DIY adventure, I promise you'll discover a wide array of thrilling and doable projects right here. Our mission? It's simple. We want to help you not only elevate your living space but also supercharge your DIY skills, all while ensuring you have an incredibly enjoyable and fulfilling day ahead.
What is DIY Day?
DIY (Do It Yourself) projects offer an excellent opportunity to unleash your creativity, save money, and infuse a personal touch into your home or surroundings. The concept of a DIY Day is to select and complete a project within a 24-hour timeframe. It's a challenge, but one that can yield incredibly satisfying results.
In this comprehensive guide, we'll delve into a variety of projects, ranging from simple home improvements to crafty creations, all carefully designed to be manageable within a single day. Whether you're a homeowner, renter, or just someone looking to have a productive and enjoyable day, you'll discover a project that suits your preferences and skill level.
The Ultimate DIY Day Project List
Transform Your Space with a Room Painting Project
Time Required: 6-8 hours
Introduction: Undertaking a room painting project is a highly rewarding and transformative DIY Day endeavor that can breathe new life into your living spaces. With the potential to completely overhaul the ambiance of a room, painting offers an affordable and creative opportunity to refresh your home decor. In this detailed guide, we'll take you through the step-by-step process of painting a room, ensuring that you achieve professional-looking results while expressing your unique style through color.
Step 1: Selecting the Right Color: Before you begin your room painting project, it's crucial to select a color that harmonizes with your style and vision. Consider factors such as the room's purpose, the existing decor, and your personal preferences. Sample paint chips or small test patches on the wall can help you visualize how different colors will appear in the room's lighting.
Step 2: Preparing the Walls: Proper wall preparation is essential for a successful painting project. Start by cleaning the walls to remove dirt, dust, and grease. Inspect the surfaces for imperfections such as cracks, holes, or flaking paint. Patch and sand these areas until they are smooth, creating a pristine canvas for your paint.
Step 3: Furniture and Surface Protection: To prevent accidental spills or splatters, clear the room of furniture, or move it to the center and cover it with drop cloths or plastic sheets. Protect floors and trim with painter's tape and drop cloths to ensure they remain paint-free during the process.
Step 4: Gather Your Tools and Materials: Gather all the necessary supplies for your painting project, including brushes, rollers, paint trays, painter's tape, drop cloths, and, of course, your chosen paint. Invest in high-quality brushes and rollers to achieve a smoother finish.
Step 5: Priming (If Necessary): If you're transitioning from a dark color to a lighter one or painting over a porous surface, it's advisable to apply a primer. Primer ensures that the new paint adheres evenly and provides a consistent base color.
Step 6: Paint with Precision: Now comes the exciting part—painting the room. Start with cutting in along the edges and corners with a brush, and then use a roller to apply paint to the larger wall surfaces. Apply thin, even coats, and be mindful of drips and streaks. Allow each coat to dry before applying the next.
Step 7: Adding Additional Coats (if needed): In most cases, two coats of paint are necessary to achieve full coverage and depth of color. Allow the first coat to dry completely before applying the second. Follow the manufacturer's recommended drying times between coats.
Step 8: Cleanup: Once you've finished painting, remove painter's tape and drop cloths carefully while the paint is still slightly tacky. Clean your brushes and rollers thoroughly with soap and water or the recommended cleaning agent for the type of paint you used.
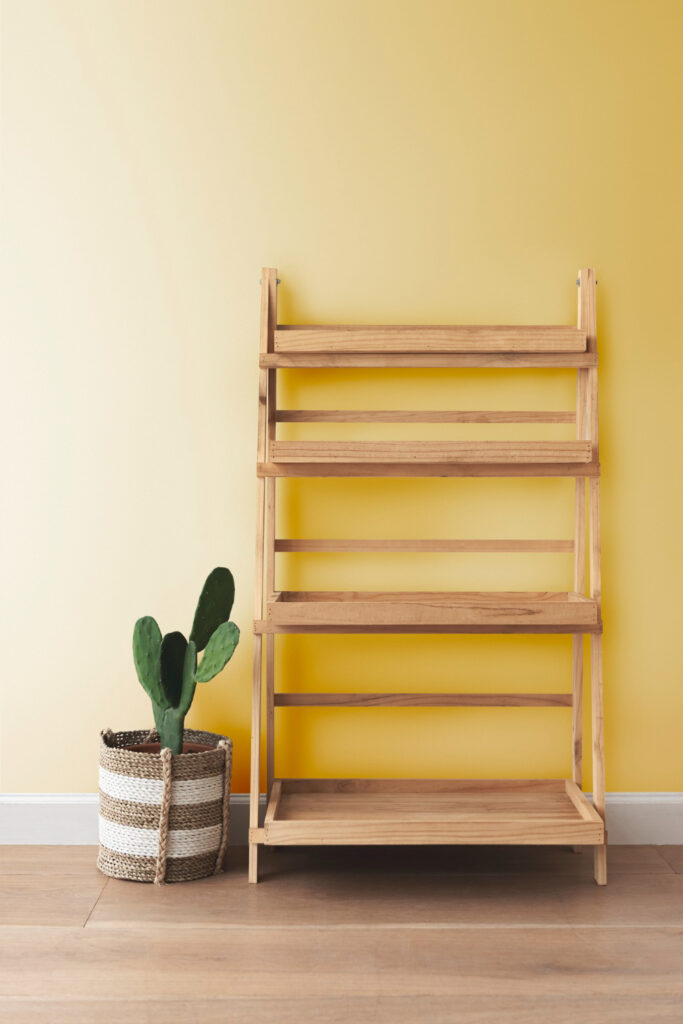
2. Craft a Custom Bookshelf: A Functional and Aesthetic DIY Day Project
Time Required: 4-6 hours
Introduction: Creating your own bookshelf is a rewarding DIY project that beautifully marries functionality with aesthetics. The process allows you to exercise your creativity, customize the size, design, and materials to suit your unique preferences, and ultimately results in a one-of-a-kind piece of furniture that will not only serve as a functional storage solution but also add character to your living space. Whether you're a seasoned woodworker or a novice eager to hone your skills, this comprehensive guide will walk you through the steps required to build a bookshelf you'll cherish for years to come.
Step 1: Planning Your Bookshelf: Before diving into construction, careful planning is essential. Consider the purpose of your bookshelf, its location in your home, and the dimensions you desire. Create a detailed design that includes the shelf dimensions, number of shelves, and any decorative elements.
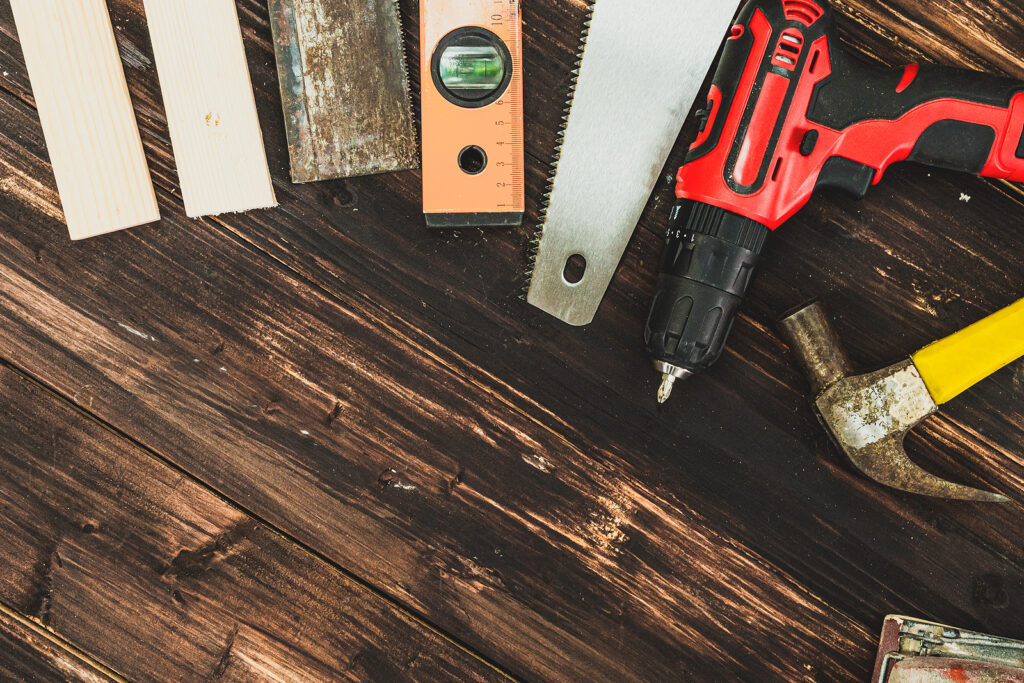
Step 2: Gathering Materials and Tools: For a basic bookshelf, you'll need materials such as plywood or solid wood boards for the shelves, as well as boards for the sides and back. Additionally, you'll require screws, wood glue, sandpaper, and a saw. Ensure you have the necessary safety gear, including safety glasses and hearing protection.
Step 3: Cutting and Preparing the Materials: Follow your design plan to measure and cut the wood pieces to the desired dimensions. Sand the edges and surfaces to achieve a smooth finish. If desired, you can stain or paint the wood before assembly for added customization.
Step 4: Assembling the Bookshelf: Begin by constructing the sides of the bookshelf, attaching the shelves using wood glue and screws. Ensure that each shelf is level and evenly spaced. Add a back panel to provide stability and prevent books from falling through the back.
Step 5: Finishing Touches: Sand any rough edges or surfaces once again, and apply your chosen finish, whether it's paint, stain, or a clear protective coat. This step not only enhances the appearance but also protects the wood from wear and tear.
Step 6: Installation and Placement: Depending on your bookshelf's design, you may need to secure it to the wall for stability, especially if it's tall or heavy. Use appropriate wall anchors and hardware to ensure it's safely anchored in place. Place the bookshelf in its designated spot, making sure it's level and secure.
Step 7: Organizing Your Books: With your DIY Day bookshelf complete and in place, arrange your books and other items to your liking. Consider adding decorative elements, such as potted plants or artwork, to enhance its visual appeal.
3. Cultivate Your Own Herb Garden: A Satisfying and Flavorful DIY Day Project
Time Required: 3-5 hours
Introduction: Embarking on the journey of creating your own herb garden is a delightful and practical DIY Day endeavor, perfect for those with a green thumb or anyone eager to develop their gardening skills. In just a few hours of dedicated work, you can establish a miniature haven of fresh herbs, ready to elevate your culinary creations and infuse your living space with natural beauty. This comprehensive guide will walk you through the steps required to set up a herb garden, whether you have a spacious backyard or a compact balcony, offering creative solutions tailored to your available space.
Step 1: Choosing the Right Location: Selecting an appropriate location for your herb garden is crucial. Herbs typically require at least 6 hours of direct sunlight daily, so choose a spot that receives adequate sunlight. Whether it's a sunny windowsill, a balcony, or a designated area in your garden, ensure it's easily accessible for watering and maintenance.
Step 2: Selecting Herbs to Grow: Consider the herbs you'd like to grow based on your culinary preferences and gardening experience. Popular choices for herb gardens include basil, rosemary, thyme, mint, parsley, and oregano. Research the specific care requirements for each herb to ensure a successful harvest.
Step 3: Choosing Containers or Garden Beds: Depending on your available space, decide whether you'll plant your herbs in containers, raised garden beds, or directly in the ground. Containers are ideal for small spaces, while garden beds offer more room for growth. Ensure proper drainage in your chosen containers or beds.
Step 4: Soil Preparation: Herbs thrive in well-draining soil with good aeration. Prepare the soil by mixing in organic compost or potting mix to provide essential nutrients. Test the soil's pH level and make adjustments if necessary to create an optimal growing environment.
Step 5: Planting Your Herbs: Follow planting instructions specific to each herb, including spacing and depth. Ensure you water the herbs thoroughly after planting to help them establish roots.
Step 6: Maintenance and Care: Regularly water your herb garden, keeping the soil consistently moist but not waterlogged. Apply a layer of mulch to conserve moisture and prevent weed growth. Prune and harvest your herbs to encourage growth and maintain their shape.
Step 7: Protection and Pests: Keep an eye out for pests or diseases that may affect your herbs. Use natural remedies or pesticides as needed to protect your plants. Consider covering your herbs during extreme weather conditions to prevent damage.
Step 8: Harvesting and Enjoyment: As your herbs flourish, harvest them when they reach their peak flavor. Fresh herbs can elevate your culinary creations, providing a burst of flavor and aroma. Be sure to use them in your favorite dishes and share the joys of homegrown herbs with family and friends.
4. Create Custom Artwork
Time Required: 2-4 hours
Introduction: Embarking on the journey of creating custom artwork is a fulfilling and expressive DIY Day endeavor that enables you to infuse your living space with unique pieces of art that resonate with your creativity and taste. You don't need formal training or years of experience to produce beautiful and meaningful artwork. This comprehensive guide will help you explore various artistic mediums, from traditional acrylics and watercolors to digital art on your computer or tablet, ensuring that you can confidently release your inner artist and craft personalized artwork that adds character to your home.
Step 1: Finding Inspiration: Begin your artistic journey by seeking inspiration. Explore art galleries, books, magazines, or online platforms to discover styles, techniques, and themes that resonate with you. You can draw inspiration from nature, emotions, personal experiences, or even your favorite artists.
Step 2: Choosing Your Artistic Medium: Select an artistic medium that aligns with your preferences and the desired style of your artwork. Consider experimenting with acrylic paints, watercolors, colored pencils, oil pastels, or even digital art software. Each medium offers a unique set of possibilities and challenges.
Step 3: Gathering Art Supplies: Acquire the necessary art supplies based on your chosen medium. This may include canvases, brushes, paints, paper, pencils, or digital drawing tablets and software. Invest in quality materials that suit your budget and artistic goals.
Step 4: Setting Up Your Workspace: Designate a comfortable and well-lit workspace for your creative endeavors. Ensure that you have adequate ventilation and easy access to your art supplies. Organize your materials for easy use and cleanup.
Step 5: Experiment and Practice: Before creating your final piece of artwork, take time to experiment and practice with your chosen medium. Try different techniques, color palettes, and styles to build your confidence and refine your skills.
Step 6: Planning Your Artwork: Once you've honed your skills, plan your custom artwork. Sketch your ideas on paper or create a digital rough draft. Consider composition, color harmony, and the emotional impact you want to convey in your piece.
Step 7: Creating Your Artwork: With your plan in place, begin the creation process. Take your time, and don't rush the artistic journey. Pay attention to details, layers, and textures to bring your vision to life. Embrace mistakes as opportunities for artistic growth.
Step 8: Reflect and Revise: After completing your artwork, take a step back and reflect on your creation. Assess whether it aligns with your initial vision and goals. If necessary, make revisions or additions to enhance the final result.
Step 9: Display and Enjoy: Once your custom artwork is complete and you're satisfied with the outcome, proudly display it in your home. You can frame traditional art or showcase digital pieces on digital screens. Let your artwork become a conversation starter and a source of pride in your living space.
Tips for a Successful DIY Day
Embarking on a DIY Day project can be both exciting and challenging. To ensure a successful and enjoyable experience, consider the following tips:
1. Plan Ahead
Start your DIY Day journey by selecting your project and compiling a comprehensive list of materials and tools required. Create a detailed plan or checklist to guide you through the day. Organize your workspace, gather supplies, and ensure you have everything you need before you begin.
2. Safety First
Prioritize safety throughout your DIY Day. Depending on your project, you may be working with tools, chemicals, or other potentially hazardous materials. Always wear appropriate protective gear, read instructions carefully, and adhere to safety guidelines. If you're unfamiliar with a particular tool or technique, consider seeking guidance from experienced DIYers or professionals.
3. Take Breaks
While it's tempting to dive headfirst into your project, remember to take regular breaks. Working continuously for hours on end can lead to fatigue and decreased productivity. Stay hydrated, grab a healthy snack, and step away from your project momentarily to rest and recharge. These breaks will help you maintain focus, energy, and enthusiasm throughout the day.
4. Stay Organized
Maintain a clean and organized workspace. Clutter can slow you down and lead to frustration. Label containers, arrange tools systematically, and keep your work area tidy. By staying organized, you'll save time and minimize the risk of misplacing essential items.
5. Invite Friends or Family
DIY Day projects can be even more enjoyable when shared with friends or family members. Consider inviting someone to join you in your endeavor. Collaborating on a project can not only make the work go faster but also provide a great opportunity for bonding and teamwork.
Conclusion
DIY Day presents an exciting opportunity to engage in productive and creative endeavors, and the possibilities are endless. Whether you opt for a home improvement project, dive into crafting, or explore the joys of gardening, you're certain to have a fulfilling experience.
So, select a project that ignites your passion, plan your DIY Day meticulously, and get ready to witness the remarkable transformation you can achieve in just 24 hours. Always keep safety in mind, relish the process, and revel in the satisfaction of completing a DIY Day project from inception to completion.
Sources
https://www.instructables.com/Getting-DIY-Projects-Government-Legal/