When you're diving into the world of electrical troubleshooting, having the right tools can make all the difference between a successful project and a frustrating puzzle. I've found that one tool that's absolutely essential for both DIY enthusiasts like myself and professional electricians is a test light, often called a circuit tester. This nifty device has been a game-changer for me when it comes to figuring out if an electrical circuit is live or not, making it so much easier to diagnose and fix electrical problems efficiently.
I'm a firm believer in the DIY spirit, and I've always enjoyed creating my own tools when I can. Crafting your own DIY test light from scratch is not only a fun project but also a cost-effective way to have this essential tool in your toolkit. Plus, it gives you a deeper appreciation for how electrical circuits work and how to troubleshoot them effectively.
In this comprehensive guide, I'll take you through the process of building your very own DIY test light. By the end of it, you'll not only save some money by avoiding commercial options but also gain a hands-on understanding of electrical circuits that will serve you well in your DIY and professional endeavors. So, let's roll up our sleeves and get started on this exciting electrical project together!
The Significance of a Test Light
Before we embark on the journey of creating a DIY test light, let's first explore the reasons why this tool holds such pivotal importance in the world of electrical work.
1. Prioritizing Safety
Electrical work is inherently hazardous, with potential dangers lurking in the form of live circuits, exposed wires, and unforeseen electrical faults. Safety should always be the top priority when dealing with electricity, and this is where a test light comes into play.
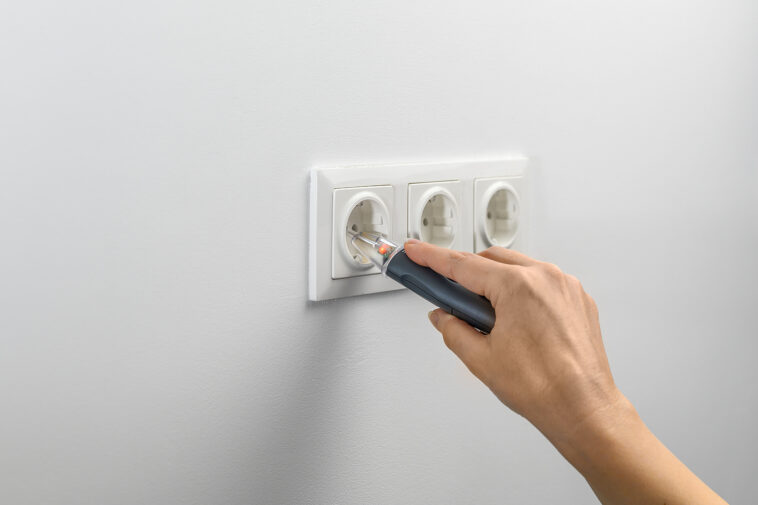
It serves as a vital safety tool by allowing you to determine whether a circuit is live or not before you touch it or work on it. This capability significantly reduces the risk of electrical shocks, accidents, and potentially life-threatening mishaps, making it an indispensable companion for anyone involved in electrical tasks.
2. Streamlined Troubleshooting
Whether you're troubleshooting problems in your vehicle's electrical system, testing the functionality of household outlets, or engaging in a DIY electronics project, a test light proves invaluable. It simplifies the process by providing real-time feedback on the presence of electrical current.
With a quick test, you can ascertain whether electricity is flowing as expected, which is especially helpful in identifying faults or disruptions in the circuit. This efficiency in troubleshooting not only saves time but also contributes to the successful resolution of electrical issues.
3. Cost-Effective Solution
Commercially available test lights can be relatively expensive, posing a financial barrier for those operating on a tight budget. However, creating your DIY test light is not only a cost-effective solution but also a gratifying endeavor. By building your test light, you can save money while still obtaining a tool that possesses the same capabilities as its commercial counterparts.
Moreover, the satisfaction of crafting your own electrical tool adds an extra layer of value to this DIY approach. It empowers you with the knowledge of how the tool works and enhances your skills in the field of electrical work.
Gathering the Necessary Materials and Tools
Before we dive into the step-by-step construction process, let's compile a comprehensive list of materials and tools that will be essential for this DIY project.
Materials:
- A small, clear incandescent bulb (12V)
- Approximately 2 feet of insulated wire
- Two alligator clips
- A 9V battery
- Electrical tape or heat shrink tubing
- A small piece of cardboard or plastic
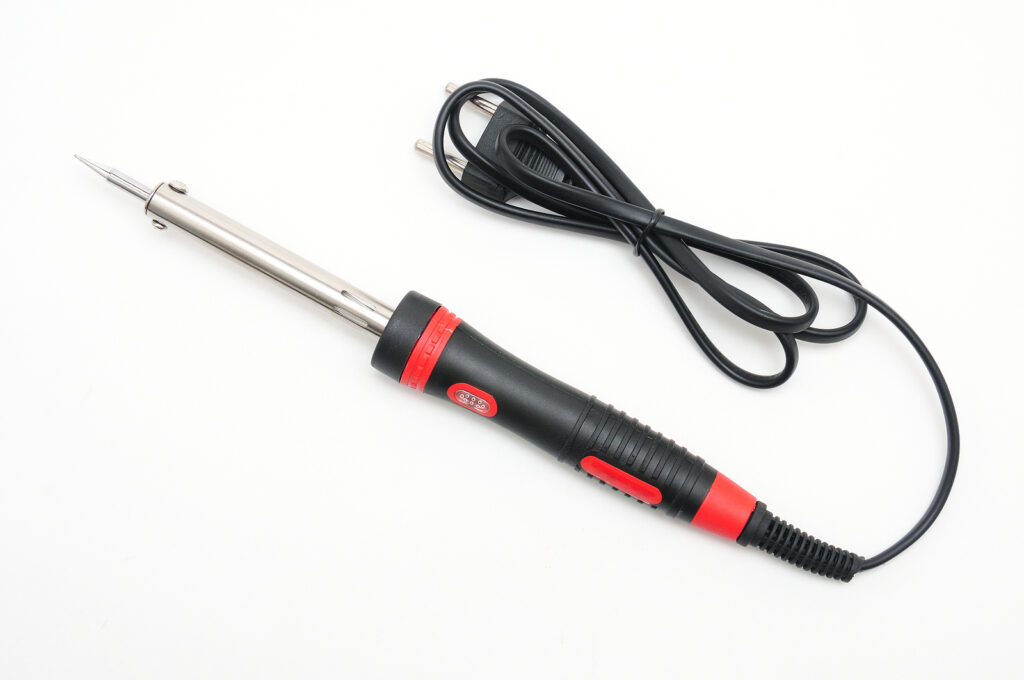
- Soldering iron and solder
- Wire strippers
- A screwdriver
Tools:
- Safety goggles
- A dedicated workbench or workspace equipped with adequate lighting
A Detailed Step-by-Step Guide
Now that we've assembled all the materials and tools required, let's embark on the journey of crafting your very own DIY test light. Each step has been meticulously detailed to ensure a safe and successful construction.
Step 1: Prioritize Safety
Safety should always be the utmost priority when working with electricity. Before you start any work, make sure to wear safety goggles to protect your eyes from potential hazards.
Step 2: Preparing the Bulb
Begin by inspecting the small, clear incandescent bulb closely. Remove any extraneous wires or connectors to start with a clean slate. To prepare the bulb for connections, use wire strippers to remove approximately half an inch of insulation from each end of the bulb's wires, exposing the conductive metal beneath.
Next, carefully solder one end of the insulated wire to the base of the bulb to create a secure and robust connection. This involves melting solder onto both the wire and the bulb's base to form a solid bond. Allow sufficient time for the solder to cool and set before proceeding.
To provide structural support and keep the bulb securely in place, cut a small piece of cardboard or plastic. Mount the bulb onto this material, leaving only the other exposed wire free for further connections.
Step 3: Attaching the Alligator Clips
Take the remaining exposed wire from the bulb and proceed to attach the alligator clips. Begin by soldering one end of this wire to one of the alligator clips to ensure a firm and reliable connection. Repeat this process on the opposite end of the insulated wire, mirroring the steps you followed in the previous step.
Double-check both connections to ensure that the alligator clips are firmly attached, and there is no risk of detachment during use.
Step 4: Battery Integration
Your 9V battery is a crucial component of your DIY test light. To integrate the battery, connect the positive (+) terminal of the battery to the alligator clip attached to the wire connected to the bulb. Use electrical tape or heat shrink tubing to insulate and secure this connection thoroughly.
Simultaneously, establish a connection between the negative (-) terminal of the 9V battery and the alligator clip situated at the opposite end of the wire. Employ the same insulation methods used in the previous step to ensure a reliable and safe connection.
Step 5: Testing Your DIY Test Light
With your DIY test light fully assembled, it's time to put it to the test. This step verifies the functionality and efficacy of your newly crafted tool.
Simply bring the metal tips of the alligator clips into contact with the circuit or component you wish to assess. If the incandescent bulb lights up, your DIY test light is working correctly, and you are ready to use it for your electrical testing needs.
Ensuring Longevity and Accuracy: Maintenance Tips
Maintaining your DIY test light is essential to extend its lifespan and ensure accurate results during your electrical projects. Here is a detailed set of maintenance tips to help you keep your tool in peak condition:
- Regular Cleaning: Make cleaning the metal tips of the alligator clips a standard practice. Cleaning these contacts will guarantee a consistent and reliable electrical connection every time you use your test light. This is especially crucial for accurate testing.
- Thorough Inspection: Conduct periodic inspections of all components, including the wires, alligator clips, and the incandescent bulb itself. Look closely for any signs of wear, damage, or corrosion. If you spot any issues, replace the compromised components immediately. A well-maintained tool is a safe tool.
- Proper Storage: When your DIY test light is not in use, store it in a dry and cool location. This precaution helps prevent corrosion and damage that can occur over time, ensuring that your tool remains in optimal condition for future projects. Consider using a protective case to shield it from dust and moisture.
- Battery Replacement: Pay close attention to the brightness of the incandescent bulb. If it appears dim or fails to illuminate, it's a clear indication that the 9V battery requires replacement. Always keep spare batteries on hand to avoid project interruptions. Properly disposing of used batteries is also essential for the environment.
- Calibration: Periodically, check the accuracy of your DIY test light by testing it against known voltage sources. This ensures that it provides accurate readings and helps you maintain confidence in your electrical testing results.
- Cable Management: Keep the wires neatly organized and free from tangles to prevent any unnecessary stress or wear on the cables. Using cable organizers or reels can help extend the life of your test light's wires.
- Handle with Care: Handle your DIY test light gently, avoiding unnecessary drops or impacts that could damage sensitive components. Proper handling contributes significantly to the longevity of your tool.
- Regular Use: Surprisingly, using your test light regularly can help keep it in good shape. Regular use prevents internal corrosion and keeps all moving parts lubricated.
Practical Applications of Your DIY Test Light
Now that you've successfully crafted your own DIY test light, it's essential to understand how versatile this tool can be. In this section, we'll explore various practical applications for your DIY test light. From automotive troubleshooting to household electrical tasks, you'll discover how your homemade circuit tester can simplify a wide range of projects.
Automotive Diagnosis
Your DIY test light can be a valuable asset for diagnosing automotive electrical issues. Whether you're checking fuses, testing for faulty brake lights, or examining wiring connections, your test light can quickly pinpoint problems and assist in getting your vehicle back on the road.
Home Electrical Repairs
When it comes to household electrical repairs, your DIY test light can help identify live circuits, detect faulty outlets, and ensure safe electrical work. From replacing light switches to troubleshooting power outlets, your homemade tool will make these tasks more manageable.
DIY Electronics Projects
If you're a hobbyist or tinkerer, your DIY test light can be an invaluable companion for electronics projects. Use it to verify connections, test components, and troubleshoot your circuits, ensuring that your projects function as intended.
Checking Battery Health
Beyond circuits, your test light can also help assess the health of batteries. By connecting the alligator clips to a battery, you can check its charge status. This feature is especially handy for testing the condition of automotive or backup batteries.
Customizing Your DIY Test Light
While the basic construction of your DIY test light has been covered, you can further tailor it to your specific needs. In this section, we'll explore customization options that can enhance the functionality and usability of your homemade circuit tester.
Voltage Rating Adjustment
Depending on your typical use cases, you can modify your DIY test light to handle different voltage ranges. This customization allows you to adapt your tool for various electrical systems, ensuring accuracy in your testing.
Adding Indicator Lights
Enhance the functionality of your DIY test light by incorporating indicator lights. These lights can indicate specific conditions, such as polarity or continuity, adding another layer of diagnostic capability to your tool.
Ergonomic Handle Design
Consider redesigning the handle of your test light for a more comfortable grip. Adding an ergonomic handle can reduce hand fatigue during prolonged use, making your DIY test light even more user-friendly.
Safety Tips for Working with Your DIY Test Light
Prioritizing safety is paramount when working with electricity. In this section, we will provide in-depth insights into safety precautions when utilizing your DIY test light. A thorough understanding of potential hazards and effective risk mitigation measures is essential to guarantee a safe and incident-free working environment.
Adequate Insulation
One of the fundamental safety precautions involves ensuring that all exposed wires, connections, and terminals on your DIY test light are sufficiently insulated. This insulation is crucial for preventing electrical shocks and short circuits. Regularly inspect these components for signs of wear or damage, and promptly replace any compromised insulation materials.
Know the Voltage Limitations
While your DIY test light is specifically designed for low-voltage applications, it is vital to be aware of its limitations. Avoid using this tool on high-voltage systems to prevent both potential damage to the test light itself and, more critically, to safeguard your personal safety. Be well-informed about the voltage range your DIY test light can handle and always adhere to these specifications.
Use Proper Personal Protective Equipment (PPE)
Incorporate personal protective equipment (PPE) into your safety routine. Depending on the specific task and potential risks, this may include safety goggles, insulated gloves, and appropriate clothing. Wearing the right PPE can provide an additional layer of protection against accidental contact with electrical components.
Conduct a Workspace Assessment
Before using your DIY test light, perform a thorough assessment of your workspace. Ensure it is free from clutter, moisture, and other potential hazards. Adequate lighting is essential to clearly see the components you are testing, reducing the likelihood of errors or accidents.
Turn Off Power Sources
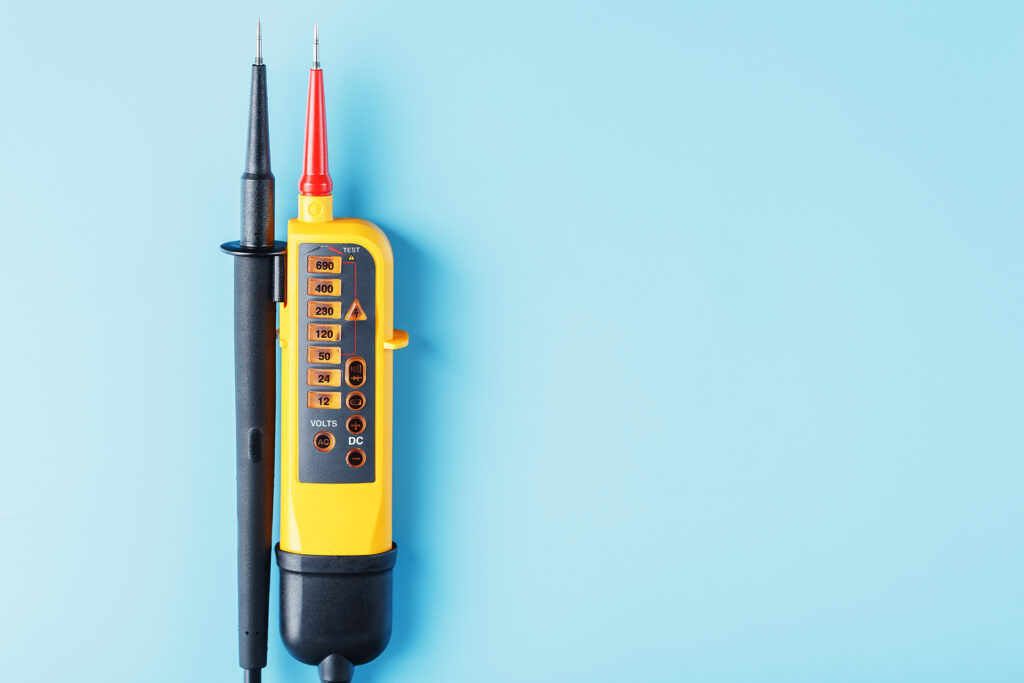
Before connecting your DIY test light to any electrical circuit, ensure that power sources are switched off. Verify that circuits are de-energized to eliminate the risk of electrical shocks. Use a reliable voltage detector to confirm that there is no live electricity present.
Handle the Test Light with Care
Exercise caution while handling your DIY test light. Avoid any unnecessary rough handling, drops, or impacts that could damage the tool or compromise its insulation. Treat it with care to maintain its functionality and safety.
Educate Yourself
Stay informed and educated about the specific electrical systems and circuits you are working on. Understanding the principles of electricity and the components you are testing will help you make informed decisions and troubleshoot effectively.
Troubleshooting Common Issues
Even with the best-made DIY test light, issues can occasionally arise. In this section, we'll provide guidance on troubleshooting common problems you may encounter with your circuit tester. Knowing how to diagnose and resolve these issues will keep your DIY test light in excellent working condition.
Dim or Flickering Bulb
If you notice that the bulb in your DIY test light is dim or flickering, it may be due to a loose connection or a dying battery. Check and secure all connections, and if needed, replace the battery with a fresh one.
No Illumination
If your test light fails to illuminate when you make contact with a live circuit, it could indicate a problem with the bulb, wiring, or connections. Inspect each component carefully and replace any damaged parts.
DIY Test Light FAQs
How to make an electric tester?
Making a basic electric tester at home is possible with a few simple steps. You'll need a small flashlight bulb, two short lengths of insulated wire, and a battery. Strip the ends of the wires, connect one wire to the base of the bulb and the other to the side, then securely attach the other ends to the battery terminals (positive to positive, negative to negative). When you touch the free ends of the wires to an electrical source, the bulb should light up if there's electricity flowing through it, indicating the presence of electrical current.
How do you use a multimeter instead of a test light?
To use a multimeter as a substitute for a test light, set the multimeter to the voltage testing mode. Connect the red probe (positive) to the point where you want to test for electricity and the black probe (negative) to a known ground or neutral point. If the multimeter displays a voltage reading (typically in volts AC or DC), then electricity is present at the test point. This method is more versatile than a test light, as it provides voltage values and can be used for a wider range of electrical testing tasks.
How do you test a light fixture for electricity?
To test a light fixture for electricity, start by turning off the power to the fixture at the circuit breaker or by unscrewing the bulb if it's a lamp. Then, use an electric tester, multimeter, or a test light. With the power off, touch one probe or wire of the tester to the hot (live) wire and the other to a neutral or ground wire inside the fixture. If the tester lights up or shows voltage, the fixture is still receiving electricity and may be faulty. Remember always to take necessary safety precautions and turn off the power before conducting such tests.
What is a test light made of?
A typical test light consists of a handle with a bulb and a long, insulated wire with a probe at one end. The handle contains the bulb socket and a sharp or pointed probe, often with an alligator clip for grounding. The bulb can be a simple incandescent or LED bulb. When the probe makes contact with a live electrical circuit, the bulb lights up, indicating the presence of electricity. Test lights are handy tools for quickly checking if an electrical circuit is live or if a specific wire is carrying current.
Conclusion
In conclusion, a DIY test light is a tool of utmost significance for anyone engaging in electrical projects, electronics experimentation, or automotive repairs. By diligently following this comprehensive step-by-step guide and employing readily available materials, you can embark on the gratifying journey of crafting your test light. This not only results in significant cost savings when compared to commercial alternatives but also empowers you with the knowledge and capability to troubleshoot electrical circuits effectively.
As you embark on your DIY test light journey, remember to prioritize safety at all times and perform regular maintenance to ensure that your handmade tool remains accurate and dependable.
With your newly constructed circuit tester at your disposal, you are now well-equipped to approach electrical projects with confidence, precision, and enhanced understanding
Sources
https://www.energy.gov/energysaver/do-it-yourself-home-energy-assessments
https://www.ncbi.nlm.nih.gov/pmc/articles/PMC3926176/
https://www.energystar.gov/products/lighting_fans/light_bulbs/learn_about_led_bulbs