How to Paint Furniture, Breathe Life Back into Old Dressers, Tables, and Even Sofas!
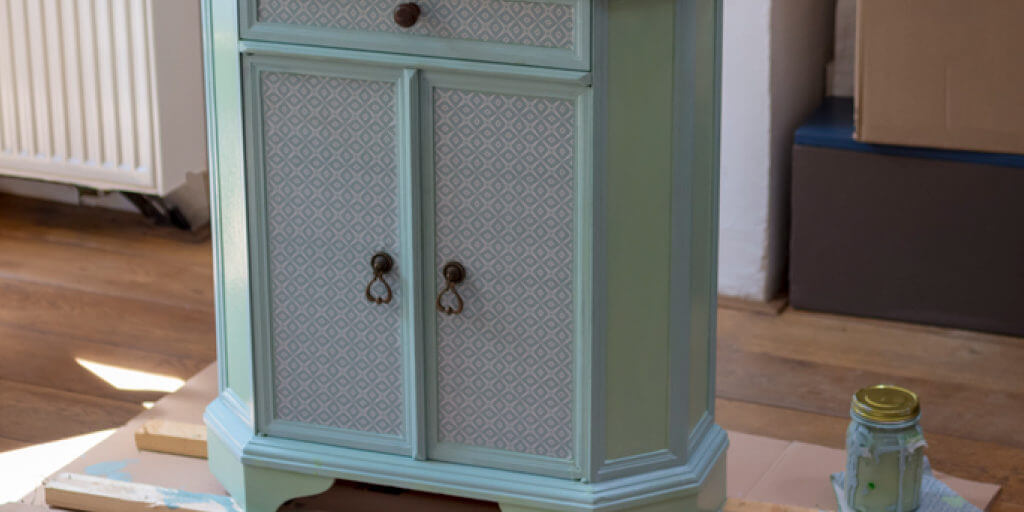
Does your home furniture look tired and worn out? Are you thinking of discarding that old dresser or table that no longer matches your décor? Wait! Before you decide to part ways with these pieces, consider painting them. A fresh coat of paint can breathe new life into your old furniture, saving you money while allowing you to personalize your space.
In this guide, we'll dive deep into how to paint furniture, turning your old dressers, tables, and even sofas into pieces that spark joy.
Why Paint Your Furniture?
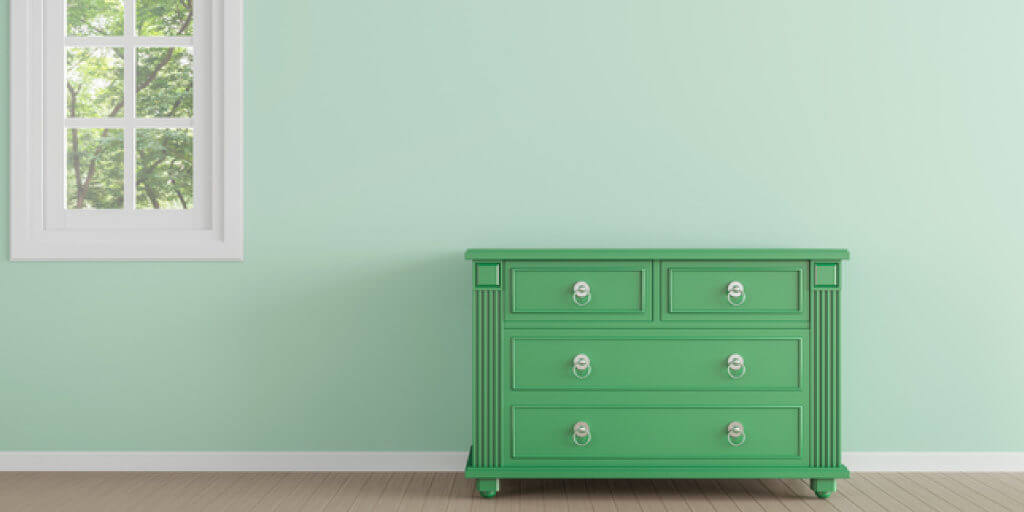
Painting your furniture offers a transformative and rejuvenating solution that holds the power to invigorate even the most lackluster pieces, weathered and worn by the passage of time. The allure lies in its ability to seamlessly breathe new life into the very essence of furniture that might have lost its luster or fallen out of sync with evolving interior design trends.
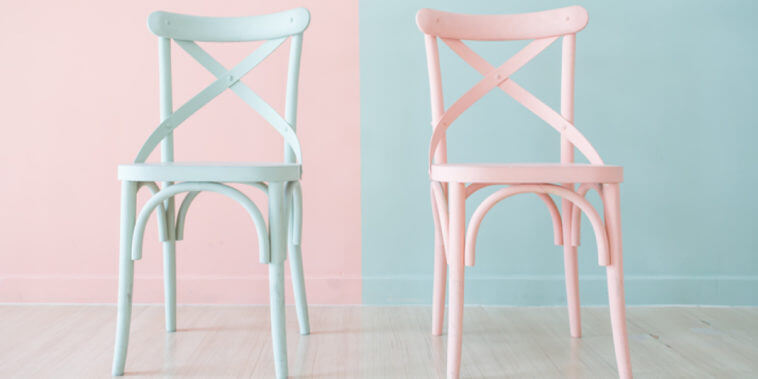
This versatile practice stands as a testament to resourcefulness, enabling a budget-friendly avenue to revitalize your living space without the need for investing in entirely new furnishings. By embracing this artistic endeavor, you open the door to a realm of endless creative prospects, allowing your imagination to flow onto the canvas of your furniture, each brushstroke a reflection of your unique style.
The process of painting furniture transcends mere decoration; it's a transformative art form that melds functionality with artistic expression, granting you the means to infuse your personal sanctuary with pieces that narrate stories of your individuality.
Tools and Materials Needed
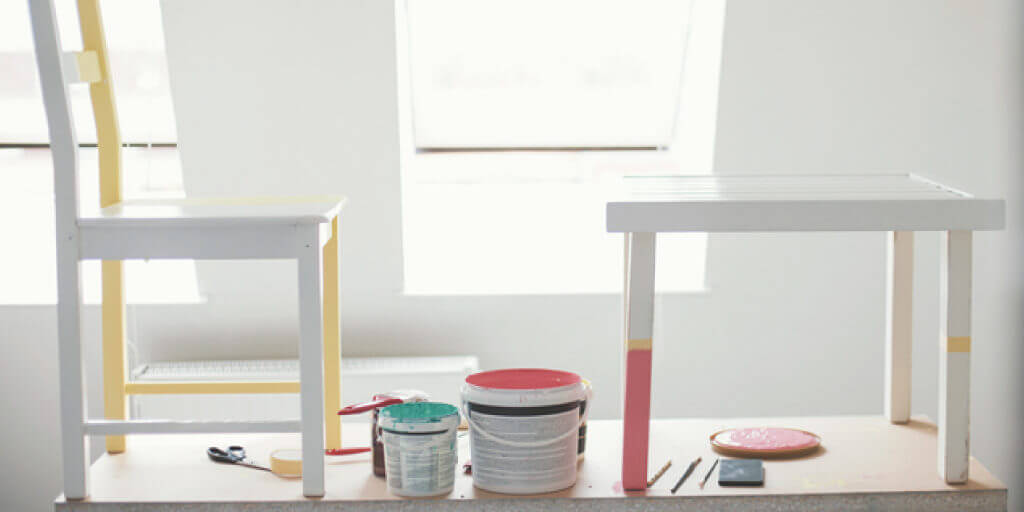
Before starting your painting project, gather all the necessary tools and materials:
- Furniture piece(s)
- Sandpaper (both coarse-grit and fine-grit)
- Tack cloth or damp rag
- Primer
- Paint (latex, chalk, or milk paint, depending on your preference)
- Paintbrushes or foam rollers
- Protective finishes (wax or polyurethane)
- Drop cloth or old sheets
- Screwdriver (for removing hardware)
- Fabric paint and textile medium (for upholstered furniture)
Preparing Your Furniture for Painting
Achieving a flawless paint job on your furniture necessitates meticulous preparation. Ensuring that each step is meticulously executed will set the foundation for a successful transformation. Embark on this journey by adhering to the following detailed instructions to prepare your furniture adequately:
Thoroughly Clean the Furniture
Before initiating any painting process, it's imperative to create a clean canvas. Begin by meticulously removing accumulated dust, dirt, and grime from the surface of the furniture. Employ a damp cloth to gently wipe down the entire piece. For more persistent stains that have taken residence, introduce a mild detergent into the equation. This will effectively combat the deeper-seated blemishes and ensure a pristine starting point for your project.
Disassemble Hardware
If your furniture is adorned with knobs, handles, hinges, or any other form of hardware, it's paramount to meticulously disassemble these components prior to painting. Armed with a screwdriver, delicately remove each piece of hardware, allowing the furniture's surface to lay bare. This not only guarantees a more uniform paint application but also prevents the hardware from being inadvertently coated with paint.
Surface Sanding – The Key to Adhesion
Transitioning to the next pivotal step, engage in surface sanding to establish the ideal groundwork for paint adhesion. Start by utilizing coarse-grit sandpaper, which will serve to effectively eliminate any existing finish and create a slightly roughened texture. This textural alteration facilitates optimal paint bonding. As you proceed, transition to fine-grit sandpaper, gently refining the surface for a smoother, more refined finish.
Eliminate Sanding Residue
In the wake of sanding, a residue of dust and particles is inevitable. To ensure the pristine condition of the surface, employ a tack cloth or a damp rag. Glide these tools across the furniture's entirety, adeptly capturing and eradicating any remnants of sanding-induced debris. By achieving this level of cleanliness, you guarantee a flawless application of paint, free from imperfections or disruptions caused by lingering particles.

Step-by-Step Guide to Painting Dressers and Tables
Revamping your dressers and tables through the art of painting involves a meticulous process that ensures an impeccable outcome. Follow this comprehensive guide to achieve a stunning transformation:
Step 1: Primer Application – Laying the Foundation
Begin your journey by applying a primer, a crucial preparatory step that facilitates paint adhesion and enhances the longevity of the final result. Opt for a paintbrush or a foam roller to skillfully administer an even coat of primer across the entire surface of your furniture. The primer serves as a bridge between the existing material and the forthcoming paint layers. It is essential to allow the primer to thoroughly dry in accordance with the manufacturer's guidelines, as this sets the stage for the subsequent stages.
Step 2: Embarking on the Painting Process
With a well-primed surface, you're now ready to immerse yourself in the painting process. Choose your desired paint and commence by applying it with precision. Whether utilizing a paintbrush or a roller, initiate the application from the highest point of the furniture and gradually work downwards. This approach effectively captures any potential drips, ensuring a seamless finish. To achieve a professional outcome, adopt the strategy of applying multiple thin coats of paint. Between each coat, allocate ample time for drying, allowing the paint to solidify before introducing subsequent layers. This patient layering technique contributes to a rich and lustrous finish.
Step 3: Shielding Your Masterpiece with a Protective Finish
Upon attaining the desired level of paint coverage and allowing the final coat to thoroughly dry, it's time to introduce a protective finish, the ultimate layer of safeguarding for your freshly painted furniture. This finish acts as a barrier against potential wear, tear, and environmental factors, prolonging the life of your rejuvenated masterpiece. Application methods may vary depending on the chosen finish, be it a varnish, polyurethane, or another suitable protective product. By carefully following the application instructions provided by the finish manufacturer, you ensure that your furniture is not only visually captivating but also fortified against the test of time.
Techniques for Painting Upholstered Sofas and Chairs
The transformative journey of painting upholstered sofas and chairs is a specialized endeavor that necessitates a distinct approach. Delve into the realm of furniture artistry with finesse by following these meticulous techniques:
Step 1: Upholstery Cleansing – Laying the Groundwork
Embark on your upholstered furniture painting journey by setting a pristine foundation. Begin with a thorough vacuuming of the furniture's surface, meticulously extracting any accumulated dust or debris that might compromise the paint adhesion. To address more tenacious challenges like stains, enlist the aid of a fabric cleaner. Apply this cleaner judiciously to ensure the removal of blemishes while safeguarding the integrity of the upholstery.
Step 2: Elevating Flexibility with Textile Medium
Introducing a textile medium into your paint concoction is a pivotal step that augments flexibility and minimizes the risk of unsightly cracks or peeling. This dynamic concoction of fabric paint and textile medium forms a symbiotic bond that allows the paint to adapt to the natural movement of the upholstery. This ensures that your artistic endeavor not only boasts visual brilliance but also endures the tests of time and use without compromising its luster.
Step 3: Precise Application of Paint
The application of paint to upholstered furniture demands a meticulous hand and a nuanced technique. Armed with a paintbrush, embark on the process of layering the paint-textile medium blend onto the upholstery. Employ gentle yet deliberate strokes to ensure even distribution and coverage. To attain a professional finish, adopt the strategy of applying multiple thin coats rather than a single heavy layer. Between each coat, exercise patience as you allow ample drying time. This incremental approach contributes to a harmonious fusion of paint and fabric, resulting in a cohesive and enduring masterpiece.
Step 4: Embrace Artistic Evolution
The evolution of your upholstered furniture from mundane to magnificent is a testament to your artistic prowess. Embrace the journey, adjusting your technique and approach as needed to achieve the desired outcome. Don't shy away from experimenting with different brush strokes, layering techniques, or color combinations. This endeavor is as much about embracing your creative intuition as it is about adhering to a structured technique.
Caring for Your Painted Furniture
Preserving the beauty and integrity of your painted furniture requires a dedicated approach to maintenance. By adopting a thoughtful care regimen, you can ensure that your cherished pieces remain stunning and vibrant for years to come. Here's an in-depth guide on how to care for your painted furniture:
1. Mindful Placement and Protection:
Safeguard your painted furniture by being mindful of what comes into direct contact with its surface. Steer clear of placing hot pots, pans, cups, or wet items directly onto the painted surface. These temperature extremes and moisture can potentially cause discoloration, warping, or damage to the paint and underlying material. Consider using coasters, placemats, or trivets to provide a protective barrier between the furniture and any items that might pose a risk.
2. Regular Dusting Ritual:
Dust accumulation is inevitable, but it can be managed with regular maintenance. Implement a routine dusting ritual using a soft, lint-free cloth. Gently wipe down the furniture's surface to remove any particles that might settle over time. Regular dusting not only maintains the aesthetic appeal but also prevents particles from embedding into the paint, which could lead to abrasions over time.
3. Gentle Cleaning Approach:
When it's time for a deeper clean, exercise caution to avoid compromising the paint. Begin by lightly dampening a clean, soft cloth. Make sure the cloth is only slightly damp and not wet, as excessive moisture can seep into the paint and potentially cause damage. Gently wipe down the furniture, paying careful attention to any stains or spots. If required, you can introduce a mild, non-abrasive detergent specifically designed for delicate surfaces. Always conduct a spot test in an inconspicuous area before applying any cleaning solution to the visible parts of the furniture.
The War Against Harsh Chemicals
Steer clear of harsh cleaning chemicals that can pose a threat to your painted furniture's longevity. Abrasive chemicals, solvents, and ammonia-based cleaners can strip away the protective layers of paint, leaving the surface vulnerable to damage. Opt for gentle, pH-neutral cleaners that are compatible with painted surfaces. Before introducing any new cleaning product, ensure it's compatible with painted finishes by reading manufacturer guidelines or consulting with professionals.
Sun Shielding and Environmental Considerations
Take into account the environment in which your painted furniture resides. Prolonged exposure to direct sunlight can lead to fading and deterioration of the paint. If possible, position your furniture away from direct sunlight or use window treatments to mitigate UV exposure. Additionally, consider the humidity levels in your space. Extremes in humidity can impact the stability of the underlying material, potentially affecting the paint's adhesion and appearance.
Tips and Tricks for the Perfect Paint Job
Embarking on a furniture painting endeavor? Delve into these comprehensive tips and tricks that are guaranteed to elevate your project to a triumphant accomplishment:
Optimal Workspace Selection
To set the stage for a flawless paint job, meticulously choose a workspace that boasts excellent ventilation and ample illumination. Adequate ventilation not only expedites the drying process but also ensures a healthier environment for you. Bright lighting, on the other hand, prevents shadows and facilitates accurate color application.
Meticulous Surface Preparation
Elevate your painting game by dedicating time to a crucial preparatory step – light sanding between paint coats. This intricate procedure bestows your furniture with a luxuriously smooth finish that beckons both the eye and touch. The act of sanding mitigates imperfections, creating an impeccable canvas for each subsequent layer of paint.
Precision with Painter's Tape
Unleash your artistic inclinations and safeguard the areas you wish to remain untouched using the artist's indispensable tool – painter's tape. This humble accessory empowers you to craft intricate patterns or demarcate specific sections that demand protection from your paintbrush's creative fervor. Impeccable lines and boundaries are effortlessly achieved, allowing your vision to materialize with precision.

Choosing the Right Paint for Your Furniture
The type of paint you choose can greatly affect the outcome of your furniture transformation. Here are some popular options:
Latex Paint
Latex paint is a popular choice for painting furniture. It's available in a wide range of colors and finishes, and it's known for its durability.
Chalk Paint
Chalk paint gives your furniture a vintage, shabby chic look. It's easy to use as it requires little to no surface preparation and adheres to most surfaces.
Milk Paint
Milk paint is an eco-friendly option that gives your furniture a distressed look. It's great for creating a farmhouse-style appearance.
Adding a Distressed Finish to Your Furniture
A distressed finish can give your painted furniture a rustic, vintage look. Here's how to achieve it:
Step 1: Apply a Base Coat
Apply a base coat of a contrasting color to your furniture. This color will show through the top coat when you sand the piece to create a distressed effect.
Step 2: Apply a Top Coat
After the base coat is dry, apply a top coat of your chosen color.
Step 3: Distress the Furniture
Once the top coat is dry, use sandpaper to strategically remove some of the paint, revealing the base coat beneath.

Enhancing Your Furniture with Decorative Techniques
To add extra flair to your painted furniture, consider using one or more of these decorative techniques:
Stenciling
Stencils can be used to add patterns or designs to your furniture. Just place the stencil on your piece, apply paint over it, then carefully remove the stencil.
Decoupage
Decoupage involves applying decorative paper cutouts to your furniture using a special glue. It's a great way to add intricate designs or images to your pieces.
Gold Leaf
Gold leaf can add a touch of luxury to your furniture. Simply apply adhesive to your piece, place the gold leaf over it, then smooth it out and seal it with a top coat.
Safety Considerations When Painting Furniture
When undertaking any DIY project, safety should be a top priority. Here are a few safety tips for your furniture painting project:
- Always work in a well-ventilated area to avoid inhaling paint fumes.
- Wear protective gear, like gloves and a mask.
- Keep paints and solvents out of reach of children and pets.
Conclusion
As I dive into the world of painting furniture, I realize it's more than just a DIY project – it's a journey of bringing personal stories and creativity to life. Watching my old dressers, tables, and sofas transform with each brushstroke fills me with a sense of pride and connection. The careful preparation, the anticipation of each layer drying, and the delicate details become a reflection of my style and craftsmanship. This process is a way of not only reviving furniture but also infusing my living space with memories and a piece of myself.


