DIY Plumbing
As a homeowner, I've encountered my fair share of plumbing problems over the years, from pesky dripping faucets to stubbornly clogged drains. However, I've learned that many of these common issues can actually be resolved with some basic DIY plumbing know-how.
It's quite empowering to tackle these nuisances on my own before resorting to calling in a professional. In this comprehensive guide, I'll share some of the most frequent plumbing problems I've faced and the steps I've taken to address them, offering practical tips for fellow homeowners looking to save time and money by taking matters into their own hands.
Exploring the World of DIY Plumbing: A Beginner's Guide
The world of plumbing can appear daunting, but don't be discouraged – there are plenty of DIY plumbing tasks that are accessible to beginners. Armed with the appropriate tools and comprehensive instructions, embarking on DIY plumbing projects can not only save you valuable time and money but also empower you to take control of your home's plumbing needs. In this introductory guide, we'll delve into the basics of DIY plumbing, providing you with the knowledge and confidence to tackle common plumbing tasks with ease.
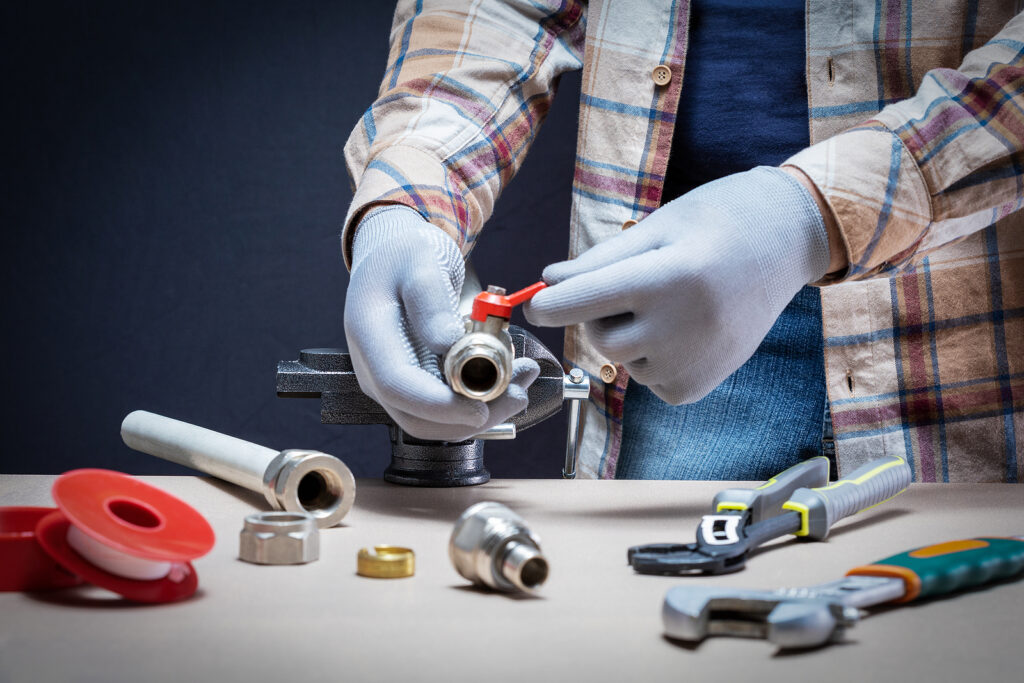
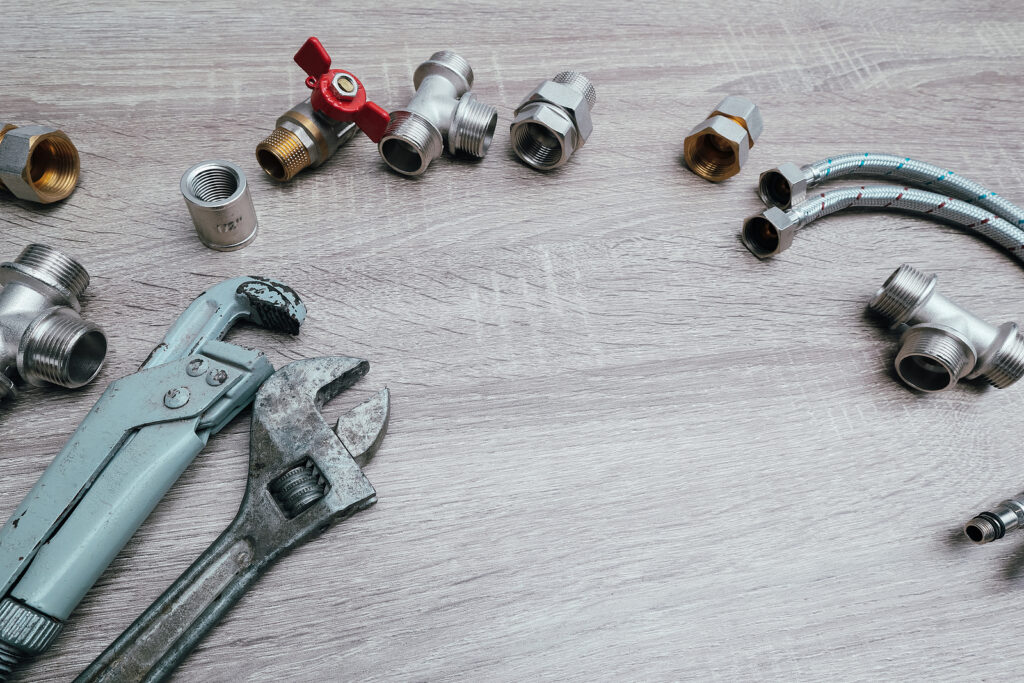
Tools Every DIY Plumber Needs
In the world of DIY plumbing, having the appropriate tools at your disposal is the foundation of successful repairs and installations. To help you prepare for your plumbing endeavors, here's an informative list of indispensable tools every DIY plumber should possess:
- Adjustable Wrench: An adjustable wrench is a versatile tool that allows you to tighten or loosen connections with ease. It's crucial for securing various plumbing fixtures and fittings.
- Plunger: A plunger is a non-negotiable item in your plumbing toolkit. It's your go-to tool for swiftly unclogging toilets, sinks, and drains, making it an essential for every household.
- Pipe Wrench: When dealing with larger pipes and fittings, a pipe wrench becomes invaluable. Its unique design provides a secure grip, allowing you to manipulate and tighten pipes effectively.
- Plumber's Tape (Teflon Tape): This specialized tape is indispensable for sealing threaded joints in pipes and fittings, preventing leaks in critical areas of your plumbing system.
- Plumber's Putty: Plumber's putty is a sealing compound that plays a crucial role in waterproofing and sealing areas around faucets, drains, and fixtures, ensuring they remain leak-free.
- Bucket: Never underestimate the utility of a sturdy bucket. It's not only handy for catching water during plumbing repairs but also for organizing your tools and minimizing mess.
- Screwdriver Set: A comprehensive set of screwdrivers, including both flathead and Phillips-head varieties, is indispensable for a wide range of tasks. From removing access panels to tightening screws on fixtures, these tools provide the versatility needed in the plumbing world.
Dripping Faucets: Causes and Fixes
A persistent dripping faucet can be an annoying and wasteful issue in any home. Understanding both the potential causes and the different types of faucets is key to successfully addressing this common DIY plumbing problem. Here's a comprehensive guide to help you diagnose and fix a dripping faucet:
Step 1: Identify the Faucet Type
Faucets come in four primary types: ball, cartridge, ceramic disk, and compression. Knowing the specific type of faucet you have is essential for accurate troubleshooting. Each type has its unique design and may require different approaches to repair.
Step 2: Turn Off the Water Supply
Before diving into any faucet repair, it's crucial to shut off the water supply. Typically, you can find the shut-off valves under the sink connected to the hot and cold water lines. Turn them clockwise to close the valves and cut off the water flow to the faucet.
Step 3: Dismantle the Faucet
Carefully disassemble the faucet to access its internal components. The method for dismantling varies depending on the faucet type. As you remove parts, take note of their arrangement and the order in which they were disassembled. This will help during reassembly.
Step 4: Inspect the O-ring and Washer
A common cause of faucet drips is worn-out O-rings or washers. Examine these components closely for signs of wear, tears, or deterioration. If you notice any damage, it's advisable to replace them. Be sure to use parts that are compatible with your specific faucet type.
Step 5: Reassemble the Faucet
Once you've replaced any faulty components, carefully reassemble the faucet in the reverse order of how you took it apart. Use your earlier notes to guide you in placing the parts correctly.
Step 6: Turn On the Water Supply
With the faucet reassembled, turn the water supply back on by rotating the shut-off valves counterclockwise. Gradually open the faucet to check if the dripping has ceased. If you've successfully replaced worn parts, the leak should be resolved.
Unclogging Drains: Step-by-Step Guide
Dealing with a blocked drain can be a frustrating experience. Whether it's a slow-moving sink or a completely clogged pipe, having a well-rounded approach to unclogging drains is essential. Here's a detailed step-by-step guide to help you effectively address this common plumbing issue:
Step 1: Use Boiling Water
Start with the simplest method first. Boiling water can often dislodge minor blockages caused by grease, soap scum, or organic matter. Carefully pour a kettle or pot of boiling water directly down the drain. The hot water can melt away and flush out the obstruction.
Step 2: Employ Natural Solutions
For stubborn clogs, natural solutions can be highly effective. Begin by sprinkling a generous amount of baking soda into the drain. Follow this with a cup of vinegar. The chemical reaction between the two will create a fizzing action that can break down many types of blockages. Allow it to sit for about 15-30 minutes before rinsing with hot water.
Step 3: Use a Plunger
A plunger is a powerful tool for dislodging stubborn clogs. Ensure you have a good seal by covering the drain completely with the plunger. Then, plunge vigorously up and down for 15-20 seconds. The pressure created by the plunger can force the clog to move, allowing water to flow freely again.
Step 4: Consider Chemical Cleaners (As a Last Resort)
Chemical drain cleaners should be your last resort due to their potential to damage pipes and harm the environment. If previous methods have failed and you opt for a chemical solution, always follow the manufacturer's instructions meticulously. Wear gloves and take safety precautions seriously. Use these chemicals sparingly, and only when other methods have proven ineffective.
Step 5: Seek Professional Assistance
If none of the above steps resolve the issue, or if you suspect a more serious plumbing problem, it's advisable to contact a professional plumber. They have the expertise and equipment to identify and address complex blockages or underlying issues within your plumbing system.
Running Toilets: Finding the Culprit
Dealing with a persistently running toilet not only leads to water wastage but also results in higher utility bills. To effectively diagnose and resolve this problem, consider the following steps:
- Examine the Flapper: In many cases, a worn-out or damaged flapper is the main culprit behind a running toilet. Inspect the flapper carefully and replace it if you find that it no longer creates a secure and watertight seal when the toilet flushes. A flapper that doesn't seal properly allows water to continuously flow into the bowl, causing the toilet to run.
- Inspect the Fill Valve: The fill valve plays a crucial role in regulating the water level in the tank after each flush. If it's not functioning correctly, it can result in a running toilet. Check the fill valve for any signs of damage, corrosion, or malfunction. If you notice any issues, it's essential to replace the fill valve to ensure it operates properly and shuts off the water flow at the appropriate level.
- Float Adjustments: Another potential source of a running toilet is an improperly adjusted float. The float controls the water level in the tank, and if it's set too high, it can lead to a constant flow of water into the bowl. Conversely, if it's set too low, it may not allow the tank to fill adequately after flushing. Make adjustments to the float's position to ensure it effectively controls the water level and stops the toilet from running continuously.
Leaky Pipes: Detection and Repair
Dealing with leaky pipes is crucial to prevent potential water damage that can result in costly repairs. Here's a comprehensive guide on how to manage and resolve pipe leaks effectively:
Detecting the Leak
Identifying the exact location of a leak can be challenging since water often travels along the path of least resistance. While a visible puddle may indicate a leak, it's essential to trace the issue back to its source. Look for signs of water stains, dampness, or mold growth on walls, ceilings, or floors, as these can be indicators of hidden leaks. Investigate areas where you suspect the leak may be originating, even if they are not directly beneath the visible signs of water damage.
Turning Off the Water Supply
Safety should be your first priority when addressing a leak. Before attempting any repairs, always turn off the water supply to the affected area or the entire property if necessary. This action will prevent further water from flowing into the damaged pipe, minimizing the potential for additional damage.
Patching the Leak
For small, accessible leaks, you can apply temporary patches or plumbing tape as an immediate fix. These solutions can help stop or reduce the leak until you can complete a more permanent repair. However, keep in mind that patches and tape are not long-term solutions, and they may need to be replaced or supplemented with more extensive repairs.
Replacing the Section
In cases of larger or more serious pipe issues, such as extensive corrosion or multiple leaks along a section of pipe, you may need to replace that portion of the plumbing system. This can involve cutting out the damaged section and installing a new pipe. Depending on the complexity of the job, you may want to enlist the help of a professional plumber to ensure a proper and durable repair.
Tips to Prevent Common Plumbing Problems
Taking preemptive steps to maintain your plumbing system can help you avoid costly repairs and inconveniences down the road. Here are some essential tips to prevent common plumbing issues, along with additional information:
Regularly Check for Leaks
Frequent inspections of your plumbing system are essential for early leak detection. Keep an eye out for any signs of water stains, drips, or dampness around pipes, faucets, and fixtures. Additionally, periodically examine exposed pipes in basements, crawl spaces, and under sinks for any visible leaks. Addressing leaks promptly can prevent them from escalating into more significant issues, such as water damage or mold growth.
Avoid Dumping Grease in Sinks
Pouring cooking grease or oil down kitchen sinks may seem convenient, but it can lead to serious blockages in your plumbing system. As grease cools and solidifies, it can adhere to the interior of pipes, causing slow drains or complete blockages. Instead, collect grease in a container and dispose of it in the trash to keep your drains flowing smoothly.
Use Drain Strainers
Installing drain strainers in your sinks and shower drains is an effective way to catch debris before it enters your plumbing system. These simple devices can prevent hair, soap scum, food particles, and other materials from causing clogs in your pipes. Regularly clean and empty the strainers to maintain their effectiveness in preventing blockages.
Monitor Water Pressure
High water pressure can strain your plumbing system, leading to leaks, burst pipes, and other issues. Use a water pressure gauge to check the pressure in your home periodically. If it consistently exceeds recommended levels (usually around 40-60 psi), consider installing a pressure regulator to safeguard your plumbing.
Insulate Exposed Pipes
In colder climates, insulating exposed pipes can prevent them from freezing and bursting during winter. Pipe insulation is a cost-effective way to protect your plumbing and avoid the inconvenience and expense of repairing frozen or burst pipes.
Educate Household Members
Ensure that everyone in your household is aware of proper plumbing practices. Teach them not to flush non-flushable items down toilets, such as sanitary products, wipes, or cotton balls, as these can lead to blockages. Also, emphasize the importance of reporting any plumbing issues promptly to address them before they worsen.
When to Call a Pro
While tackling minor plumbing issues on your own can be rewarding, there are certain situations where the expertise of a professional plumber is indispensable. Here's a guide to help you recognize when it's time to call in the pros, along with additional information:
- Major Pipe Leaks: When you encounter a significant pipe leak, it's essential to reach out to a professional plumber immediately. Major leaks, whether from a burst pipe or a severely damaged one, have the potential to cause extensive water damage to your home. A skilled plumber can quickly assess the situation, stop the leak, and perform the necessary repairs to prevent further harm to your property.
- Persistent Clogs: If you've made multiple attempts to clear a stubborn clog using DIY methods like plungers, drain snakes, or chemical cleaners without success, it's time to consult a plumber. Persistent clogs may indicate more complex blockages deep within your plumbing system, such as tree root intrusions or severe pipe damage. A professional plumber has the tools and expertise to diagnose and resolve these challenging blockages efficiently.
- Low Water Pressure: Consistently low water pressure throughout your home can be a sign of underlying plumbing issues. While it may be a simple problem like a partially closed valve or mineral buildup in the pipes, it can also indicate more severe problems, such as pipe corrosion or water supply line issues. A professional plumber can assess the situation, identify the root cause, and implement the necessary repairs or replacements to restore proper water pressure.
- Gas Line Issues: Dealing with gas lines requires specialized knowledge and safety precautions. If you suspect a gas leak, smell gas, or experience issues with your gas appliances, do not attempt any repairs yourself. Contact a licensed plumber or a qualified gas technician immediately to address gas-related problems safely and effectively.
- Water Heater Troubles: Water heaters are complex appliances that require precise installation and maintenance. If you encounter issues like inconsistent hot water, strange noises, or water heater leaks, it's advisable to consult a professional plumber who specializes in water heater repair and installation. Attempting to repair or replace a water heater without the necessary expertise can be dangerous and lead to further problems.
- Plumbing Code Compliance: When undertaking extensive plumbing renovations or installations, it's essential to ensure that your work complies with local plumbing codes and regulations. A professional plumber is well-versed in these codes and can ensure that your plumbing projects meet all necessary requirements, helping you avoid potential legal and safety issues in the future.
Conclusion
As a homeowner, I've found that embracing DIY plumbing knowledge has been incredibly empowering and financially beneficial. It has allowed me to effectively tackle common plumbing issues like dripping faucets, clogged drains, and running toilets. These experiences have not only saved me time and money but have also instilled in me a sense of control over the maintenance of my home. I've learned valuable problem-solving skills and the importance of preventive measures, such as regular inspections and proper maintenance.
However, I also recognize the importance of knowing when to seek professional help, especially for major plumbing emergencies or complex issues. While DIY plumbing has enriched my homeowner experience, safety and the long-term well-being of my home always take precedence. Overall, the journey of mastering DIY plumbing has been a rewarding and evolving aspect of homeownership, contributing to both my practical skills and my connection with my home.
Sources
https://www.eastleigh.ac.uk/acl/diy/course-listing/plumbing-for-beginners-part-time-leisure/