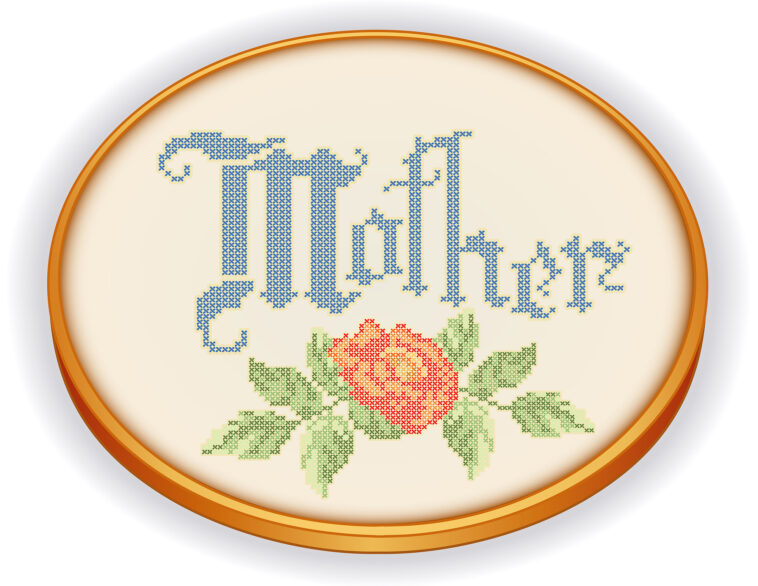
DIY Choose Cross Stitch
Cross stitching holds a special place in my heart, offering a timeless and soothing escape into the world of creativity. There's an undeniable charm in carefully crafting each beautiful stitch, one by one. While I've always enjoyed working with existing patterns, there's a certain magic in the art of designing and personalizing my cross-stitch creations.
Join me as we delve deep into the captivating realm of DIY is cross stitch pattern customization. Whether you're a seasoned stitcher or a newcomer eager to explore your creative side, together, we'll explore the rich tapestry of knowledge and tools needed to craft one-of-a-kind masterpieces. Let's embark on this enchanting journey of self-expression and creativity!
Understanding Cross Stitch Basics
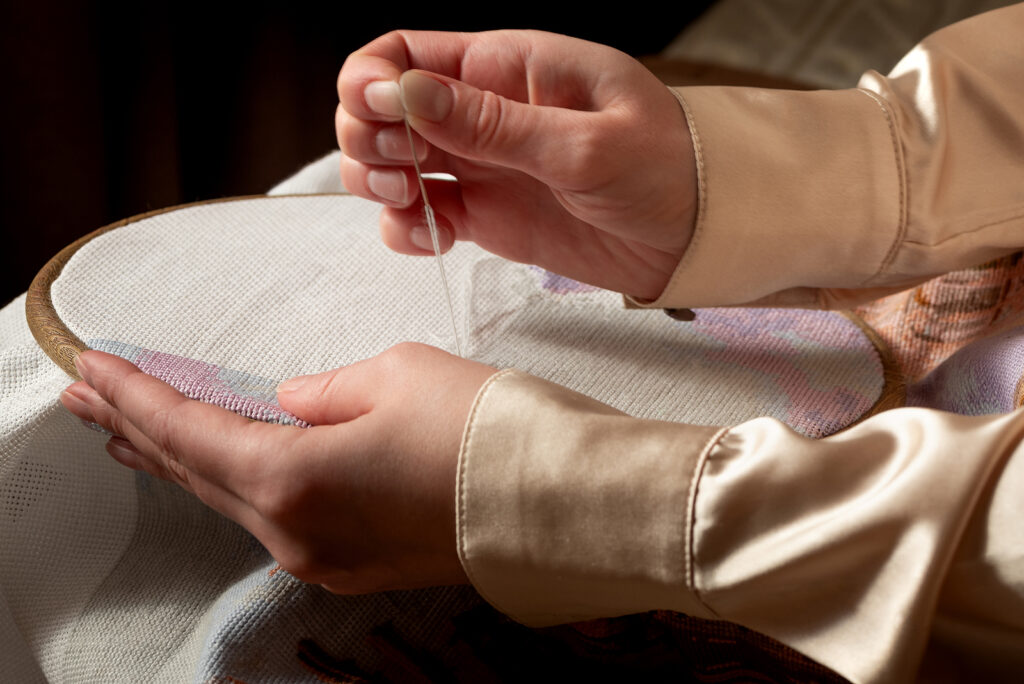
Before we dive into the art of customizing cross stitch patterns, it's crucial to grasp the fundamentals of cross stitching. Cross stitch is a form of embroidery where X-shaped stitches are used to create a pattern on fabric. It's typically done on Aida fabric, which is woven with evenly spaced holes, making it easier to count and stitch.
To truly appreciate the world of customization, let's delve deeper into the following aspects of cross stitch:
- Fabric Count: The fabric count refers to the number of holes or squares per inch on the fabric. Common counts include 14, 16, and 18. The higher the count, the smaller and more intricate the stitches, which can affect the overall appearance of your custom pattern.
- Threads: Cross stitch is typically done with embroidery floss, which consists of six strands that can be separated and used in different combinations. Understanding how to work with different thread counts can open up exciting possibilities for customization.
- Needles: Cross stitch needles have a blunt end to avoid splitting the fabric threads. The choice of needle size is pivotal and depends on your fabric count, as well as the thickness of the embroidery floss.
- Patterns: Cross stitch patterns are represented as grids, with each square on the grid corresponding to a stitch. Familiarizing yourself with reading and interpreting patterns is essential for customizing and creating your designs.
- Backstitch: While cross stitch forms the basis of your design, backstitch is a technique used for outlining and adding finer details to your custom cross stitch pattern. This technique can give your creation a polished and professional look.
Tools and Materials for Customization
As we delve deeper into the world of cross stitch, it becomes evident that customization is a fascinating aspect of this craft. To embark on your journey of creating personalized cross stitch patterns, it's crucial to be equipped with the right tools and materials. These elements will serve as the building blocks of your creative endeavors:
Aida Fabric Selection
The choice of Aida fabric is pivotal in customizing your cross stitch projects. It's not just about picking any fabric; you'll need to consider the fabric count. The count determines the size of each stitch and should align with the intricacy of your design. Additionally, the color of the fabric matters; lighter shades tend to make stitching easier and enhance the visibility of your work.
Embroidery Floss Palette
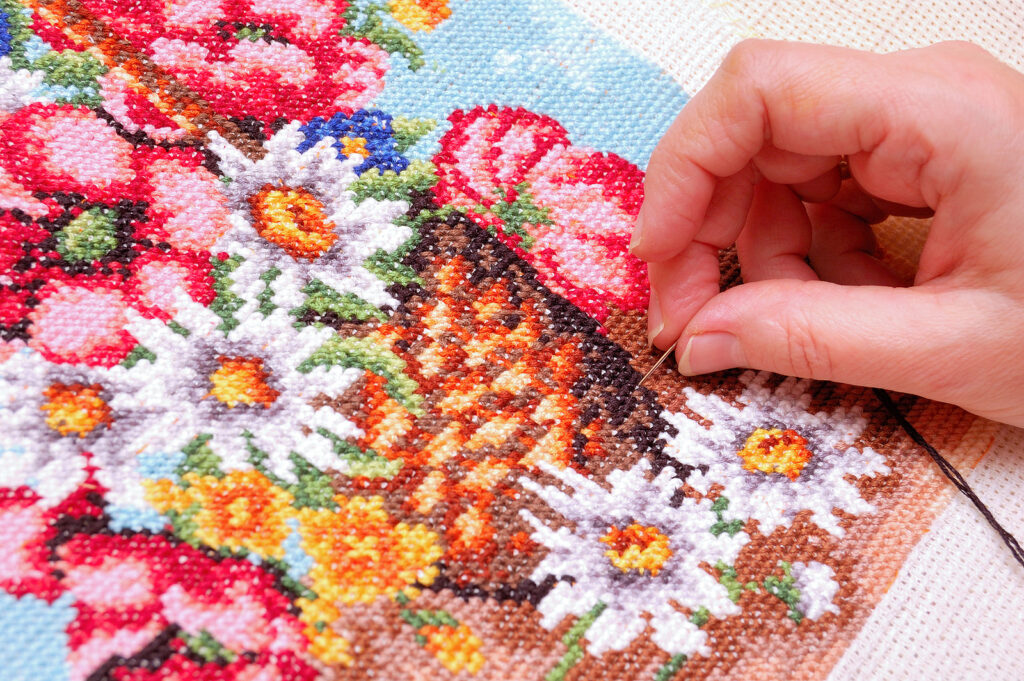
The selection of embroidery floss colors is a creative playground for customizing your cross stitch patterns. Here, you have the artistic freedom to pick colors that perfectly match your design. Moreover, experimenting with color combinations can help you achieve shading and depth in your artwork.
Needle Size Matters
Cross stitch needles come in various sizes to accommodate different fabric counts. Using the right needle size is essential to ensure smooth and effortless stitching without damaging the fabric or distorting your design.
Embroidery Hoop or Frame
Maintain consistent tension and keep your fabric wrinkle-free by using an embroidery hoop or frame. This tool is indispensable for achieving a professional finish in your customized cross stitch projects.
Precision Scissors
Sharp, precision embroidery scissors are a must-have for cleanly cutting threads. Accurate cutting ensures that your stitches are neat and tidy, enhancing the overall quality of your work stamped strands canvas with printing ct countedct counted strands no printed.
Pattern Design
Every customization project starts with a pattern as the canvas for your creativity. You can choose to modify an existing pattern or create your design from scratch, depending on your artistic vision.
Graph Paper and Pencil
When designing your custom patterns or making adjustments to existing ones, graph paper and a pencil are valuable tools. They allow you to sketch, experiment, and fine-tune your designs with ease.
Transfer Methods
Transferring your design onto the fabric is a crucial step. Depending on your design and preferences, you may require various transfer methods. These can include washable pens for freehand drawing, iron-on transfers for precision, or tracing paper for intricate patterns. Select the method that best suits your project's needs.
Check out our post on DIY Temporary Tattoos
Finding or Creating Your Design
The heart of customization lies in the design. You can either find existing patterns to modify or create your own from scratch. Let's explore these two approaches in greater detail:
Modifying Existing Patterns:
- Online Pattern Databases: Online platforms like Etsy, Pinterest, and Cross Stitch Pattern Central offer an extensive collection of cross stitch patterns. When searching for a pattern, aim to find one that not only inspires you but also serves as a foundation for your creative modifications. The vast array of patterns available online ensures that you'll discover something that sparks your imagination.
- Pattern Books: Your local craft store or library can be a treasure trove of pattern books. These books often include a wide variety of designs that you can customize. They serve as valuable resources for those looking to embark on customization with the support of established patterns.
- Digital Patterns: In the age of technology, cross stitch software is available that allows you to edit and modify existing patterns digitally. This approach offers the advantage of making precise adjustments and experimenting with design changes before you start stitching.
Creating Your Design:
- Graph Paper: Starting with a blank sheet of graph paper provides a hands-on approach to design creation. Each square on the graph paper represents a stitch, enabling you to sketch your design meticulously. Keep in mind the fabric count you plan to use, as this will impact the size and intricacy of your custom pattern.
- Cross Stitch Software: For those who prefer a digital approach, cross stitch design software is a game-changer. These user-friendly tools empower you to create intricate and highly customized patterns. Whether you're crafting a pattern from scratch or modifying an existing one, cross stitch software offers versatility and precision.
- Photograph to Pattern: Some advanced software can convert your personal photos into cross stitch patterns. This innovative feature allows you to transform cherished memories into custom designs. Whether it's a beloved family portrait or a breathtaking landscape, the possibilities are endless.
Customization is all about making your mark on cross stitch patterns, transforming them into unique and personal creations that reflect your artistic vision and preferences. As you embark on your journey, take time to explore and experiment with different design elements, from color choices to intricate details.
Check out our post on Free DIY Plans
Transferring Your Design to Fabric
Once you've meticulously crafted your design, the next crucial step is to transfer it onto your Aida fabric. There are several methods at your disposal, each offering its own advantages and intricacies. Let's delve into these methods in more detail:
Grid Method for Precision
The grid method is a systematic approach to transferring your design onto fabric with utmost precision. To employ this technique, you draw a grid on your design and create a corresponding grid on your fabric. By breaking down your design into squares, you can transfer it square by square, ensuring perfect accuracy and alignment. Many experienced stitchers favor this method for its unmatched precision and control.
Light Table or Window for Transparency
Another traditional method involves utilizing a light table or even a bright window to streamline the transfer process. Here's how it works: tape your design to the surface of the light table or window and place your fabric on top of it. The light shining through the design allows you to see it through the fabric, making it a breeze to trace over the lines. This method is particularly useful when working with intricate designs and intricate details.
Iron-On Transfers for Convenience
Some designs come with pre-made iron-on transfers, simplifying the transfer process significantly. These transfers can be directly applied to your fabric and secured with a hot iron. As you press the iron onto the transfer, the design adheres to the fabric, ready for you to start stitching. This method is not only convenient but also minimizes the chances of making errors during the transfer process, making it ideal for beginners and those seeking efficiency.
Water-Soluble Pens for Freehand Expression
Water-soluble pens are valuable tools for artists looking to directly draw their designs onto the fabric. These pens allow you to create temporary marks that can be easily removed with a bit of water. This method comes in handy for freehand or improvised designs where you want the flexibility to make changes or add intricate details as you go along. Water-soluble pens provide you with creative freedom without the commitment of permanent markings.
Selecting the Right Colors
Choosing the right colors is a pivotal aspect of customizing your cross stitch pattern. Your color palette can make or break the visual impact of your design. Here are some comprehensive tips for selecting the perfect colors:
- Color Wheel: Understanding the color wheel and color theory is essential for creating harmonious and visually appealing designs. The color wheel comprises primary, secondary, and tertiary colors, and it provides insight into various color harmonies such as complementary, analogous, and triadic color schemes. By applying color theory, you can craft designs that evoke specific emotions and aesthetics.
- Sample Swatches: Before committing to a particular color scheme, it's advisable to create small swatches or test stitches. These swatches allow you to visualize how the colors interact on your fabric and make any necessary adjustments to achieve the desired effect. Experimentation is key to finding the perfect combination.
- Shading and Depth: Creating depth and dimension in your design is a hallmark of customization. This can be achieved by selecting different shades of a color or utilizing blending threads. By incorporating shading techniques, you can give your pattern a lifelike and three-dimensional appearance.
- Contrast: A well-balanced contrast between colors is essential for ensuring that your design is visually distinct and readable. Adequate contrast enhances the clarity of your pattern and prevents it from appearing muddy or indistinct. Pay close attention to contrast when working on intricate designs.
- Experiment: Don't be afraid to push the boundaries of color experimentation. The beauty of customization lies in your ability to make unique choices. Be open to unconventional color combinations and innovative approaches to color usage in your cross stitch patterns.
Tips for Stitching Your Custom Design
With your design transferred onto your fabric and your color palette selected, you're now ready to start stitching your custom cross stitch pattern. Stitching requires attention to detail and patience. Here are some comprehensive tips to guide you through the process:
Start in the Center
Begin your stitching journey from the center of your design. This ensures that your pattern is centered on your fabric and helps maintain symmetry as you progress. Starting from the center also facilitates easier counting and positioning.
Count Carefully
Counting is a fundamental aspect of cross stitching. Utilize the holes in your Aida fabric to count stitches accurately. Double-check your counts to minimize the risk of errors and ensure that your design aligns with your original vision.
Parking Threads
For patterns with large areas of a single color, consider employing the “parking” technique. This method involves leaving threads on the back of the fabric and picking them up when needed. Parking threads can streamline your stitching process, particularly for intricate designs.
Maintain Tension
Consistency in stitch tension is essential for achieving a polished and uniform appearance in your custom cross stitch pattern. Avoid pulling the thread too tightly, as it can distort the fabric, and refrain from leaving it too loose, as it may create uneven stitches.
Regular Breaks
Stitching can be a time-consuming process, and it's essential to prioritize your comfort. Take regular breaks to rest your eyes and hands, especially during extended stitching sessions. This ensures that you maintain focus and precision throughout your stitching journey.
Check out our post on DIY Repair Shop
Finishing and Displaying Your Custom Cross Stitch
The completion of your custom cross stitch pattern marks a significant milestone in your creative journey, but the journey is far from over. To truly showcase your masterpiece and ensure its longevity, you must navigate the finishing and display stages with care. Here's an in-depth exploration of how to accomplish these essential steps:
Trim Excess Fabric
After meticulously stitching your design, the first task is to delicately trim the excess fabric that surrounds it. Leaving a border of a few inches around your design is essential to provide ample space for framing and finishing. This step not only enhances the visual presentation but also facilitates the framing process.
Framing
Selecting the right frame for your custom cross stitch is a pivotal decision in enhancing its overall visual impact. Your choice of frame should harmonize with your design and align with your preferred aesthetic. Additionally, consider incorporating acid-free matting within the frame to protect your work. Acid-free matting helps prevent contact with the glass, which can lead to moisture damage over time, ensuring your cross stitch remains in pristine condition for years to come.
Backing and Sealing
To safeguard your meticulously stitched masterpiece, employ acid-free foam core or matboard as backing when framing. The use of acid-free materials is crucial to prevent potential damage to the fabric and threads over time. Furthermore, secure the back of the frame with acid-free tape, ensuring a lasting barrier against external elements and maintaining the integrity of your artwork.
Hanging and Display Options
With your custom cross stitch beautifully framed and protected, you have a multitude of display options at your disposal. You can choose to hang it on a wall, allowing your work to take center stage in your living space or workspace. Alternatively, consider displaying it on a tabletop easel, creating a charming and eye-catching decorative element. For those seeking more versatility, you can transform your cross stitch into a decorative pillow or framed cushion, adding both comfort and style to your home. The choice of display method ultimately depends on your creative vision and where you'd like to exhibit your custom piece, ensuring that it harmonizes seamlessly with your living environment.
Conclusion
In conclusion, customizing cross stitch patterns is not just a hobby; it's a deeply personal and fulfilling journey of self-expression. Whether you're a seasoned stitcher or just starting out, this guide has provided you with the knowledge and tools to bring your artistic vision to life. Each stitch is like a brushstroke on your canvas, reflecting your unique tastes, preferences, and creativity.
As you continue on this creative path, remember that the world of cross stitch is boundless, offering endless possibilities for your next project. Connecting with fellow stitchers and exploring online communities can open up new horizons and enrich your experience. So, gather your tools, let your imagination run wild, and cherish every masterpiece you create, for they are a testament to your dedication and the joy of crafting something truly one-of-a-kind.
Customizing cross stitch patterns is more than just a craft; it's a personal journey that allows you to breathe life into your artistic ideas. This comprehensive guide has equipped you with the skills and knowledge to turn simple threads and fabric into intricate, personalized works of art
With dedication, patience, and a passion for creativity, you can create cross stitch patterns that tell your unique story and reflect your individual style. So, embrace this world of customization, celebrate your creations, and remember that every stitch you make leaves a lasting legacy of your creativity and craftsmanship. Dive into the world of custom cross stitch and watch your imagination come to life in vibrant threads and patterns.
Sources
https://hannahhandmakes.com/blogs/podcast/cross-stitch-and-reading-routine/