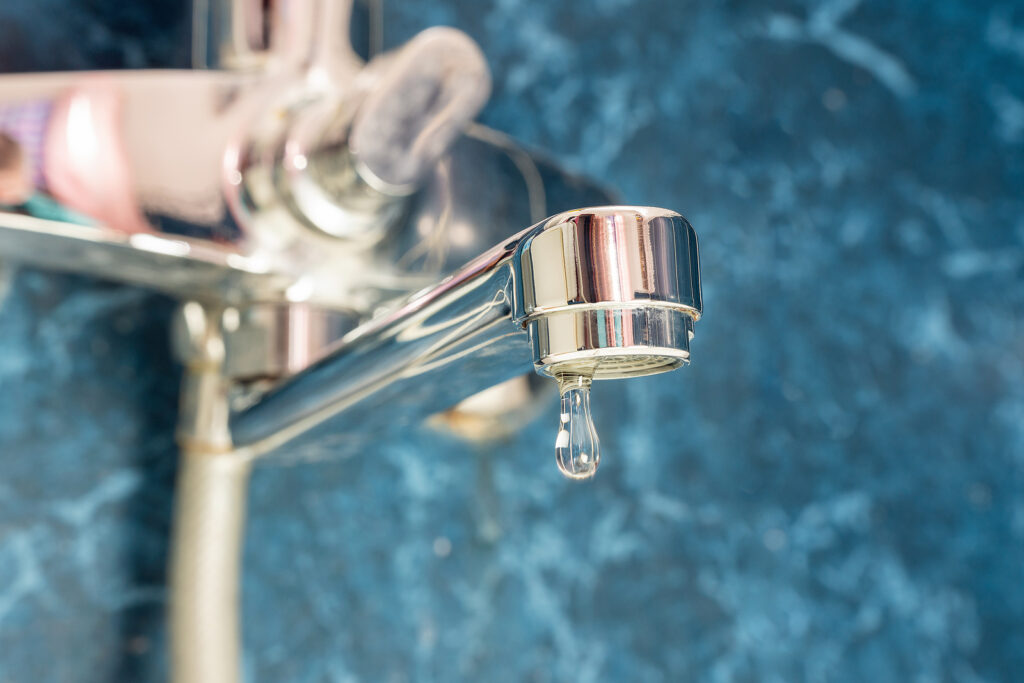
Leaky Faucet Fix – How to Quickly and Correctly Fix Any Leaky Faucet Yourself
A leaky faucet is not only annoying but can also waste a significant amount of water and increase your utility bills. The good news is that fixing a leaky faucet is a relatively simple DIY task that you can tackle yourself with a few basic tools and some guidance. In this comprehensive guide, we will walk you through the step-by-step process of fixing a leaky faucet, empowering you to save water, money, and the headache of a constant drip.
Understanding the Anatomy of a Faucet: Compression vs. Cartridge vs. Ball vs. Ceramic Disc Faucets
Before diving into the repair process, it's essential to understand the different types of faucets and their inner workings. The most common types of faucets include compression faucets, cartridge faucets, ball faucets, and ceramic disc faucets. Each type has a unique mechanism that can contribute to leaks in different ways. Understanding the specific type of faucet you have will help you identify the cause of the leak and determine the appropriate repair method.
Diagnosing the Cause of the Problem:
When faced with a leaky faucet, it is crucial to accurately diagnose the root cause of the issue before proceeding with the repair. While it may seem daunting at first, understanding the source of the leak is essential for an effective fix. In most cases, a leaky faucet is caused by either a worn-out or improperly positioned washer or a loose O ring. Thankfully, both of these issues can be easily addressed in just a few minutes.
Let's delve deeper into these common causes:
- Washers: The washer is a small, round piece of rubber typically found inside the faucet handle. It serves as a seal to prevent water from flowing when the faucet is turned off. Over time, washers can become worn out, hardened, or torn, leading to a leak. If you notice water dripping from the spout even when the faucet is closed, there is a high chance that the washer needs to be replaced.
- O rings: O rings are thin, circular discs similar in appearance to washers. They are located around the stem screw that holds the faucet handle in place. O rings create a watertight seal, preventing leaks around the base of the handle. If you observe water dripping from the handle area, it is likely that the O ring is loose or damaged and requires replacement.
Now that we have identified the potential culprits, it's time to take action and rectify the issue.
TIP: Keep in mind that washers and O rings come in various sizes. To ensure a perfect fit, consider taking the old parts with you when purchasing replacements from a hardware store. However, be aware that over time, worn-out components may have slightly diminished in size, so you might need to choose replacements that are slightly larger than the originals.
Tools and Materials Needed for the Fix
To successfully fix a leaky faucet, gather the following tools and materials beforehand:
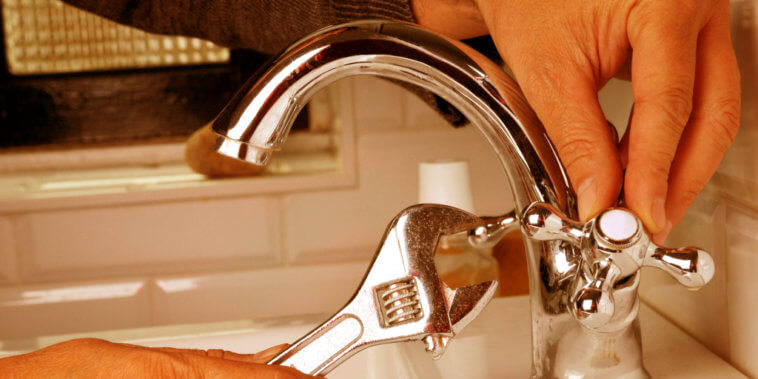
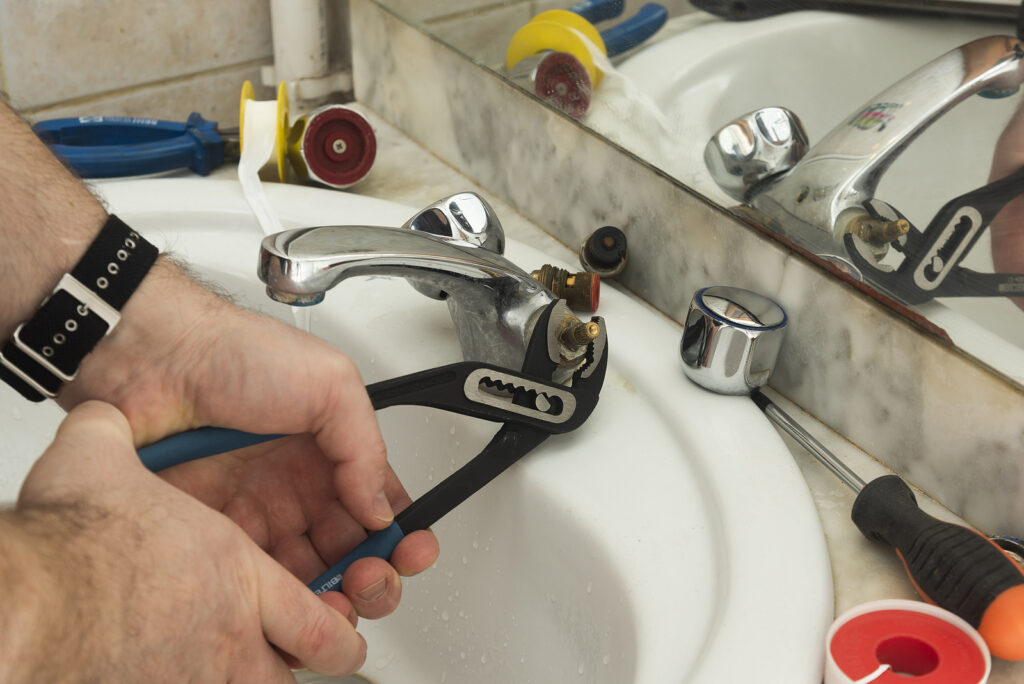
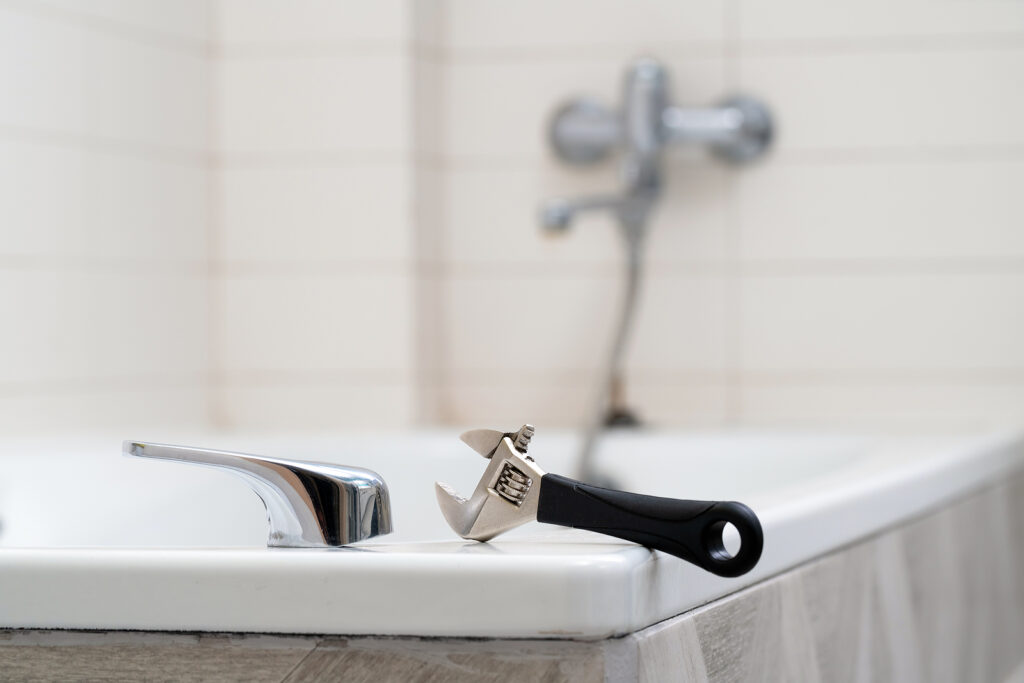
- Adjustable wrench
- Screwdriver (flathead and/or Phillips)
- Allen wrenches (if necessary)
- Replacement parts (e.g., washers, O-rings, cartridges)
- Plumber's tape
- Towels or rags
Having these tools and materials readily available will streamline the repair process and ensure you have everything you need to address the leak.
Step-by-Step Guide: Fixing a Leaky Faucet
Now, let's dive into the step-by-step process of fixing a leaky faucet. Follow these instructions carefully to successfully address the issue and restore your faucet to a drip-free state.
Step 1: Turning Off Your Water
First things first, you'll need to turn off your water. The last thing you want is a jet stream hitting you in the face while you're busy at work. Underneath your sink, you should find a valve that connects to the sink's water pipes. Usually turning it clockwise will do the trick.
It's wise to also plug your drain at this point. If you don't have a sink plug, lay a towel flat on the surface of your sink. This will prevent tiny screws and other necessary items from falling down the drain.
Step 2: Remove the Faucet Handle
Once you have tested your tap to ensure the water is switched off, it's time to remove the handle. If your handle has a decorative cap, remove this first. Next, unscrew the handle using your screwdriver, and remove it. Sometimes, the handle can stick. If this happens, simply nudge it up from the bottom with your flat-headed screwdriver.
Step 3: Unscrew the Packing Neck
Now your faucet handle is removed, you should be able to see the packing nut, a metal cylinder around the valve that provides a watertight seal, directly underneath. Remove the packing nut by twisting it anticlockwise with your wrench. It may be a little tight, so don't be afraid to use your strength.
Step 4: Remove the Valve
Next, the valve, or the stem, needs to be removed. Depending on the type of faucet you have, you might need to twist the valve. Otherwise, it should pop straight off with a bit of pulling pressure. If you're struggling to remove your twist-off, here's a trick: put the faucet handle back over the valve and twist anticlockwise. When you remove the handle, the valve should be removed also.
Step 5: Replace the Washer
Below this is where you will find the rubbery cylinder called the washer. Remove the washer and replace it with one of your newly-bought ones. Be careful to place the washer back in the exact location you removed the old one from. This way, you won't experience issues from incorrectly placing it.
Step 6: Replace the O Ring
You should find the O ring attached around the bottom part of the valve you removed earlier. Carefully remove it and replace it with the new one, making sure it is the perfect fit. Depending on whether your washer is cone-shaped or flat, you must buy the right O ring to smoothly slot into place when you return the valve.
Step 7: Reverse Your Steps
Once your issue has been fixed, reverse the above steps to reassemble your faucet. Your order of assembly should be washer, O-ring, stem, packing nut, screw, and finally, handle.
Make sure that everything is in the right place, and tightly screwed on. It is especially important to ensure the valve and packing neck are tightly in place, as if these are loose, they can cause more leakage.
Step 8: Test Your Handiwork
Now for the exciting part: turn your water on and check to see if you've gotten rid of the pesky leak. If you have, congratulations! If the leak still remains, you may want to go back and triple check that everything is correctly sized, in the right place, and tightened to the max.
Tips for Preventing Future Leaks
To prevent future leaks and extend the lifespan of your faucet, consider implementing these tips:
- Perform regular maintenance: Inspect your faucets periodically for signs of wear or leaks, and address any issues promptly.
- Avoid excessive force: Turn the faucet handles gently to prevent unnecessary stress on the internal components.
- Use plumber's tape: Apply plumber's tape to threaded connections to create a secure and watertight seal.
- Replace washers and O-rings: Over time, washers and O-rings can wear out. Regularly check and replace these components as needed.
Common Types of Faucet Leaks and Their Causes
Understanding the common types of faucet leaks and their underlying causes can help you diagnose and fix the problem more effectively. Here are a few common types of faucet leaks and their potential causes:
- Drip from the Spout: This type of leak is typically caused by a worn-out or damaged washer within the faucet's valve assembly. Over time, the washer can become brittle or develop cracks, resulting in a constant drip.
- Leak from the Base of the Spout: A leak from the base of the spout is often caused by worn-out O-rings or deteriorated seals. These components help create a watertight seal between the spout and the base, and when they degrade, water can leak out.
- Water Coming from the Handle: If you notice water dripping or seeping from the handle of the faucet, it is likely due to a faulty cartridge or stem assembly. The cartridge or stem controls the flow of water, and if it becomes damaged or worn, water can leak from the handle area.
By identifying the specific type of leak and its underlying cause, you can more accurately determine the parts that need replacement during the repair process.
Additional Tools for Advanced Faucet Repair
While basic tools are sufficient for most faucet repairs, there are some additional tools that can come in handy for more advanced repairs or troubleshooting. Consider having the following tools available:
- Faucet seat wrench: A specialized wrench used to remove and replace the faucet seat, which can be useful for fixing leaks around the base of the spout.
- Cartridge puller: A tool designed to remove stubborn cartridges or stems from the faucet body, making it easier to replace them.
- Plumber's grease: A lubricant that can be applied to O-rings, seals, and other components to ensure smooth operation and prevent leaks.
While these tools may not be required for every leaky faucet repair, having them on hand can be beneficial for tackling more complex issues.
When to Seek Professional Help
Fixing a leaky faucet is generally a DIY-friendly task. However, there are certain situations where it may be best to seek professional assistance. Consider calling a plumber if:
- The faucet repair becomes too complex or requires specialized knowledge or tools.
- You are uncomfortable working with plumbing or have concerns about damaging the plumbing system.
- The leak persists even after attempting the recommended repairs.
A professional plumber has the expertise to diagnose and fix more challenging faucet issues, ensuring a proper and long-lasting repair.
By being aware of these additional insights and knowing when to seek professional help, you can approach your faucet repair project with confidence and successfully resolve most common faucet leaks on your own.
Conclusion
Fixing a leaky faucet is a practical and rewarding DIY task that can save you money and conserve water. With the right tools, materials, and step-by-step instructions, you can successfully address the issue and enjoy a drip-free faucet once again.
Remember to identify the type of faucet you have, carefully disassemble and inspect the internal components, replace any faulty parts, and reassemble the faucet with precision. With proper maintenance and preventive measures, you can extend the lifespan of your faucet and minimize the occurrence of future leaks.