DIY Broken Glass Art
Ever since I stumbled upon the mesmerizing world of broken glass art, I've been hooked! It's an amazing way to give discarded glass pieces a second life. With just a touch of imagination and a few basic supplies, I've been turning shards of glass into breathtaking masterpieces that never fail to amaze my friends and family.
From ensuring safety to playing with designs, the journey has been a blend of caution and creativity. Dive into this journey with me, and let's repurpose and revive together.
Why Choose DIY Broken Glass Art?
There are several compelling reasons to consider taking up DIY broken glass art as a creative and sustainable hobby. This engaging pursuit not only allows you to salvage what might otherwise be discarded as waste but also offers a host of other benefits:
- Environmental Consciousness: Engaging in DIY broken glass art is an eco-friendly choice. By upcycling shattered glass, you contribute to reducing the burden on landfills and minimize your environmental footprint. This practice aligns with the principles of sustainability and waste reduction.
- Creative Expression: DIY broken glass art provides a platform for you to express your creativity in unique ways. As you piece together shards of glass to form intricate designs or abstract compositions, you'll find endless opportunities to experiment with colors, textures, and patterns. It's a canvas of glass where your imagination can flourish.
- One-of-a-Kind Creations: Each broken glass art project is inherently distinctive. No two pieces will ever be exactly alike, ensuring that your creations are truly one-of-a-kind. This individuality can make your artwork even more special and meaningful.
- Cost-Efficiency: Broken glass art can be an economical hobby. Instead of investing in expensive art supplies, you can repurpose discarded glass items or collect shards from various sources. This makes it an accessible and cost-effective artistic pursuit.
- Therapeutic Benefits: Engaging in DIY broken glass art can be therapeutic and stress-relieving. The process of sorting, arranging, and gluing to make crushed glass how fragments can be a calming and meditative experience, providing a break from the hustle and bustle of daily life.
- Versatility: Broken glass art is a versatile medium that can be adapted to suit your preferences and artistic style. You can create stained glass mosaics, three-dimensional sculptures, jewelry, or functional items like coasters or vases, allowing you to explore various artistic avenues.
- Unique Home Decor: Your finished glass art pieces can serve as stunning home decor items. Whether you choose to display them as wall art, tabletop centerpieces, or window hangings, they add a touch of elegance and individuality to your living space.

The Therapeutic Aspect of Glass Art
Engaging in the art of working with broken glass goes beyond just a creative endeavor; it offers a profound therapeutic experience that resonates with many individuals. This therapeutic aspect extends to various facets of the craft, making it a valuable avenue for emotional well-being and self-expression:
Mindful Engagement
The act of collecting, sorting, and meticulously crafting art from shattered make broken glass art requires a high degree of concentration. This focused attention can serve as a form of mindfulness, grounding you in the present moment and allowing you to temporarily set aside worries or distractions.
Emotional Expression
Glass art provides a unique channel for emotional expression. As you piece together fragments of glass, you have the opportunity to convey your feelings and emotions through your artwork. Whether it's the soothing blues and greens of a coastal scene or the vibrant colors of an abstract piece, your art can become a visual representation of your inner world.
Stress Relief
The tactile nature of handling glass pieces can be inherently calming. The rhythmic process of selecting, arranging, and adhering fragments can be a meditative activity, helping to alleviate stress and promote relaxation. This makes it an excellent way to unwind after a long day.
Sense of Accomplishment
Completing a glass art project can instill a sense of achievement and satisfaction. Witnessing the transformation of broken glass into a beautiful and cohesive piece of art can boost your self-esteem and provide a tangible reminder of your creative capabilities.
Community and Connection
Glass art can also foster a sense of community and connection. Joining workshops or engaging with fellow enthusiasts allows you to share your passion with others, exchange ideas, and build meaningful connections with like-minded individuals.
Getting Started
Embarking on your DIY broken glass art project is an exciting journey, but it's essential to start on the right foot by assembling the necessary tools and materials. Here's an in-depth look at what you'll need, along with crucial safety precautions:
Essential Tools and Materials
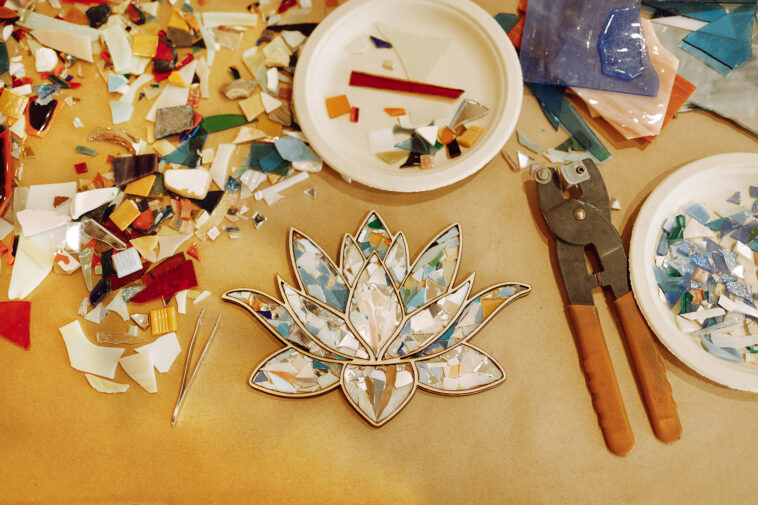
- Safety Goggles and Gloves: Your top priority is safety. Protect your eyes with safety goggles, and shield your hands with gloves to prevent accidents or injuries while handling glass.
- Broken Glass Pieces: Collect a variety of broken glass pieces for your artwork. You can gather these from discarded glassware, bottles, or even purchase specially designed glass fragments for art projects.
- Adhesive: A reliable adhesive is crucial for securing the broken glass mosaic tutorial pieces onto your chosen surface. Options include clear epoxy resin or mosaic adhesive, depending on your project's requirements.
- Grout: Grout serves to fill the gaps between glass pieces, providing stability and a finished look to your artwork. Choose a grout color that complements your design.
- Base Surface: Select a suitable base surface for your project, such as wood, canvas, or any other material that can accommodate the weight and size of your artwork.
- Tile Nippers or Glass Cutters: These tools are essential for shaping and resizing glass pieces to fit your design. Tile nippers are ideal for mosaic-style projects, while glass cutters are precise for more intricate work.
- Sponge and Water: Keep a sponge and water on hand for cleaning excess adhesive or grout as you work. This ensures a neat and polished finish.
- Small Paintbrushes: If your project involves detailed work, small paintbrushes can be invaluable for applying adhesive or touching up fine areas.
- Mixing Containers and Spatula: You'll need containers for mixing grout and adhesive. A spatula or palette knife helps ensure even mixing and application.
- Safety Mask (if grinding glass): If your project requires grinding glass, a safety mask is necessary to protect against inhaling glass dust, which can be harmful to your respiratory system.
Safety Precautions
Working with glass, especially broken pieces, comes with inherent risks. Prioritize safety with these precautions:
- Protective Gear: Always wear safety goggles and gloves to shield your eyes and hands from potential injuries.
- Sharp Edges: Handle glass pieces with care to avoid cuts and punctures from sharp edges. Sand or file rough edges when necessary.
- Glass Dust: When grinding glass, use a safety mask to prevent inhaling glass dust, which can be harmful to your health.
Collecting Glass
Starting your DIY broken glass art project begins with acquiring the right materials and preparing them effectively. Here's a comprehensive guide on where to find broken glass and how to sort and prepare it for your artistic endeavors:
Where to Find Broken Glass
- Construction Sites: Construction sites often yield broken glass fragments. Be cautious and ensure safety when collecting glass in this environment.
- Beaches (Sea Glass): Beaches, especially those along coastlines, can provide beautiful sea glass, naturally tumbled and polished by the waves. Collecting sea glass can be an enjoyable and environmentally friendly way to source materials.
- Thrift Stores (Damaged Glassware): Thrift stores frequently carry damaged or chipped glassware that can be repurposed for your projects. It's an affordable and sustainable option.
- Friends and Family: Don't hesitate to ask friends and family if they have old or chipped glass items they no longer need. Many people are happy to contribute to creative endeavors.
Sorting and Preparing Glass Pieces
- Color, Size, and Shape: Begin by sorting your collected glass pieces by color, size, and shape. This organizational step is crucial for planning your design effectively and ensuring a harmonious composition.
- Cleaning: Thoroughly clean the glass pieces to remove dirt, grime, or any remaining adhesive. To do this, soak them in warm, soapy water and gently scrub with a soft brush. Rinse them thoroughly and allow them to dry completely before use.
- Safety Considerations: During the cleaning process, be cautious about handling glass with sharp edges. Sand or file down any rough edges to prevent injuries while working on your project.
- Quality Control: Inspect each glass piece for defects or flaws. Some imperfections can add character to your art, while others may affect the stability of your project. Make informed decisions about which pieces to use and where.
- Design Planning: As you sort and clean your glass pieces, take time to think about your design. Consider how the colors, sizes, and shapes can come together to create a visually appealing and cohesive artwork.

Design and Inspiration
DIY broken glass art offers a captivating canvas for artistic expression, with a wide array of styles to explore and personalize. Here's a more comprehensive look at the diverse styles and sources of inspiration that can help you discover your unique artistic voice:
Exploring Different Styles
Mosaic Art
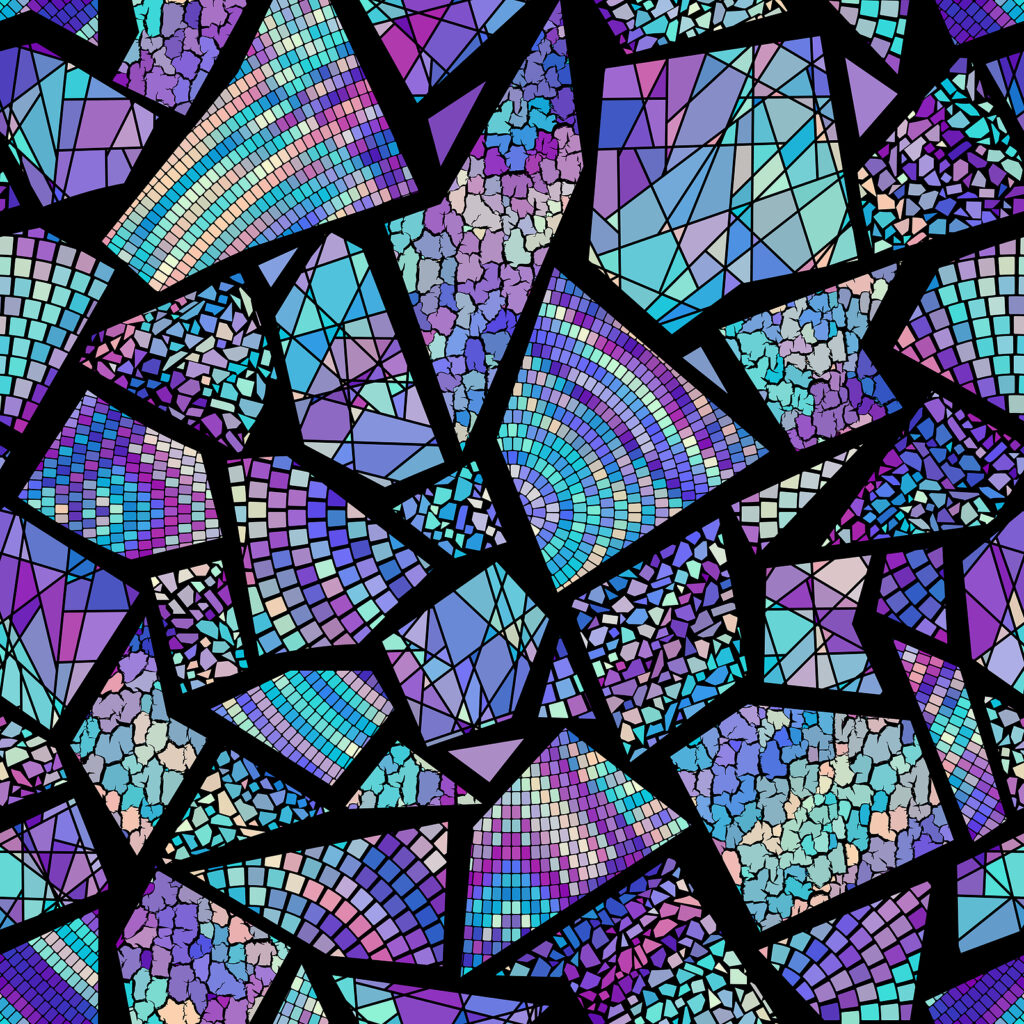
Mosaic-style broken glass art involves arranging glass pieces into intricate and often symmetrical patterns. This timeless approach can produce stunning and detailed artworks that showcases the individual beauty of each glass fragment.
Stained Glass Effect
Emulating the timeless allure of stained glass, this style involves using translucent glass pieces to create vibrant, light-filtering designs. The interplay of colors and light in stained glass effect art can add a touch of elegance to your projects.
Abstract Art
Unleash your creativity with freeform abstract designs. Abstract broken glass suncatcher ornament art allows you to let your imagination run wild, experimenting with unconventional layouts, shapes, and color combinations to convey emotions, ideas, or purely aesthetic concepts.
3D Sculptures
Elevate your broken glass art to a three-dimensional level by crafting sculptures. These sculptures can range from small, intricate figurines to larger, more complex installations. The tactile nature of 3D sculptures adds a unique dimension to your art.
Finding Your Unique Artistic Voice
Nature
Nature is a boundless source of inspiration. Draw from the beauty of landscapes, flora, and fauna to infuse your artwork with organic shapes, earthy colors, and the tranquility of the natural world.
Geometric Patterns
Geometric designs offer a structured and visually pleasing approach to broken glass art. Play with shapes, angles, and symmetry to create mesmerizing patterns that reflect precision and order.
Emotions
Expressing your emotions through art is a powerful avenue for personal connection. Let your feelings guide your creative choices, using color, composition, and form to convey joy, sorrow, passion, or any sentiment that resonates with you.
Personal Experiences
Draw inspiration from your own life experiences, memories, or journeys. Translate moments of significance into visual narratives through your art.
Cultural Influences
Explore the rich tapestry of cultural traditions and aesthetics. Incorporate elements from different cultures into your designs, celebrating diversity and storytelling through art.
Experimentation
Don't hesitate to experiment with various layouts, combinations, and techniques. The process of trial and error can lead to unexpected discoveries and innovations in your artistic style.
Creating Your Broken Glass Masterpiece
Creating a stunning piece of broken glass art involves careful consideration of materials and techniques. Here's a comprehensive step-by-step guide to help you bring your artistic vision to life:
Choosing a Base Surface
Your choice of a base surface is a critical foundation for your artwork. Consider these options:
- Wood: Wood panels provide a sturdy and versatile canvas for your broken glass art. Ensure the wood is smooth, clean, and dry before starting.
- Canvas: Canvas offers a lightweight and flexible base, ideal for wall hangings. Prepare the canvas by priming it with gesso to enhance its adhesive properties.
- Thrifted Picture Frame: Repurpose an old picture frame for a unique and upcycled canvas. Remove the glass and any backing material, leaving the frame as your base.
Adhering Glass Pieces
- Prepare Your Adhesive: Begin by preparing your chosen adhesive, whether it's clear epoxy resin or mosaic adhesive. Follow the manufacturer's instructions for mixing and application.
- Arrange Glass Pieces: Carefully arrange your glass pieces on the base surface according to your design. Take your time during this step, as the placement of each piece will significantly impact the overall aesthetic of your art.
- Secure Placement: Gently press each glass piece into the adhesive, ensuring that they are firmly and evenly attached to the base. Use small paintbrushes for delicate and detailed work.
Grouting and Finishing Touches
- Apply Grout: After the adhesive has dried (typically 24-48 hours), it's time to apply grout. Choose a grout color that complements your design. Spread the grout evenly between the glass pieces, filling the gaps and crevices.
- Smooth and Shape: Use a grout float or spatula to smooth the grout and shape it to the desired texture. This step not only secures the glass pieces but also adds dimension to your artwork.
- Cleaning: Wait for the grout to set partially (usually 15-30 minutes) before cleaning. Use a damp sponge to gently remove excess grout from the glass surfaces. Rinse the sponge frequently to avoid smearing grout on the glass.
- Sealing and Painting (Optional): Depending on your preference, you can seal the grout for added protection against moisture and wear. Additionally, painting the grout can enhance its visual appeal and match your artistic vision.
- Final Inspection: Once your artwork is complete and the grout is fully cured (typically 24-72 hours), conduct a final inspection to ensure that all glass pieces are secure, and the piece is free from imperfections.
Caring for Your Broken Glass Art
Your broken glass art is a testament to your creativity and effort, and it deserves ongoing care to ensure its enduring beauty. Here's a holistic approach to caring for your artwork:
Displaying Your Artwork
Choose a Thoughtful Location
Select a display location that avoids direct sunlight and extreme temperature fluctuations. Prolonged exposure to sunlight can lead to fading and damage to the adhesive. Similarly, extreme temperatures can affect the stability of your art.
Consider Framing
To protect and enhance your art, consider framing it. A well-chosen frame not only shields your piece but also amplifies its visual impact. Ensure the frame accommodates your artwork comfortably without squeezing or damaging the glass pieces.
Cleaning and Maintenance
Gentle Cleaning
To maintain the pristine appearance of your broken glass art, perform regular, gentle cleaning. Use a soft, lint-free cloth or a feather duster to remove dust and debris. Avoid abrasive materials and vigorous scrubbing, as they can scratch the glass or damage the grout.
Avoid Harsh Chemicals
When cleaning your artwork, steer clear of harsh chemicals, abrasive cleaners, or solvents. These substances can harm both the glass and grout, causing lasting damage.
Inspect for Damage
Periodically inspect your artwork for signs of wear or damage, such as loose glass pieces or grout cracks. Timely attention to such issues can prevent further deterioration.
Reframing Consideration
If your artwork is framed, check the frame regularly for wear or damage. Ensure that it securely holds the artwork without any shifting.
Environmental Awareness
Be mindful of the environmental conditions where your artwork is displayed. Maintain stable humidity levels and avoid excessive moisture, as this can weaken the adhesive over time. In particularly dry environments, consider using a humidifier to maintain an ideal environment.
Handle with Care
When moving or transporting your broken glass art, handle it with utmost care. Offer support to the entire piece to prevent stress on individual glass pieces or grout.
Regular Rotation
To minimize the risk of fading and maintain even exposure to light, periodically rotate your artwork or change its display location within your space.
Conclusion
DIY broken glass art is a captivating and eco-friendly way to unleash your creativity and transform shattered glass pieces into stunning masterpieces. Whether you're a seasoned artist or a beginner looking for a therapeutic and rewarding hobby, this craft offers endless possibilities for artistic expression. So, start collecting those broken glass pieces, put on your safety gear, and embark on a journey of creativity and transformation.
Sources


