DIY King Size Headboard
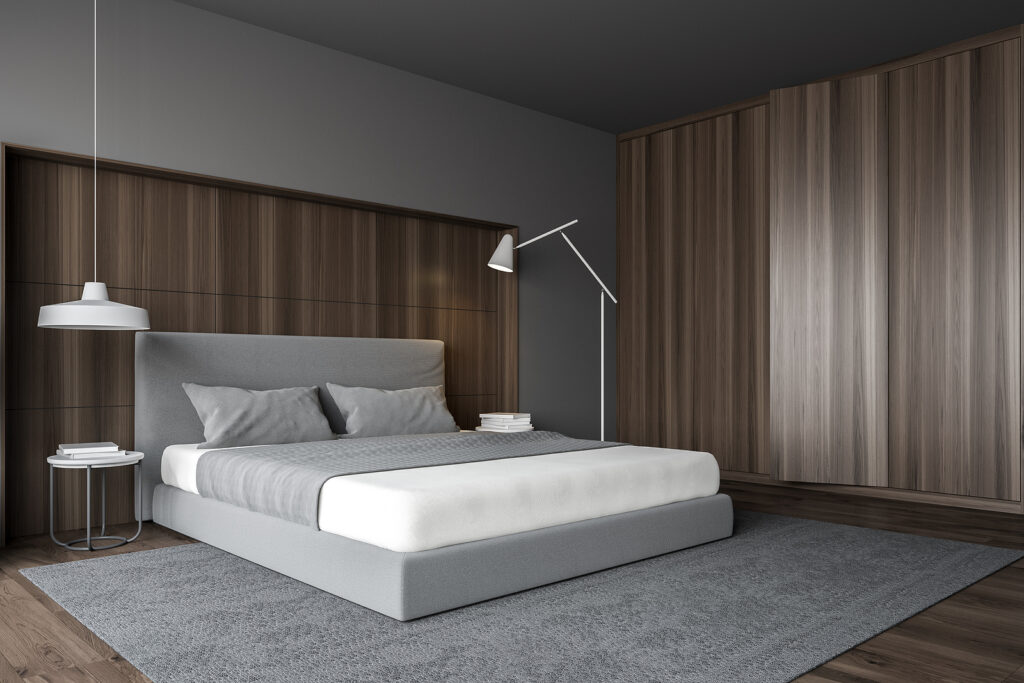
When it comes to designing the perfect bedroom, I've always believed that the headboard is the key element that sets the tone for the entire space. It's amazing how a well-crafted headboard can transform your bedroom into a luxurious retreat, reflecting your unique style and personality.
Unfortunately, store-bought options can often come with a hefty price tag and might not align with your specific taste. That's why I decided to dive into the world of DIY and create my very own King Size Headboard.
In this comprehensive guide, I'll take you through the step-by-step journey of crafting a stunning headboard that not only adds a touch of luxury to your room but also keeps your budget in check.
Why Choose a DIY King Size Headboard?
Cost-Effective Solution
One compelling reason to choose a DIY King Size Headboard is its cost-effectiveness. Purchasing custom headboards from furniture stores can often be prohibitively expensive. However, by embarking on a do-it-yourself project, you can significantly reduce costs while still achieving a stunning result.
Total Personalization
DIY projects empower you with the ability to tailor your headboard precisely to your tastes and bedroom aesthetics. You have complete control over the design, materials, and colors, allowing you to create a headboard that seamlessly blends with your bedroom's style and reflects your unique preferences.
Unleash Your Creativity
Crafting your own headboard is an opportunity to unleash your creativity. You can experiment with various materials, textures, and designs, turning your headboard into a unique artistic expression that elevates your bedroom decor.
Incomparable Satisfaction
The sense of accomplishment that accompanies the completion of a DIY headboard project is priceless. Not only will you save money, but you'll also take pride in the beautiful headboard that you've crafted with your own hands. It becomes a tangible testament to your skills and adds a truly distinctive and personal touch to your bedroom, making it a space that's uniquely yours.

Materials You'll Need
Before embarking on your DIY King Size Headboard project, it's essential to gather the following materials to ensure a successful and customized result:
- Plywood Sheet: This serves as the primary structure of your headboard. Ensure that it matches the exact width and height of your king-size bed, creating a foundation for your design.
- Foam Padding: To add both comfort and a luxurious appearance to your headboard, include foam padding that you can comfortably lean against when sitting up in bed.
- Fabric: Select a fabric that harmonizes with your bedroom decor. Upholstery fabric is an excellent choice for this project due to its durability and aesthetic appeal.
- Batting: This material offers extra cushioning and a smooth surface under the fabric, enhancing the overall comfort and appearance of your headboard.
- Wooden Frame: Construct a wooden frame that aligns with the dimensions of your plywood sheet. This frame provides structural support, ensuring the headboard's stability and longevity.
- Staple Gun: A staple gun will be your trusty tool for securely fastening the fabric and batting to the plywood and wooden frame.
- Saw: Use a saw to cut the plywood sheet and wooden frame to the desired size, ensuring they perfectly fit your king-size bed.
- Sandpaper: Smooth out the edges of the plywood to prevent any sharp corners or rough edges that could potentially cause injury or damage.
- Screws and Screwdriver: These are necessary for assembling the wooden frame securely, contributing to the headboard's overall stability.
- Measuring Tape: Ensure precision by using a measuring tape to take accurate measurements for the plywood, foam, and fabric.
- Pencil: Mark your measurements and cut lines clearly on the materials to guide your cutting and assembly.
- Mounting Hardware: Depending on your preference, you'll need hardware to attach your headboard either to the bed frame or directly to the wall. Consider the weight and size of your headboard when selecting the appropriate hardware.
Step-By-Step Guide
Now that you've gathered all the necessary materials, let's embark on creating your luxurious DIY King Size Headboard with these detailed steps:
Step 1: Measure and Cut the Plywood
Begin by measuring the width and height of your king-size bed. Your plywood sheet should precisely match these measurements. Use a pencil and measuring tape to mark these dimensions clearly on the plywood.
Carefully cut the plywood sheet along the marked lines using a saw, ensuring accuracy. Afterward, take the time to sand the edges to guarantee they are smooth and free from any potentially troublesome splinters.
Step 2: Create the Wooden Frame
To enhance the headboard's stability, measure and cut pieces of lumber that will form a frame to encase the perimeter of your plywood sheet. It's vital that this frame aligns perfectly with the dimensions of your plywood sheet.
Assemble the frame by securely screwing the pieces together at the corners. This step is essential to ensure the headboard maintains its structural integrity.
Step 3: Attach Foam Padding
Lay the foam padding evenly over the plywood sheet. Trim any excess foam to match the size of the plywood, ensuring it covers the entire surface.
With a staple gun, securely fasten the foam padding in place. Begin stapling it along one edge, and then proceed to work your way around the perimeter, pulling the foam tight as you staple to achieve a smooth, plush surface.
Step 4: Add Batting
Lay a layer of batting over the foam padding to provide additional cushioning and smoothness.
Once again, use the staple gun to attach the batting to the wooden frame, ensuring it remains taut to create a flawless surface.
Step 5: Upholster with Fabric
Place your chosen fabric over the batting, ensuring it covers the entire headboard surface, with some extra material to wrap around to the back.
Starting at the center of each side and working towards the corners, use the staple gun to secure the fabric to the wooden frame. Be diligent about pulling the fabric tight as you staple to achieve a smooth, wrinkle-free appearance.
Step 6: Trim Excess Fabric
After securely attaching the fabric, trim any excess material from the back, leaving just enough to fold over the edges and staple in place.
Fold the remaining fabric over the back of the headboard and staple it securely to the wooden frame to conceal any unfinished edges.
Step 7: Mounting
Determine whether you want to mount your headboard to the bed frame or directly to the wall, depending on your preference and bedroom layout.
Select the appropriate mounting hardware and carefully follow the manufacturer's instructions to ensure a secure and stable installation.
Choosing the Right Fabric
Selecting the ideal fabric for your DIY King Size Headboard is a pivotal step in achieving the opulent and luxurious aesthetic you desire for your bedroom. Here's a more detailed guide to help you make the right choice:
Texture
The texture of the fabric plays a significant role in creating a luxurious ambiance. Opt for sumptuous fabrics like velvet or silk that not only look lavish but also add depth and tactile richness to your headboard.
Color Coordination
To seamlessly integrate your headboard into your bedroom decor, carefully consider the color. Deep, jewel tones like sapphire, emerald, or amethyst can exude a regal vibe. Alternatively, neutrals such as ivory, taupe, or charcoal can offer an understated yet elegant look that complements various color schemes.
Pattern Selection
If you desire a patterned fabric, choose one that maintains an elegant and sophisticated appearance. Subtle patterns like damask or herringbone can add visual interest without overwhelming the overall design. Ensure that the pattern harmonizes with your bedroom's existing decor elements.
Durability and Maintenance
Remember that your headboard will be a prominent and long-lasting feature in your bedroom. Select a fabric that is not only aesthetically pleasing but also durable and easy to maintain. Fabrics with stain-resistant or washable properties can save you time and effort in the long run.
Adding Decorative Trim
Enhance the luxurious feel of your headboard by adding decorative trim. Consider options like:
- Nailhead Trim: To create an upscale and refined border for your headboard, consider utilizing brass or chrome nailhead trim. These metallic accents can be strategically placed along the edges of the headboard, forming a precise and stylish outline. Nailhead trim adds a touch of sophistication and works well with various fabric textures and colors.
- Contrasting Piping: Inject a subtle yet effective contrast into your headboard's design by incorporating piping in a complementary color. Piping can be expertly sewn along the seams or edges of the fabric, providing a crisp and tailored appearance. This technique not only highlights the headboard's shape but also adds a layer of visual interest to your bedroom decor.
- Tassels or Fringe: If you're aiming for a more ornate and decorative look, consider embellishing the edges of your headboard with tassels or fringe. Tassels, typically made from silky or ornamental materials, can create a lavish and regal effect. Fringe, on the other hand, offers a textured and playful touch. These elements can be carefully selected to harmonize with your fabric choice and color scheme, contributing to an overall luxurious ambiance.
- Button Tufting: Create a timeless and sophisticated look by incorporating button tufting into your headboard design. This involves adding buttons in a grid-like pattern to create dimples or tufts in the fabric. Button tufting can add a plush and regal texture to your headboard, especially when combined with rich fabrics like velvet or satin.
- Ribbon or Fabric Strips: For a creative and unique touch, consider using ribbon or fabric strips to form intricate patterns on your headboard. You can weave them through the fabric or attach them in a decorative design, enhancing the headboard's visual appeal. This approach allows for endless customization and adds a touch of craftsmanship to your project.
- Braided Cord: Introduce a touch of elegance by incorporating braided cord as trim. This cord can be made from various materials such as satin or leather and can be added around the headboard's edges or used to create intricate patterns. Braided cord trim lends a luxurious and tailored finish to your DIY headboard.
Matching Bedding and Decor
Achieving a truly luxurious ambiance in your bedroom involves more than just crafting a stunning DIY King Size Headboard. To complete the opulent look and ensure your headboard seamlessly integrates into the overall decor, consider these additional details:
High-Thread-Count Bedding
Elevate the comfort level and overall opulence of your bedroom by investing in high-thread-count sheets and bedding. These luxurious linens not only feel incredibly soft against the skin but also lend an indulgent and upscale touch to your sleeping experience. Look for options in materials like Egyptian cotton or satin for a sumptuous feel.
Coordinating Curtains or Drapes
To enhance the visual harmony of your bedroom, choose curtains or drapes that complement the color and style of your DIY headboard. Consider matching or coordinating hues to create a cohesive and balanced look. Selecting curtains with elegant details like blackout lining or sheers can further enhance the room's ambiance and functionality.
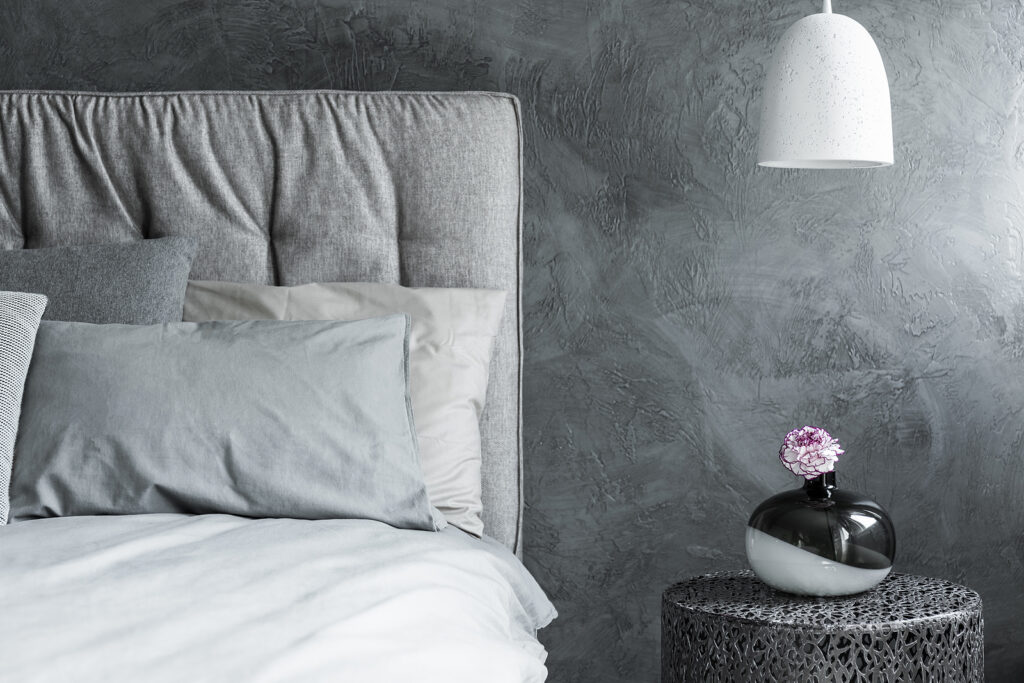
Decorative Accents
Elevate the overall decor with carefully chosen decorative accents. Vases, artwork, and stylish rugs can tie the room together and enhance its luxurious appeal. Opt for statement pieces that align with your design vision and echo the headboard's opulent aesthetic. For instance, a well-placed piece of artwork featuring similar colors or themes can create visual continuity.
Lighting
Don't overlook the importance of lighting in setting the mood of your bedroom. Invest in elegant bedside table lamps or pendant lights that complement the luxurious feel of your headboard and overall decor. Dimmable lighting options can provide flexibility, allowing you to adjust the ambiance according to your preferences.
Throw Pillows and Throws
Enhance the comfort and visual appeal of your bed by adding plush throw pillows and throws. Choose textures and colors that echo the headboard's style and create a sense of cohesion. These accessories not only provide added comfort but also serve as decorative elements that tie the bedding and decor together.
Bed Skirt or Bed Frame
Consider a bed skirt or an elegant bed frame to complete the look. These elements not only hide the bed's structure but also contribute to the overall polished appearance of your bed ensemble. Choose materials and designs that complement your headboard and bedding.
FAQs about DIY King Size Headboard
What are the benefits of making a DIY King Size Headboard?
Crafting your own headboard allows for cost savings, total personalization, and the opportunity to unleash your creativity. It also offers incomparable satisfaction and a unique, personalized touch to your bedroom.
What materials do I need to make a DIY King Size Headboard?
You'll need a plywood sheet, foam padding, fabric, batting, a wooden frame, a staple gun, a saw, sandpaper, screws, a screwdriver, measuring tape, a pencil, and mounting hardware.
How do I choose the right fabric for my DIY headboard?
Consider texture, color coordination, pattern selection, durability, and maintenance when choosing fabric. Fabrics like velvet or silk in deep colors often convey luxury, while neutral colors offer versatility.
What are some decorative trim options for a DIY headboard?
You can add nailhead trim, contrasting piping, tassels or fringe, button tufting, ribbon or fabric strips, or braided cord as decorative trim to enhance the headboard's luxurious appearance.
How can I ensure my DIY headboard matches my bedroom decor?
Match or coordinate the color and style of your headboard with high-thread-count bedding, curtains or drapes, decorative accents, lighting, throw pillows and throws, and a bed skirt or bed frame.
Is this DIY project suitable for beginners?
While some DIY experience is helpful, this project is achievable for beginners with patience and careful attention to detail. Consider enlisting the help of a friend or family member if you're new to DIY projects.
How long does it typically take to complete a DIY King Size Headboard?
The time required depends on your skill level and the complexity of your design. On average, it may take a day or two, including drying time for any adhesive used.
Can I customize the headboard's size to fit a different bed size?
Yes, you can adjust the dimensions of the plywood and wooden frame to accommodate different bed sizes, ensuring a custom fit.
What tools are essential for this DIY project?
Essential tools include a saw, staple gun, measuring tape, pencil, and screwdriver. Additionally, having sandpaper for smoothing edges and screws for assembling the wooden frame is crucial.
Can I change the fabric or style of my headboard in the future?
Yes, you can update the fabric or style of your headboard in the future by carefully removing the existing fabric and applying a new one. This allows for versatility and style changes over time.
Conclusion
Congratulations, you've successfully created your own DIY King Size Headboard! This luxurious addition to your bedroom not only saves you money but also allows you to express your creativity and personal style. Now, whenever you enter your bedroom, you'll be greeted by a stunning headboard that you crafted with your own hands.
Remember, the key to a successful DIY project is patience and attention to detail. Take your time, measure accurately, and ensure everything is secure. Your DIY King Size Headboard will not only enhance the aesthetics of your bedroom but also provide a sense of accomplishment and satisfaction.
So, roll up your sleeves, gather your materials, and embark on this rewarding DIY journey. Your dream bedroom with a luxurious headboard awaits!