DIY Cupboards
I've always believed that cupboards are the unsung heroes of any home. They bring order to our living spaces, provide a sanctuary for our belongings, and can even serve as beautiful additions to a room's decor. However, let's face it, buying brand new cupboards can be a pricey endeavor, and finding the perfect design can be a real challenge.
That's why I've fallen in love with the idea of crafting DIY cupboards. Not only does it save me money, but it also empowers me to create storage solutions that are tailor-made to fit my exact needs and style preferences. In this guide, I'm excited to share with you the step-by-step process of building your very own DIY cupboards from scratch.
Why Choose DIY Cupboards?
Economic Benefits
One of the primary reasons to consider building your own cupboards is the cost-effectiveness. When you opt for DIY, you're mainly paying for the raw materials, which often comes out to be less expensive than purchasing pre-made units. By handling the labor yourself, you can eliminate the often substantial labor costs associated with custom or even off-the-shelf furniture.
Tailored to Your Preferences
DIY projects offer unparalleled customization opportunities. By constructing your own cupboards, you're in complete control of the design, size, and materials. This ensures that your finished product is uniquely suited to your tastes and perfectly fits the specific dimensions and aesthetics of your space.
Personal Growth and Skill Enhancement
Beyond the tangible benefits, taking on a DIY cupboard project can be a valuable learning experience. It provides you with a hands-on opportunity to develop and refine essential carpentry and design skills. With each project, you'll gain more confidence in your abilities, which can be applied to future DIY endeavors or even turn into a passionate hobby or profession.
Sustainability and Eco-Friendliness
By choosing your own materials, you have the opportunity to select sustainably sourced or recycled wood and eco-friendly finishes. This not only reduces the carbon footprint of your project but also ensures a healthier living environment, free from harmful chemicals that some pre-made furniture might release.
Emotional Satisfaction
There's a unique sense of accomplishment in completing a DIY project. Every time you see or use the cupboards, you'll be reminded of the hard work, creativity, and dedication you put into it. This emotional connection can make your space feel even more personal and cherished.
Quality Assurance
When you do it yourself, you know exactly what goes into the project. You can ensure high-quality workmanship, select top-grade materials, and pay attention to the minute details that mass-produced items might overlook.
Materials Needed for DIY Cupboards
When embarking on a do-it-yourself (DIY) cupboard project, it's crucial to gather the following materials and tools for a successful and customized outcome:
- Plywood or MDF boards: These are the primary building blocks for the cupboard's main structure. Plywood is a durable and versatile choice, while MDF (Medium-Density Fiberboard) offers a smooth surface for finishing.
- Screws and nails: These fasteners play a vital role in securely joining the various components of your cupboard, ensuring stability and longevity.
- Hinges: To facilitate smooth door movements, select appropriate hinges that suit your design. They enable doors to open and close seamlessly.
- Handles or knobs: Choosing the right handles or knobs not only enhances the aesthetic appeal of your cupboard but also ensures easy access.
- Paint or varnish: Adding a layer of paint or varnish not only protects the wood but also gives your cupboard a polished and visually appealing finish. You can select colors and finishes that match your decor.
- Sandpaper: Essential for smoothing out rough edges and surfaces, sandpaper helps achieve a professional look by preparing the wood for finishing.
- Measuring tape: Accurate measurements are the foundation of a well-constructed cupboard. A measuring tape is indispensable for precision.
Step-by-Step Guide to Building DIY Cupboards
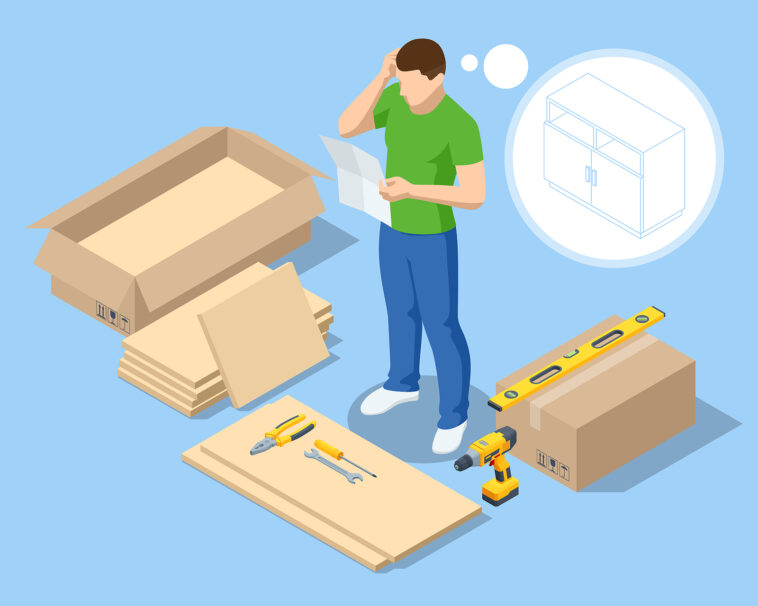
Step 1: Precise Planning and Design
Begin by carefully selecting the location and determining the ideal dimensions for your cupboard. Take into account the available space and your specific storage needs.
Next, create a detailed design on paper, outlining the measurements for each panel. This design should consider the width, height, and depth of the cupboard, as well as any additional features like shelves or compartments.
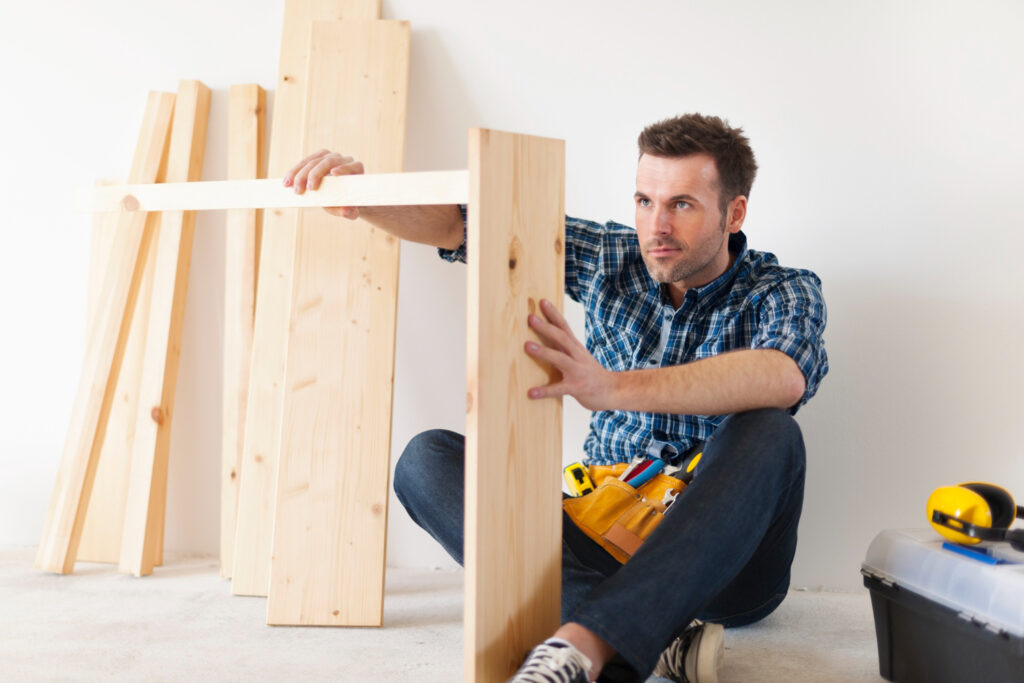
Step 2: Precision Woodwork
Using your meticulously calculated measurements, proceed to cut the wood panels for the sides, top, bottom, and back of the cupboard. If you intend to incorporate shelves, cut those as well, ensuring they fit seamlessly within the framework.
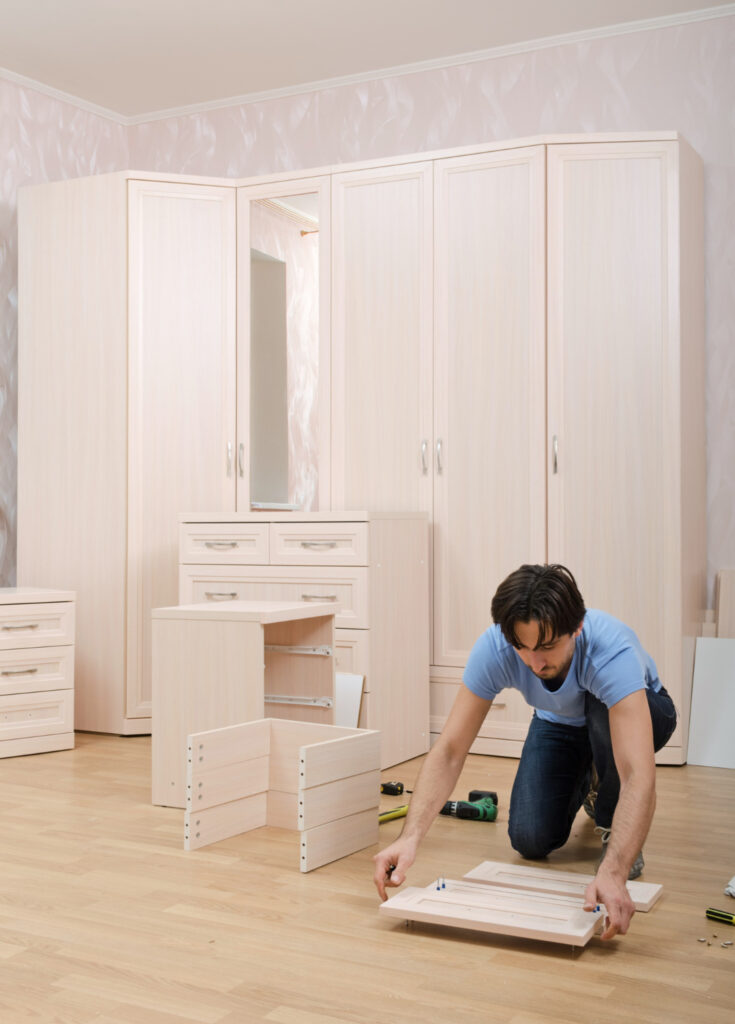
Step 3: Masterful Assembly
Initiate the assembly process by firmly attaching the side panels to the bottom panel using high-quality screws. Ensure that all joints are precisely aligned for a sturdy foundation.
Subsequently, secure the top panel in place, followed by the attachment of the back panel. If your design incorporates shelves, this is the opportune moment to position them securely within the framework, ensuring they are level and adequately supported.
Step 4: Crafting the Entrance
Embark on crafting the cupboard's door(s) with meticulous attention to detail. Measure and cut the wood material for the door to match your design specifications. Skillfully attach hinges to the door, ensuring they are perfectly aligned, and then affix the hinges to the main structure, guaranteeing smooth and secure door operation.
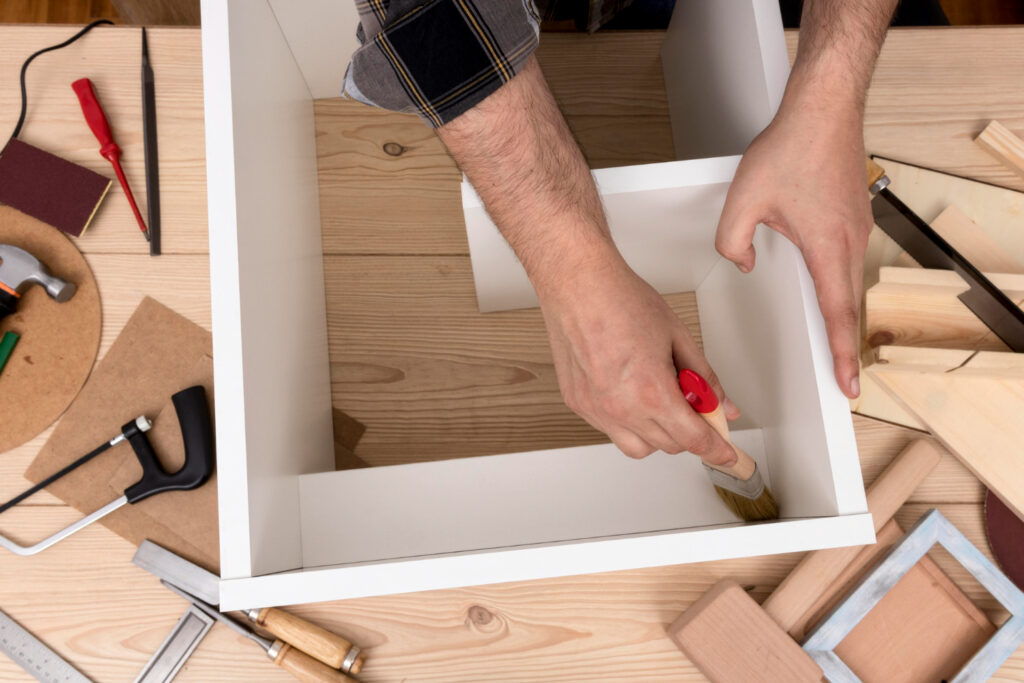
Step 5: Elevating Aesthetics and Functionality
To refine the visual appeal and functionality of your cupboard, commence by meticulously sanding down any rough edges on the wood surfaces. This step ensures a polished and splinter-free finish.
Next, apply your chosen finish to the cupboard, whether it be a vibrant coat of paint or a protective layer of varnish. This not only enhances the aesthetic appeal but also safeguards the wood from wear and tear.
Finally, consider adding stylish handles or knobs to your cupboard doors, completing the project with a personalized touch and facilitating easy access.
Tips for Enhancing Your Cupboard's Aesthetics
Stencil Designs for Artistic Patterns
Instead of a plain, solid color, take your cupboard's appearance to the next level by incorporating stencil designs. Experiment with various patterns and motifs that match your decor style. Stencils provide a unique and artistic touch to your cupboard's surface, making it stand out.
Wallpaper for a Decorative Touch
Add depth and character to your cupboard by applying wallpaper to its inner surfaces. Choose from a wide range of wallpaper designs, from elegant and traditional to modern and vibrant. This simple addition can infuse personality and charm into your cupboard's interior.
Create a Floating Effect
To achieve a contemporary and sleek look, consider installing your cupboard slightly off the ground. This floating effect not only adds an interesting visual element but also makes cleaning underneath a breeze. You can further enhance this effect by selecting a cupboard with minimalist legs or concealed supports.
Illuminating with LED Strip Lights
Upgrade your cupboard's functionality and style by integrating LED strip lights inside. These lights not only enhance visibility but also create a warm and inviting ambiance. Customizing the lighting color and intensity allows you to set the mood and highlight specific items within your cupboard, such as collectibles or fine china.
Glass Fronts and Display Shelves
Replace solid cupboard doors with glass fronts or add glass shelves to create an elegant display space. This allows you to showcase your cherished glassware, china, or collectibles, adding sophistication and visual interest to your cupboard.
Custom Hardware
Give your cupboard a unique and personalized touch by choosing custom hardware. Select handles, knobs, or pulls that complement your design theme. The right hardware can serve as a stylish accent, tying together the overall look of your cupboard.
Decorative Molding and Trim
Enhance the cupboard's architectural appeal by adding decorative molding and trim. Crown molding, beadboard, or wainscoting can all contribute to a more refined and polished appearance. These details can be painted to match your chosen color scheme or left in a natural wood finish for a rustic touch.
Paint or Stain
A fresh coat of paint or a wood stain can work wonders in transforming the look of your cupboard. Choose colors that harmonize with your room's decor and consider distressing or antiquing techniques for a shabby chic or vintage vibe.
Common Mistakes to Avoid
When embarking on a cupboard enhancement project, it's vital to be aware of common mistakes that can hinder the success of your endeavor. By learning from these pitfalls, you can ensure a more satisfying and enduring outcome. Here are some crucial errors to avoid, along with additional information to help you make informed decisions:
- Skimping on Materials: It's tempting to cut costs by opting for cheaper materials, but this can be a major misstep. Always prioritize high-quality materials when building or renovating your cupboard. Quality materials not only guarantee a longer lifespan for your furniture but also contribute to a more luxurious and visually appealing final product. Consider factors like the type of wood, finish, and hardware to make an informed choice.
- Not Measuring Accurately: The importance of precise measurements cannot be overstated. Inaccurate measurements can lead to misalignment issues, making your cupboard look unprofessional and dysfunctional. Invest time in measuring twice or even thrice before making any cuts or adjustments. Ensure that your cupboard fits seamlessly into its designated space and aligns with other elements in the room.
- Skipping Sanding: Sanding may seem like a tedious step, but it is crucial for achieving a smooth and polished finish. Proper sanding prepares the surface for paint, stain, or other finishes, allowing them to adhere evenly and flawlessly. Neglecting this step can result in an uneven and unattractive appearance, which is difficult to rectify once your cupboard is complete.
- Overloading Shelves: While it's tempting to maximize storage space, overloading shelves is a common mistake that can lead to premature wear and tear. Even if your cupboard is constructed with robust materials, excessive weight can cause sagging, distortion, or damage over time. To maintain the integrity of your cupboard, distribute weight evenly and consider installing additional supports or reinforcing shelves as needed.
- Neglecting Proper Maintenance: Once your cupboard is in place, don't forget to implement a regular maintenance routine. Dust, moisture, and daily use can take a toll on its appearance and functionality. Ensure that you clean and inspect your cupboard periodically, addressing any issues promptly to prevent long-term damage.
- Ignoring Design Principles: Failing to consider design principles such as balance, proportion, and harmony can result in a disjointed and unappealing cupboard. Take time to plan your cupboard's design carefully, considering how it fits into the overall aesthetic of the room. Choose colors, patterns, and finishes that complement your existing decor for a cohesive look.
- Rushing the Finishing Process: Patience is key when it comes to finishing your cupboard. Rushing through the painting, staining, or sealing process can lead to drips, streaks, and imperfections. Follow recommended drying times, apply multiple coats if necessary, and take the time to sand between coats for a flawless finish.
FAQs
Q1: Is it cheaper to build your own cabinets?
A1: Building your own cabinets can be cheaper than buying pre-made ones, but it depends on several factors. DIY cabinets can save you money on labor costs, but you'll need to consider the cost of materials, tools, and your own time. Additionally, your skill level and access to resources can impact the overall cost. If you have the necessary skills and tools, building your own diy kitchen cabinetscan be cost-effective, but it may not always be the cheapest option for everyone.
Q2: Can I build my own cupboard?
A2: Yes, you can build your own cupboard. DIY cupboards are a viable option if you have some woodworking skills and access to the necessary tools and materials. Building a cupboard can be a rewarding project, allowing you to customize the design and size to fit your needs. However, ensure you have the required knowledge or seek assistance to ensure safety and quality.
Q3: What is the cheapest way to redo cabinets?
A3: The cheapest way to redo update your kitchen cabinets typically involves refinishing or repainting them rather than completely replacing them. Here are some cost-effective cabinet makeover options:
- Painting: Sand and paint your cabinets with a fresh coat of paint. It's a budget-friendly way to update their appearance.
- Staining: If your cabinets are wood, consider staining them to enhance the natural grain and color.
- Adding New Hardware: Replace cabinet knobs and handles to give your paint kitchen cabinets a new look without a major expense.
- Refacing: This involves applying a veneer or new cabinet doors to the existing cabinet framework, which can be more affordable than a complete replacement.
Q4: What is the cheapest material to build a cupboard?
A4: The cost of materials for building a cupboard can vary depending on your location and requirements, but some affordable options include:
- Plywood: Plywood is often a cost-effective choice for cupboard construction. It's sturdy and readily available in various thicknesses and finishes.
- Particleboard: Particleboard is another budget-friendly option, but it may not be as durable as plywood.
- MDF (Medium-Density Fiberboard): MDF is an engineered wood product that is often less expensive than solid wood and can be suitable for cupboard construction.
- Melamine: Melamine is a type of particleboard with a smooth, durable surface. It's affordable and commonly used for cabinet interiors.
Q5: What tools do I need to build my own cabinets or cupboard?
A5: To build your own cabinets or cupboard, you'll typically need basic woodworking tools, including a saw, drill, measuring tape, square, clamps, screwdrivers, sandpaper, and safety equipment like goggles and hearing protection. The specific tools required may vary depending on the complexity of your project and the materials you choose.
Q6: How can I learn to build cabinets or cupboards if I have no prior experience?
A6: Learning to build cabinets diy kitchen cabinet or cupboards can be a rewarding DIY project, even for beginners. You can start by researching online tutorials, watching instructional videos, or enrolling in woodworking classes at a local community college or workshop. Many home improvement stores also offer workshops or guidance on cabinet-making. Starting with simple projects and gradually working your way up in complexity is a good approach for beginners.
Q7: Are there any safety considerations when building cabinets or cupboards?
A7: Yes, safety is crucial when working on woodworking projects. Here are some safety considerations:
- Protective Gear: Wear appropriate safety gear, including safety glasses, hearing protection, and dust masks.
- Proper Ventilation: If you're working with paints, stains, or finishes, ensure good ventilation to avoid inhaling fumes.
- Tool Safety: Follow the manufacturer's guidelines for using tools and equipment safely. Keep blades sharp to prevent accidents.
- Work Area: Keep your work area clean and organized to prevent trips and falls.
- Fire Safety: Be cautious when working with flammable materials and have a fire extinguisher nearby.
- Electricity: If using power tools, be aware of electrical hazards and use ground fault circuit interrupters (GFCIs) when working in wet areas.
Q8: How can I estimate the cost of building my own cabinets or cupboard?
A8: Estimating the cost of your DIY cabinet or cupboard project involves considering factors like materials, hardware, tools, and finishing products. You can create a budget by researching prices for the materials you plan to use, adding the cost of tools you don't already own, and factoring in any additional expenses for finishes or decorative elements. It's a good idea to overestimate slightly to account for unexpected costs that may arise during the project.
Conclusion
In my journey of crafting DIY cupboards, I've come to appreciate not just the cost savings but the incredible sense of accomplishment that arises from building something with your own two hands. These cupboards aren't just storage solutions; they're a canvas for creativity and self-expression. They reflect my unique preferences, from the choice of materials to the finishing touches that add character and charm.
The journey of creating these DIY cupboards is a learning experience like no other. It's a chance to master woodworking skills, embrace design principles, and discover the joy of turning raw materials into functional works of art. With each project, I've honed my craftsmanship and gained confidence, realizing that DIY is not just about saving money; it's about investing in personal growth.
Furthermore, by handpicking eco-friendly materials and finishes, I've been able to reduce my environmental footprint, making my living space not only aesthetically pleasing but also sustainable. And when I admire the finished cupboards, I'm reminded of the hours of dedication, attention to detail, and the sense of pride that went into their creation.
So, whether you're embarking on your first DIY cupboard project or adding the finishing touches to an existing one, remember that these custom creations are more than just furniture; they're a testament to your creativity, resourcefulness, and the deep satisfaction of turning a vision into reality. Embrace the journey, enjoy the process, and relish in the beauty and functionality of your very own DIY cupboards.