DIY Repair Parts
After embarking on numerous DIY journeys myself, I can wholeheartedly attest to the exhilaration and pride that come from seeing a project through to completion. It's not just about the money saved, but the tangible proof of one's capability and creativity.
Yet, the backbone of these DIY triumphs often lies in the meticulous selection and application of the right repair parts. As you venture into your own DIY projects, armed with the knowledge from this guide, remember that every challenge faced and every piece fitted together is a testament to your resilience and ingenuity.
Embrace the process, cherish the learning curves, and above all, relish the incomparable satisfaction of saying, “I did it myself.”
Understanding The DIY Repair Parts
When diving into the world of Do-It-Yourself (DIY) projects, the importance of understanding the various repair parts cannot be overstated. Regardless of the task at hand, from simple fixes like addressing a dripping faucet to more intricate undertakings such as assembling a piece of furniture, every project is built upon a foundation of essential components.
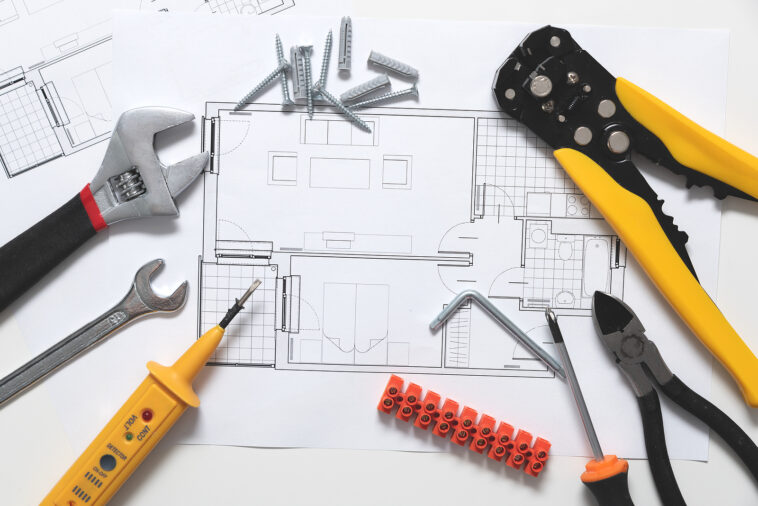
These repair parts are often the unsung heroes of any DIY project, acting as the glue that holds everything together. They come in an array of shapes and sizes, including:
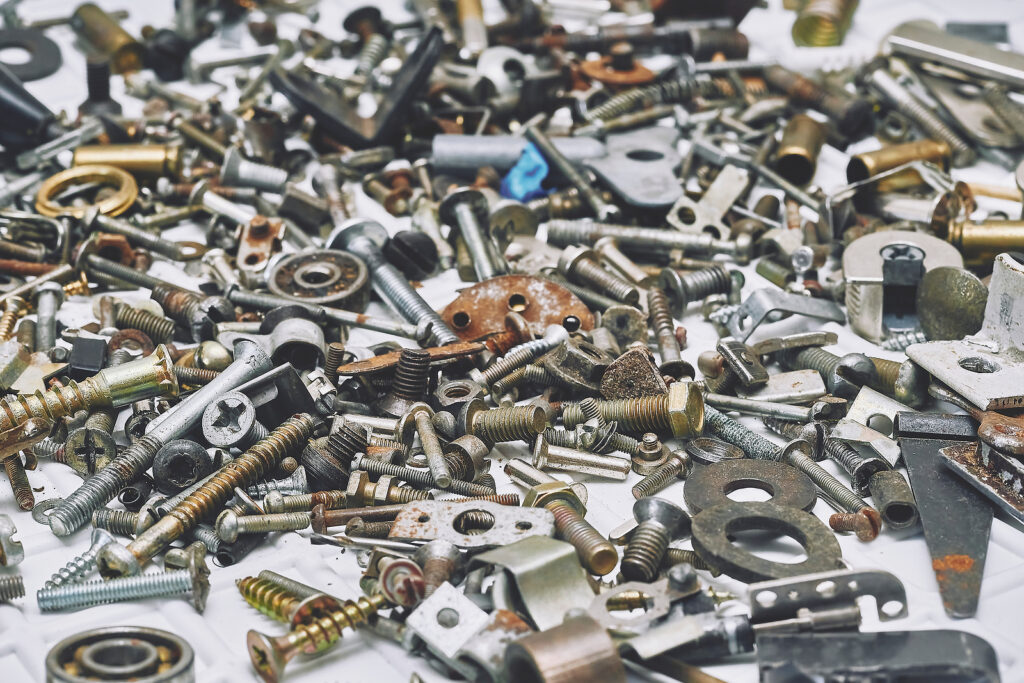
- Tiny Elements: These often include screws, nails, washers, and pins. While they might seem insignificant due to their size, they play a pivotal role in holding larger components together, ensuring stability and durability of the final product.
- Larger Mechanical Components: Examples of these would be gears, brackets, hinges, or even pipes. These parts often contribute to the primary function or structure of the project.
- Specialized Parts: Depending on the project, there might be a need for more specialized components. This could mean electrical parts like wires and resistors for electronic repairs or specific fittings for plumbing tasks.
To ensure the success and longevity of your DIY endeavors, it's imperative to:
- Know Where to Source Parts: Always ensure you're purchasing from reputable vendors, whether it's a local hardware store or an online marketplace. Quality matters, and not all parts are created equal.
- Understand Their Usage: Before starting, familiarize yourself with each component's purpose and functionality. This will not only help in efficient assembly but also in troubleshooting should things go awry.
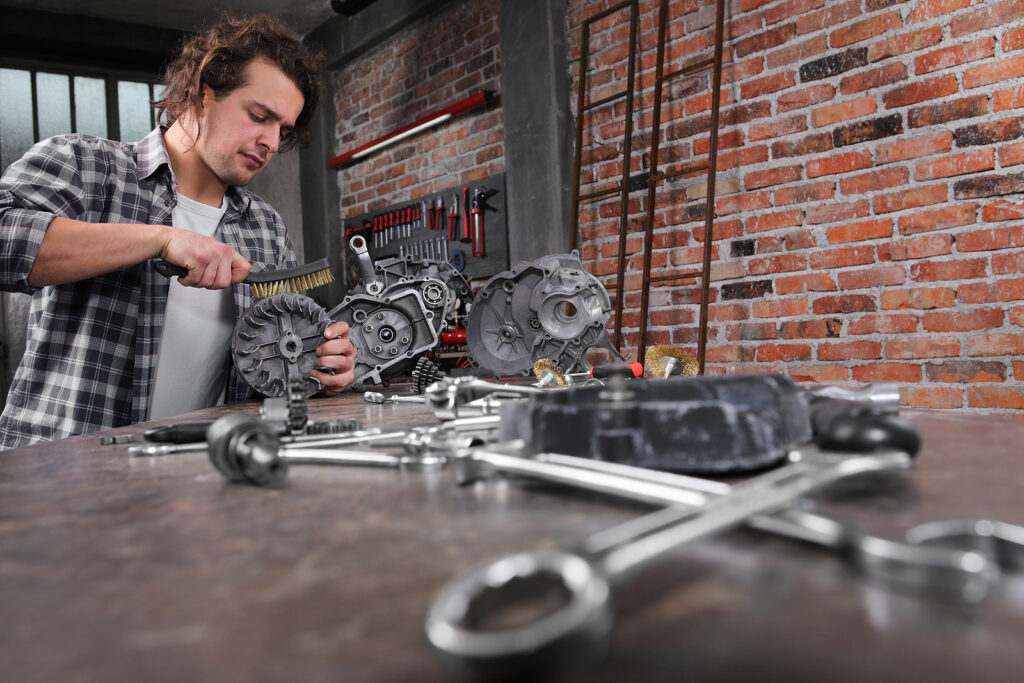
- Have the Right Tools: Even the best parts won't be of much use if you don't have the appropriate tools to install them. Ensure you have a well-equipped toolkit that caters to the needs of your project.
The Benefits of Choosing DIY Repairs: A Deeper Dive
Significant Cost Savings
Without a doubt, one of the most attractive incentives for delving into DIY repairs is the financial advantage. By undertaking projects yourself, you bypass the often substantial costs associated with professional labor. Beyond labor, you can also save on materials. By sourcing them yourself, you have the option to shop around, take advantage of sales, or even repurpose existing materials.
A Sense of Personal Achievement
There's an undeniable feeling of satisfaction derived from seeing a project through from start to finish. This emotional reward can even be therapeutic for some. DIY projects not only test and enhance your problem-solving skills but also give you a tangible testament to your dedication, patience, and skill. Every time you glance at what you've fixed or built, you're reminded of your capabilities.
Unbridled Customization Opportunities
When you're at the helm of a repair or creation, you dictate the direction and the details. This control means your projects can be tailored precisely to your tastes and needs. Want a specific shade of blue for your shelf? No problem. Need a custom-sized table for that awkward dining room corner? You can make it happen. The world of DIY offers an unparalleled realm of customization that often can't be matched by off-the-shelf solutions.
Enhanced Knowledge and Skill Set
Every DIY project, whether successful or a learning experience, adds to your repertoire of skills. Over time, you'll find that tasks you once considered daunting become second nature. This continuous learning can also boost your confidence, making you more self-reliant in various areas of your life.
Eco-friendly Approach
DIY repairs often lend themselves to a more sustainable approach. By fixing and repurposing items, you contribute to reducing waste. Instead of discarding broken items, breathing new life into them can be both environmentally responsible and creatively fulfilling.
Where to Find DIY Repair Parts
- Local Hardware Stores: Often, the best place to start your search is at a local hardware store. Employees can be a wealth of knowledge and provide recommendations.
- Online Marketplaces: Websites like Amazon, eBay, and specialized online stores often have a vast range of DIY repair parts. Make sure to check customer reviews and ratings.
- Salvage Yards: For those more adventurous, salvage and scrap yards can be gold mines for finding unique or hard-to-come-by parts at a fraction of the cost.
- Swap Meets & Garage Sales: Never underestimate the treasures you might find at a local swap meet or garage sale. Many people sell unused or slightly used parts they no longer need.
How to Choose the Right DIY Repair Parts
Comprehensive Understanding of Your Project
Before diving into any DIY repair or creation, it's paramount to have a clear vision and understanding of the task ahead. Begin by conducting research or even consulting expert guides or videos related to your project. This will give you a good grasp of what you're about to undertake. Once you've done that, create a detailed list of all the parts you'll need. This not only ensures you won't forget anything but also helps in budgeting and planning the shopping trip.
Prioritize Quality Over Immediate Cost Savings
While hunting for parts, you might come across a variety of price points. Though it's instinctive to lean towards the most cost-effective option, it's essential to gauge the quality of the parts. Investing in higher-quality parts, even if they come at a slightly higher price point, usually means better durability and fewer replacements in the future. Think of it as an investment that will save you both time and money down the line.
Compatibility is Key
One of the common pitfalls in DIY repairs is purchasing parts that don't fit or aren't compatible with the existing setup or device. Always check specifications, measurements, and, if possible, model numbers to ensure that the part you're purchasing will seamlessly fit into your project. For gadgets or appliances, referring to the user manual can provide valuable information about the type and specifications of parts required.
Seek Expert Opinions and Reviews
In today's digital age, numerous online forums, communities, and review platforms offer insights into various DIY parts. Before making a purchase, it might be beneficial to read reviews from others who have undertaken similar projects or used the same parts. Their experiences can guide you to make informed decisions.
Consider the Longevity and Warranty of Parts
While examining the quality, also look into the longevity of the part. Some parts might come with a warranty or a guarantee, which can be a testament to their durability and the manufacturer's confidence in the product. This not only ensures peace of mind but also means potential cost savings if replacements are needed in the warranty period.
How to Use DIY Repair Parts
Dive into Manuals and Guides
Before embarking on any DIY journey, arm yourself with knowledge. If your project revolves around fixing or upgrading an existing product, there's a good chance it came with a manual. These manuals often contain step-by-step guides, diagrams, and specific notes about the parts in question. Moreover, in the age of the internet, there are countless tutorials, videos, and forums where experienced DIYers share their insights and experiences. By investing time in understanding these resources, you'll be better equipped to handle the parts and the repair process efficiently.
Prioritize Safety Above All
Tackling DIY projects can come with certain risks, from minor injuries to potential hazards. To minimize these risks:
- Wear appropriate safety gear: Depending on the nature of the project, this could include gloves (to protect from sharp edges or chemicals), safety glasses (to shield your eyes from debris or splashes), and even protective clothing or aprons.
- Ensure a conducive environment: Your workspace should be free from unnecessary clutter, have good ventilation (especially if you're working with chemicals or paints), and be adequately lit. A well-lit area not only helps in precision but also minimizes the risk of accidents.
Equip Yourself with the Right Tools
Using the correct tools is not just about getting the job done; it's about getting it done right. Improvising or using inappropriate tools can damage the repair parts or lead to improper installation. This can affect the durability of the repair and may even end up costing more in the long run. Keep a well-organized toolkit and ensure that tools are in good working condition before starting.
Post-Repair Testing and Inspection
Once you've successfully installed or repaired using the DIY parts, the job isn't over. It's essential to test your work. For instance, if you've repaired an electrical appliance, plug it in and ensure it functions correctly. If it's a mechanical fix, like a door hinge, check its movement and stability. This step confirms the effectiveness of your repair and ensures that there aren't any overlooked issues.
Seek Feedback
If possible, share your completed project or repair with a knowledgeable friend or family member, or even in online DIY communities. They might provide insights or feedback that you hadn't considered. This not only helps in the current project but also equips you with more knowledge for future endeavors.
Tips for Storing and Organizing Your DIY Repair Parts
Emphasize Clear Labeling
To streamline your DIY process, it's crucial to have an organized system. Start by labeling every storage container, drawer, or compartment with clear and descriptive tags. Consider investing in a label maker or using printable labels for a more professional look. When labeling, be specific – instead of just writing “screws,” mention the type, size, or use, such as “2-inch wood screws” or “drywall anchors.”
Opt for Transparent Storage Solutions
Clear storage bins or containers are a godsend for DIY enthusiasts. They allow you to quickly glance and identify the contents, saving you time and effort from rummaging through several boxes. If you can't find clear bins, consider using bins with a transparent window or section to give you a peek into the contents.
Periodic Inventory Checks and Restocking
Regular maintenance of your DIY inventory is as vital as the repair tasks themselves. Set aside time, perhaps monthly or quarterly, to go through your collection. Check for parts that are running low or have deteriorated over time. Restocking ensures you're not caught off-guard in the middle of a project due to a missing component.
Implement a Categorization System
Beyond just labeling, consider organizing your parts by category. For instance, all plumbing-related parts can be in one section, electrical components in another, and so on. This can be further broken down into subcategories for more efficient access.
Use Modular Storage
Modular storage solutions, like drawer dividers or compartmentalized trays, can be extremely helpful, especially for tiny parts. They allow you to separate different components within a single drawer or bin, preventing them from getting mixed up.
Maintain a Dedicated Workspace
If space allows, set up a dedicated workspace or station for your DIY projects. This area can house all your parts, tools, and any ongoing projects. Keeping everything in one place minimizes the chances of misplacing items and enhances your overall efficiency.
Digital Tracking
For those who are more tech-savvy, consider using a digital inventory system or app. This can help you track quantities, set reminders for restocking, and even provide quick access to where each item is stored.
FAQs for the DIY Repair Parts Guide
What types of repair parts might I encounter in DIY projects?
The repair parts you'll encounter are vast and varied, depending on the specific project you're tackling. Common examples include small fasteners like screws or nails; larger mechanical components such as gears, pulleys, or brackets; and specialized items tailored for specific jobs, like electrical capacitors or plumbing fittings. As the DIY spectrum encompasses many fields, it's crucial to research and familiarize yourself with the necessary components for your chosen task.
How can I ensure I'm purchasing the right quality and type of parts for my DIY venture?
When sourcing parts, prioritize quality—even if it might seem pricier in the short term. Ensure the parts are compatible with your project's requirements by consulting manuals or guidelines. Always read customer reviews for insights on durability and functionality. Additionally, considering warranties or guarantees can be a sign of a manufacturer's trust in their product. Lastly, patronize only well-established, reputable vendors, whether brick-and-mortar stores or online platforms.
Is a toolkit imperative for DIY projects?
A resounding yes! Equipping yourself with the right tools is pivotal for any DIY endeavor. Proper tools not only facilitate correct installation but also enhance the quality of your work. They prevent unwanted damages and ensure the longevity and durability of your repair or creation.
Beyond cost savings, are there other intangible benefits to undertaking DIY repairs?
Certainly! The sense of satisfaction and accomplishment derived from bringing a DIY project to fruition can be immensely therapeutic and rewarding. Moreover, DIY projects allow for a tailored approach—enabling you to customize according to personal preferences. They also serve as a continuous learning journey, introducing you to new skills and techniques. Furthermore, by repairing and reusing, you're adopting a sustainable, eco-friendly mindset, reducing waste and environmental impact.
Where can I source repair parts for my DIY endeavors?
Several avenues are available for procuring repair parts. Local hardware stores often carry a wide range of components. Online marketplaces, such as Amazon and eBay, offer an extensive selection and the convenience of home delivery. For unique or vintage parts, salvage yards, local swap meets, or garage sales can be treasure troves. Always ensure the parts are in good condition and fit your project's requirements.
Why should safety be prioritized in DIY projects?
While DIY projects bring a sense of accomplishment, they also come with inherent risks, ranging from minor cuts to more severe accidents. Prioritizing safety means wearing protective gear, like gloves and safety goggles, and ensuring you're working in a hazard-free environment. Taking these precautions not only safeguards against potential injuries but also ensures the overall success and quality of your project.
Conclusion
Embarking on the DIY journey, I've personally felt the thrill of bringing projects to life and the pride that emerges from overcoming challenges with my own hands. This guide only reaffirms the belief that the heart of any successful DIY venture lies in the details, notably the right repair parts.
Understanding their role, sourcing them wisely, and using them correctly makes all the difference. As I've delved deeper into the world of DIY, the myriad benefits became clearer — from cost savings to the unmatched personal gratification and the empowerment that comes with learning and mastering new skills.
Equally essential is the organized storage of these parts. Like a well-oiled machine, having every component in its place and ready at a moment's notice makes the process smoother and more enjoyable. And, while the digital age offers numerous resources to aid our DIY endeavors, there remains an intrinsic value in the tangible, hands-on experience.
At the end of the day, when I stand back and look at the fruits of my labor, it's not just about the finished product, but the journey to get there — a journey filled with learning, challenges, creativity, and incomparable joy of saying, “I did it myself.”
Sources
https://hbr.org/2023/01/research-the-unintended-consequences-of-right-to-repair-laws
https://journals.sagepub.com/doi/10.1177/20438869231178037?icid=int.sj-abstract.citing-articles.3