Painting with Stencils: 4 Ways To Transform Your Home in No Time
Adding a personal touch to your home decor doesn't have to be an arduous process. With the right tools and a bit of creativity, you can transform any space into a work of art. One of the most versatile and easy-to-use tools at your disposal? Stencils. In this comprehensive guide, we'll take a deep dive into the world of painting with stencils, showcasing four transformative methods that you can use to revamp your home decor in no time.
Introduction to Stencil Painting
Stencils are templates with cut-out designs, typically made from plastic, cardboard, or metal. When the paint is applied over the stencil onto a surface, it leaves a pattern or image outlined by the stencil's design. This versatile technique allows you to replicate complex designs easily and consistently, which can be ideal for home decor projects.
Stencil Painting Techniques
Before we delve into our four transformative stencil painting methods, it's essential to understand some basic stencil painting techniques. Here are a few essential tips to keep in mind:
- Selecting Your Paint: Acrylic and latex paints are popular choices for stencil painting, thanks to their fast drying time and excellent coverage. Oil-based paints can also be used, but they generally require longer drying times.
- Applying Your Paint: The most common method of applying paint in stencil art is by using a stencil brush or sponge. It's crucial to use a dabbing or stippling motion rather than brushing, as this reduces the risk of paint seeping under the stencil edges.
- Securing Your Stencil: To ensure sharp, clean lines, always secure your stencil firmly to your surface. You can use stencil adhesive or low-tack tape for this purpose.
- Practicing Patience: Remember that stencil painting is often a slow, methodical process. It's better to build up light layers of paint rather than rushing with a thick layer that might bleed beneath the stencil.
Creating Custom Stencils
While there are countless stencil designs available for purchase, creating custom stencils allows for an unparalleled level of personalization. Designing your stencil requires some preparation, but it can be done relatively easily using tracing paper, a printer, and a sharp cutting tool.
Four Ways to Transform Your Home with Stencil Painting
Now that we've covered the basics, let's delve into our four exciting ways to transform your home with stencil painting:
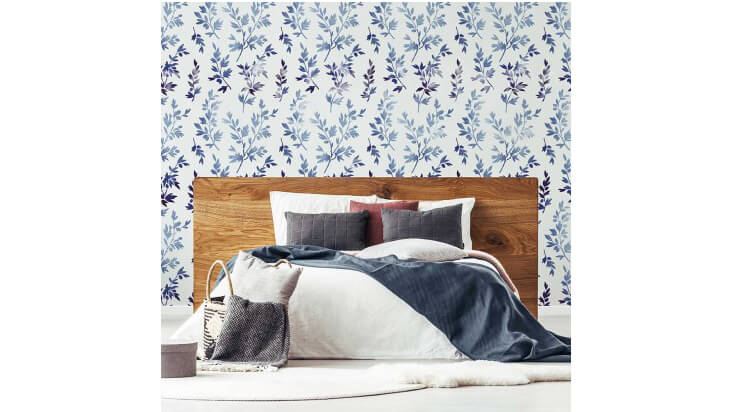
1. Stencil Painted Walls
Transforming an entire room can be as simple as adding a stencil design to your walls. You can choose to create a statement wall with a large, bold pattern or opt for a more subtle, repetitive design on all walls.
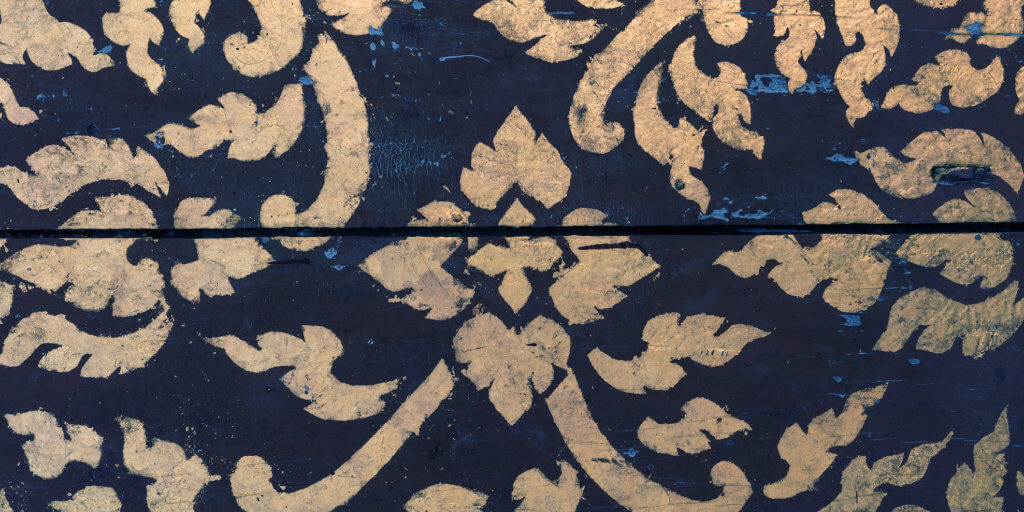
2. Stencil Painted Furniture
Stencil painting is not limited to walls. It's also a fantastic method for updating your furniture. With a well-chosen stencil design, you can breathe new life into an old chair or table, giving it a unique, bespoke look.
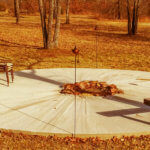
3. Stencil Painted Floors
Yes, you can even stencil paint your floors! Whether it's creating a faux tile effect or adding a decorative border to wooden floors, stencil painting can make a big impact on your home's overall aesthetic.
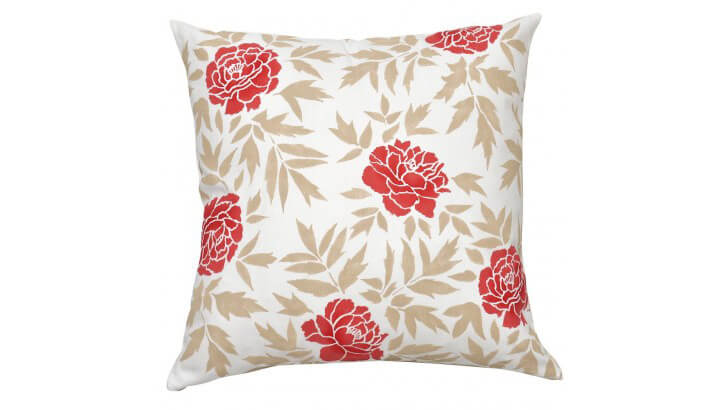
4. Stencil Painted Fabrics
From cushion covers to curtains, adding stencil designs to your fabrics can add a personal touch and inject a new lease of life into your home.
Maintaining Your Stencil-Painted Surfaces
Maintaining the beauty of your stencil work is crucial to keep it looking fresh and vibrant. This section will offer tips on how to clean and protect various stencil painted surfaces in your home, from walls to furniture, floors, and fabrics.
Troubleshooting Common Stencil Painting Problems
The appeal of stencil painting lies not only in the creation process but also in the enduring allure of your crafted designs. Preserving the vibrancy and freshness of your stencil painted surfaces is crucial. Here's a comprehensive guide on maintaining different types of stencil painted surfaces in your home:
1 Walls
- Regular Dusting: Using a soft microfiber cloth, gently dust your stencil painted walls. Regular dusting prevents dust accumulation, which could dull the brightness of your paint over time.
- Spot Cleaning: For any spots or stains, use a slightly damp cloth with a mild detergent. Be careful not to scrub too hard, as this could damage the painted design.
- Long-term Care: If you've used high-quality paint, your stencil painted walls should have good longevity. Avoid placing these walls in direct sunlight for prolonged periods to prevent color fading.
2 Furniture
- Dusting: Just like walls, stencil painted furniture needs regular dusting. Make sure to get into all the nooks and crannies where dust might settle.
- Cleaning: Clean the surfaces using a mild soap and a soft cloth. Be sure to dry the furniture thoroughly after cleaning to avoid moisture damage.
- Furniture Polish: A light coat of furniture polish can help preserve the paint and give your piece a beautiful sheen.
3 Floors
- Daily Sweeping: Use a soft broom or dry mop to sweep stencil painted floors daily.
- Mopping: Wet mop your floors with a gentle floor cleaner. Ensure that your mop is damp, not soaking wet, to prevent water damage.
- Protective Sealant: Consider using a protective sealant for high-traffic areas. This will preserve the design and keep your floors looking their best.
4 Fabrics
- Washing: If you have used fabric paint for your stencil designs, most items can be machine washed. Turn the fabric item inside out and use a gentle cycle.
- Drying: Air dry the stencil painted fabric where possible. If you must use a dryer, opt for the lowest heat setting.
- Ironing: When ironing, avoid direct contact with the stencil painted design. Use a pressing cloth between the iron and the fabric to protect the design.
Essential Stencil Painting Tools
To achieve the best results with stencil painting, there are a few essential tools you'll need to have on hand. These include:
- Stencils: You can either purchase pre-made stencils or create your own using cardstock or stencil plastic.
- Paints: Acrylic, latex, and oil paints are commonly used for stencil painting. The type of paint you choose will depend on the surface you're painting.
- Brushes: Stencil brushes and sponges are best for stencil painting as they can distribute paint evenly without seepage.
- Stencil adhesive or low-tack tape: These will help secure the stencil to your surface to prevent it from moving while you work.
- Palette: You'll need a surface to load your brush with paint and remove the excess before applying it to your stencil.
Stencil Painting on Glass
Stencil painting isn't confined to walls or furniture. One of the more exquisite applications lies in decorating glass surfaces, infusing a unique character to the usually transparent medium. With just a few supplies and steps, you can transform ordinary glass into a captivating visual element. Here's how:
1. Choose Your Canvas
You can stencil paint on almost any glass surface, expanding the realm of your home decor ideas. Some popular options include:
- Mirror Frames: Add a touch of personality to your mirrors by painting an intricate stencil design on the frame. This can turn a standard mirror into an artistic piece that reflects more than just your image.
- Glass Doors: Give your glass doors a makeover with stencil painting. A beautifully painted door can serve as a welcoming statement piece for guests.
- Window Panes: Enhance your view by adding a subtle stencil design to your window panes. Whether it's a floral pattern or geometric design, the outcome can be stunning.
- Glassware: Personalize your drinking glasses, vases, or plates with your favorite stencil designs. This can add a fun element to your tableware or make for a thoughtful, homemade gift.
2. Select the Right Paint
The kind of paint you use for stencil painting on glass is crucial. Acrylic enamel paints are typically the best choice, as they are specifically designed for glass and ceramics. They come in a range of colors and finishes, giving you the freedom to let your creativity shine.
3. Prep the Glass
Before you begin painting, ensure the glass surface is clean and free from dust or grease. Use a glass cleaner and a soft cloth to prepare your canvas. This step ensures that the paint adheres properly to the glass surface, leading to a smoother and more vibrant result.
4. Secure Your Stencil and Start Painting
Follow the usual stencil painting process: secure your stencil, apply paint with a dabbing motion, and let it dry. Be careful not to apply too much paint at once to prevent it from seeping under the stencil's edges.
5. Seal the Paint
Once your paint has fully dried, consider applying a sealant to protect your design. This is particularly crucial for glassware that will be handled frequently or may need washing.
Stencil painting on glass offers endless possibilities to enrich your home with artistic elegance. With the right tools, designs, and a bit of patience, you can transform plain glass surfaces into extraordinary decor pieces that are truly a reflection of your style.

Stencil Painted Ceiling
If you're up for a challenge, consider stenciling your ceiling. It's a less common choice, which makes it a great opportunity to make a statement. A subtle pattern can add depth and intrigue to a room without being too overwhelming.
Stencils in the Nursery or Kid's Room
Children's rooms are excellent candidates for stencil painting. A themed stencil design can add a playful element to your kid's room or nursery. Think stars, animals, superheroes, or whatever else that sparks joy for your little ones!
Final Thoughts
The beauty of stencil painting lies in its versatility and simplicity. Whether you're an experienced DIY-er or a novice to home decor, these four stencil painting methods can empower you to transform your home into a more vibrant, personalized space.
The key to successful stencil painting is patience, practice, and creativity. So, don't be afraid to experiment, try different patterns and colors, and let your imagination guide your brush.