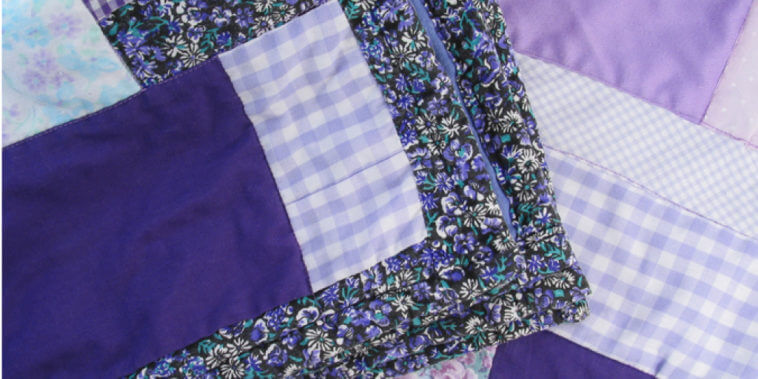
Keepsake Quilting Make Beautiful Quilts Out of Baby Clothes, Concert Tees, Jeans, and More!
Embracing the art of keepsake quilting has been an incredibly heartwarming journey for me, especially as I navigated my baby's first year. This form of quilting takes the sentimental fabrics of that cherished time – the soft baby clothes, the cozy blankets, the adorable onesies – and transforms them into a quilt that beautifully captures the milestones and growth of those precious twelve months.
Sorting through these tiny garments was like reliving the tender moments all over again, each piece holding the essence of those unforgettable first smiles, wobbly attempts at sitting up, and countless cuddles. As I stitched these fabric fragments together, it was more than just a creative process; it was a way to bridge the past with the present, crafting a tangible keepsake that embodies the love, joy, and memories of my baby's incredible journey.
What is Keepsake Quilting?
Keepsake quilting is a heartfelt and intricate craft that involves the artful creation of quilts using items that hold deep sentimental significance. This practice goes beyond mere stitching; it's a method of transforming cherished possessions into tangible pieces of art imbued with memories and emotions.
Every meticulous stitch taken during the quilting process interlaces the fabric of these items with the threads of personal history, resulting in a final masterpiece that transcends its utilitarian nature. The resulting quilt, born from this labor of love, not only serves its practical function as a blanket but also evolves into a treasured keepsake, a tangible embodiment of the emotions and moments woven into its very fabric.
The Sentimental Value of Keepsake Quilts
The profound sentimental resonance of keepsake quilts unfolds in a deeply personal and evocative manner, wherein the very fabrics employed narrate tales of moments and emotions. These quilts transcend mere craftsmanship; they are conduits of memory.
Whether it's the diminutive onesie that swaddled your infant self on your inaugural journey home, an anthology of concert t-shirts that reverberate with the echoes of your teenage years, or the jeans that once embraced you snugly but have now been outgrown, each fragment of fabric embodies a fragment of memory. It's a journey encapsulated in the warp and weft, a tangible autobiography of life's chapters.
The artistry of quilting ingeniously intertwines these fragments into a cohesive whole, a tactile embodiment of nostalgia that beckons to be touched, felt, and remembered. Through the meticulous stitching that binds these fragments, an enduring piece of nostalgia takes shape—more than just a quilt, it's an heirloom suffused with emotion, poised to resonate across generations.
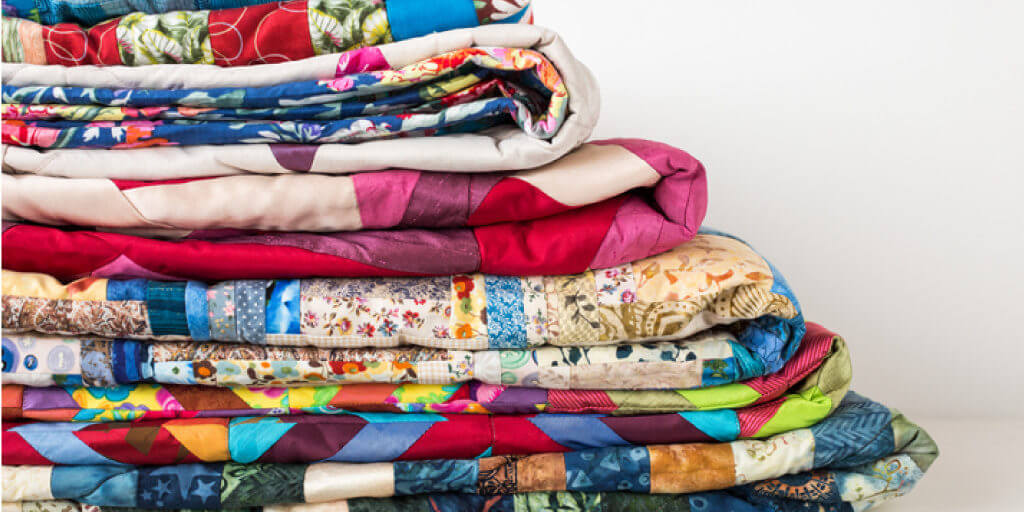
Preparing Your Keepsake Items for Quilting
The meticulous process of preparing your beloved keepsake items before they embark on their transformation into a quilt involves a series of deliberate and thoughtful steps. Each stage is a testament to the care and dedication that goes into creating a quilt that resonates with the essence of your memories.
Step 1: Discerning Selection
Begin your journey by meticulously reviewing your repository of cherished keepsakes, each item a repository of sentimentality. The selection process is an art in itself; it involves discerning which items will weave together a cohesive tapestry of memories.
Embrace the diversity within your collection, understanding that the amalgamation of various fabric types adds depth and texture to your quilt, echoing the multifaceted nature of the memories they hold.
Step 2: Reverential Cleansing
Having made your selections, the next step involves bestowing upon these items the gift of cleanliness. Delicately washing each piece becomes an act of respect, a means of bidding farewell to any remnants of stains, odors, or accumulated dust.
This cleansing ritual serves a dual purpose—it rejuvenates the fabric and ensures that no unwanted elements will mar the essence of your quilt. Additionally, by engaging in this cleansing process, you also preemptively pre-shrink the fabrics, preventing any unwelcome distortions in your quilt's final form.
Step 3: Precision in Crafting
With your now-rejuvenated keepsake items, you venture into the art of crafting. This stage entails the deliberate act of cutting the fabrics into uniform squares or rectangles—a testament to your commitment to detail.
However, within this structure lies room for creativity; the decision to maintain consistency or embrace abstract variation allows you to imprint your personal touch on the quilt's visual narrative. The act of leaving a deliberate seam allowance—usually around a quarter of an inch—attests to your dedication to precision, ensuring that each piece will harmoniously meld with its companions.
Creating Your Keepsake Quilt
With your cherished keepsake items primed and ready, the transformative journey of crafting your very own keepsake quilt begins. This intricate endeavor encapsulates not only the meticulous stitching but also the emotional resonance woven into every seam—a process that culminates in a quilt that embodies the essence of your memories.
Step 1: Conceiving the Quilt Design
Embark on your creative odyssey by thoughtfully planning the design of your keepsake quilt. Arrange the meticulously cut fabric pieces on a flat surface, allowing your imagination to roam free. Whether you choose to arrange them in a seemingly random pattern, or group together fabrics that share a thematic connection, each arrangement becomes a reflection of your personal narrative. The freedom to design is boundless, as there is no definitive right or wrong—merely an invitation to curate your memories.
Step 2: Weaving the Quilt Top
Begin breathing life into your envisioned design by delicately sewing the fabric pieces together, one stitch at a time. The process is a symphony of patience and precision, much like assembling a puzzle with emotional fragments. The journey begins by sewing each piece side by side to form a row, followed by seamlessly merging the rows. As the quilt top takes shape, so does the tale it tells.
Step 3: Crafting the Quilt Sandwich
A keepsake quilt is composed of three integral layers—the quilt top, the batting (which confers warmth and loft), and the quilt backing. This trio is often referred to as the “quilt sandwich.” The quilt-making ritual progresses by laying the quilt backing, its wrong side facing up, followed by the batting, and finally, the meticulously crafted quilt top, its right side gazing upward. This meticulous assembly sets the stage for the symphony of stitches that will meld the layers into a harmonious whole.
Step 4: Stitching Your Quilt with Sentiment
The act of quilting emerges as the binding thread that unites the layers of your creation. The stitching itself embodies a choice—whether to embark on a hand-stitched journey, infusing each thread with your presence, or to entrust a machine to weave the stitches. Each stitch becomes a testament to the emotions intertwined with the fabric. The quilting pattern, whether it adheres to a structured motif or freestyle randomness, becomes an artistic expression of your journey.
Step 5: Enveloping in the Finishing Touch
The final phase beckons you to encase your quilt in a definitive embrace—binding. This step entails meticulously sewing a fabric strip around the quilt's perimeter, accomplishing both aesthetic finesse and practical stability. The binding not only bestows a polished finish but also safeguards the quilt sandwich's outer edges, encapsulating the collective narrative within.
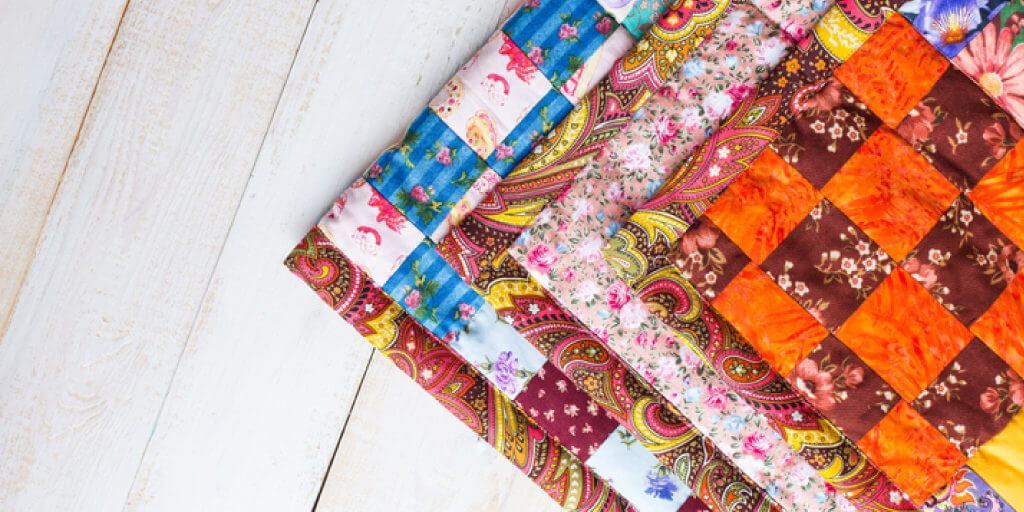
Caring for Your Keepsake Quilt
Your keepsake quilt, a repository of memories and emotions meticulously woven into fabric, has the potential to stand as a resilient heirloom across generations. With the tender embrace of thoughtful care, you can ensure that the threads of your history remain vivid and intact for years to come.
Hand Washing: An Intimate Ritual
Embrace the tradition of hand washing, an intimate ritual that extends a gentler touch to your cherished quilt. Fill a basin with cool water and a mild detergent that respects the delicacy of the fabric. Gently submerge the quilt, allowing the water to envelop the fibers. Tenderly agitate the water, ensuring the detergent is evenly distributed. After a brief immersion, allow the quilt to rest for a while, allowing the detergent to work its magic. Subsequently, rinse the quilt with care, making sure not to wring or twist it.
The Tender Caress of Machine Washing
Should the circumstances warrant, you may entrust your quilt to the care of your washing machine, albeit with the gentlest of settings. Opt for a delicate cycle, where the movement is slow and considerate. Employ a mild detergent, safeguarding the fabric from any undue stress. The intention here is not mere washing but a respectful cleansing that nurtures the quilt's longevity.
Drying: A Patient Unfolding
As your quilt emerges from its cleansing, embrace the art of drying with patience. Ideally, lay the quilt flat on a clean, dry surface. This approach preserves its shape and minimizes stress on the delicate stitching. If circumstances dictate a dryer, employ the gentlest of settings—low heat and a cycle that is not overly prolonged. Consider placing clean towels alongside the quilt, alleviating the impact of the dryer's motion.
Sunlit Caresses: A Natural Renewal
On sunny days, allow your quilt to bask in the gentle caress of sunlight. Hanging your quilt on a clothesline or draping it over a clean, smooth surface outdoors lets the rejuvenating sunlight weave its magic. However, ensure this is done for a limited duration, as prolonged sun exposure may cause fading or weakening of the fabric over time.
Storage: A Sanctuary for Memories
When not gracing your living spaces, your keepsake quilt deserves a sanctuary that cherishes its significance. Prior to storage, ensure the quilt is completely dry to prevent mold or mildew. Opt for a cool, dry, and well-ventilated space, safeguarding it from direct sunlight or extreme temperature fluctuations. To thwart dust and potential pests, wrap the quilt in clean, unbleached cotton or muslin. Should you fold the quilt, consider cushioning the folds with acid-free tissue paper to prevent creasing.
Tips for Keepsake Quilting Success
Venturing further into the realm of keepsake quilting unveils a tapestry of techniques that transcend mere craftsmanship. These in-depth strategies offer a profound understanding of the art, guiding you towards crafting a quilt that not only resonates with emotion but also defies the passage of time.
Leverage Fusible Interfacing for Stretchy Fabrics
When your quilting journey involves stretchy fabrics such as t-shirts or baby onesies, consider integrating the finesse of fusible interfacing. This versatile material, when thoughtfully applied, becomes a guardian against distortion and stretching. By employing a well-directed application of heat, the interfacing forms an alliance with your fabric, preserving its original dimensions and preventing unwanted shifts during sewing. This meticulous step doesn't only ensure accurate sizing during construction but also elevates the final quilt's appearance, lending it an aura of professionalism and precision.
Achieve Equilibrium in Your Quilt's Composition
The artistry of keepsake quilting thrives in the orchestration of a balanced composition. Thoughtfully distribute colors, patterns, and fabric varieties across the expanse of your quilt. This conscious equilibrium results in a visual harmony that captivates the eye and offers a cohesive narrative. While adhering to balance, remember that artistic license is your ally. If asymmetry aligns with your artistic vision, embrace it with confidence—your quilt, after all, is a canvas for your creativity.
The Personal Legacy of Quilt Labeling
Elevate your keepsake quilt into a living testament by adorning it with a personalized label. This small yet profound touch immortalizes the narrative behind your quilt, weaving its essence into the fabric of history. Your label is a canvas for stories—include creation dates, the names of cherished individuals whose items were incorporated, or even a heartfelt message that encapsulates the sentiment behind your creation. As time unfolds, this label becomes a portal to the past, preserving the memory of your quilt's inception and the emotions that gave it life.
Quilting Tools to Help You Get Started
Embarking on the quilting voyage with the right tools by your side transforms the process into a seamless and gratifying endeavor. As you navigate the intricacies of crafting your keepsake quilt, these indispensable tools become your allies, streamlining your efforts and infusing your creation with a touch of mastery.
Rotary Cutter and Cutting Mat: Precision Personified
The duo of a rotary cutter and a cutting mat stands as the sentinel of precision in the realm of quilting. This dynamic pair lends itself perfectly to the task of intricately cutting your fabric squares. Their synergy becomes particularly pronounced when working with substantial quantities of fabric, ensuring that each cut adheres to your envisioned measurements. As you maneuver the rotary cutter guided by the quilting ruler, the cutting mat extends a supportive surface, facilitating clean, accurate incisions that seamlessly interlock in your quilt's design.
Sewing Machine: The Engine of Efficiency
While the romance of hand-sewn quilts resonates profoundly, the sewing machine offers an accelerated avenue without compromising on craftsmanship. As you gather your keepsake items into a tapestry of memories, the sewing machine becomes your steadfast companion, weaving stitches with efficiency and consistency. This tool is especially pertinent if quilting becomes a recurrent pursuit—it stands as an investment in expediency and a testament to your commitment to the craft.
Quilting Ruler: Architect of Accuracy
In the intricate universe of keepsake quilting, precision reigns supreme. The quilting ruler emerges as the architect of accuracy, a transparent guide that empowers you to measure and cut fabric with meticulous exactitude. Its transparent structure allows you to align the ruler seamlessly with your fabric, ensuring that each measurement corresponds to your creative blueprint. When dealing with keepsake items that bear immeasurable sentimental significance, the quilting ruler becomes an instrument of respect, guaranteeing that every piece contributes harmoniously to the whole.
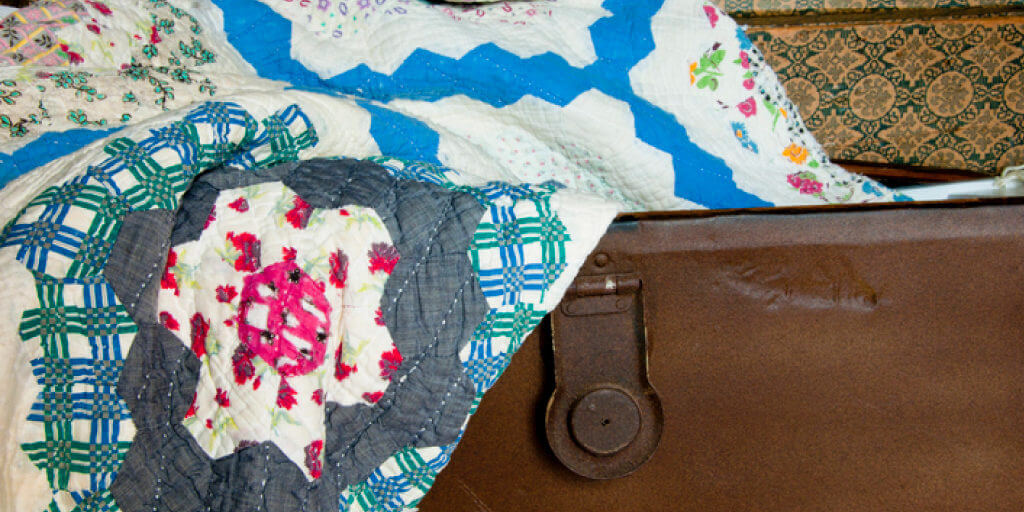
Case Study: A Keepsake Quilt Story
Let's look at a real-life example of a keepsake quilt and the meaningful story it tells.
Sarah, a long-time quilter, decided to create a keepsake quilt out of her son's old jeans and concert t-shirts. As she worked on the quilt, each piece of fabric reminded her of a different stage in her son's life. There were squares cut from the jeans he wore on his first day of high school, the t-shirt from his first concert, and even a few pieces from his baby clothes.
When the quilt was finished, it was more than just a blanket—it was a tangible reminder of her son's journey from childhood to adulthood. Now, even as he's off at college, she has a piece of him at home.
Keepsake Quilting: An Eco-Friendly Choice
Finally, it's worth mentioning that keepsake quilting is an environmentally friendly choice. By repurposing old clothing and textiles, you're reducing waste and extending the life of these materials. Not only does keepsake quilting preserve personal memories, but it also promotes sustainable living—a win-win situation!
Conclusion
As I delve into the world of keepsake quilting, I'm struck by how it transforms mere fabric into a living canvas of memories and emotions. The process is a heartfelt journey—carefully selecting cherished items, tenderly cleansing and preparing them, and then skillfully stitching them together into a tapestry that embodies the chapters of our lives. Each stitch feels like a thread of connection, weaving the essence of who we are and where we've been into a tangible legacy.
Keepsake quilting is an art of intention, urging us to slow down and infuse our creations with meaning. It's a chance to reflect on the significance of each fabric, and each stitch, and to savor the stories they hold. Through this art form, we bridge time, crafting a masterpiece that encapsulates not just memories, but the love and care we pour into creating something that resonates across generations. Ultimately, keepsake quilting is a celebration of life itself—a reminder to cherish the moments, the people, and the stories that shape us.


