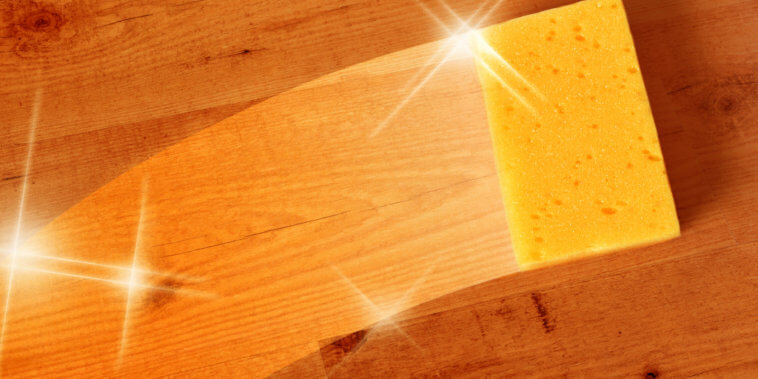
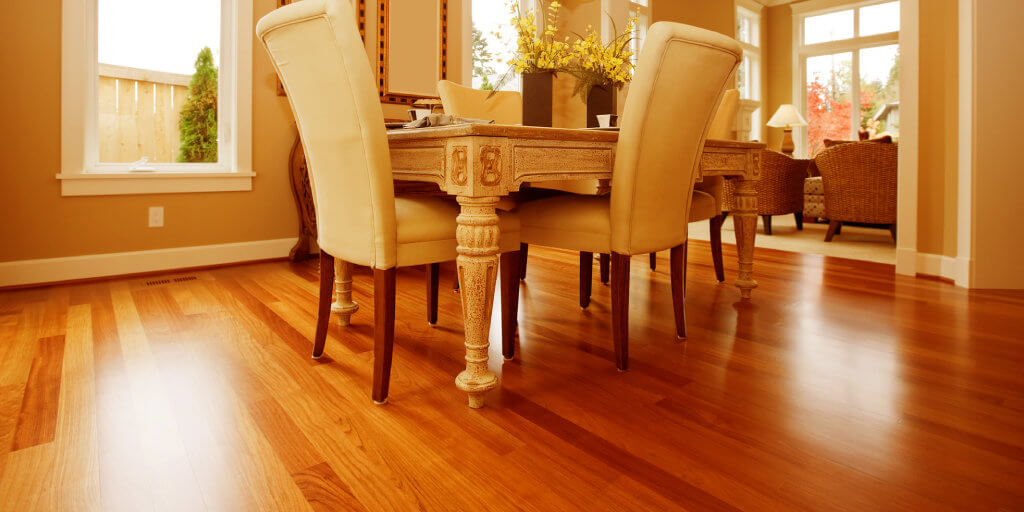
How to Refinish Hardwood Floors and Buff Your Way to Brighter Floors with Great Shine
The charm and timeless elegance of hardwood floors are undeniable. However, over time, even the most well-cared-for floors may start to lose their luster and shine. That's where refinishing comes into play. This comprehensive guide will walk you through every step of the refinishing process, enabling you to transform your worn-out floors into bright, shiny centerpieces.
Why Refinish Your Hardwood Floors?
Refinishing hardwood floors can breathe new life into your home, restoring the natural beauty and shine of the wood while also increasing your property's value. Plus, it's often a more cost-effective solution than completely replacing your floors.
What Does Refinishing Involve?
The task of refinishing hardwood floors is a comprehensive process that commences with the removal of the existing, possibly aged or damaged, finish. This is crucial as it strips away any old sealant, accumulated grime, or imperfections, laying bare the original wood surface.
Once the initial layer is stripped away, the next step is to meticulously sand down the exposed surface. This is done to ensure a perfectly smooth and level surface free from any blemishes, scratches, or embedded dirt that may have been uncovered during the removal of the old finish. Sanding requires both attention to detail and patience as it forms the basis for the new finish to be applied evenly.
Upon the completion of sanding, the task shifts to applying a fresh, new finish to the hardwood floors. This finishing layer serves multiple purposes: not only does it significantly enhance the wood's natural aesthetics, bringing out the grain and the color of the wood, but it also acts as a protective layer, defending the wood from future wear and tear, spills, and stains.
Step-by-Step Guide to Refinishing Your Hardwood Floors
Step 1: Preparation
Materials Needed:
- Protective gear (mask, goggles, ear protection)
- Vacuum cleaner
- Broom and dustpan
- Screwdriver
- Wood filler
- Sandpaper (various grits)
- Sander (Drum or Orbital)
- Polyurethane finish
- High-quality paintbrushes or rollers
- Buffing machine
First, clear the room of all furniture and fixtures. Ensure the floor is clean by sweeping or vacuuming. Inspect the floor for any nails, tacks, or staples that might damage the sander, and remove or hammer them down. Fill any cracks or holes with a suitable wood filler.
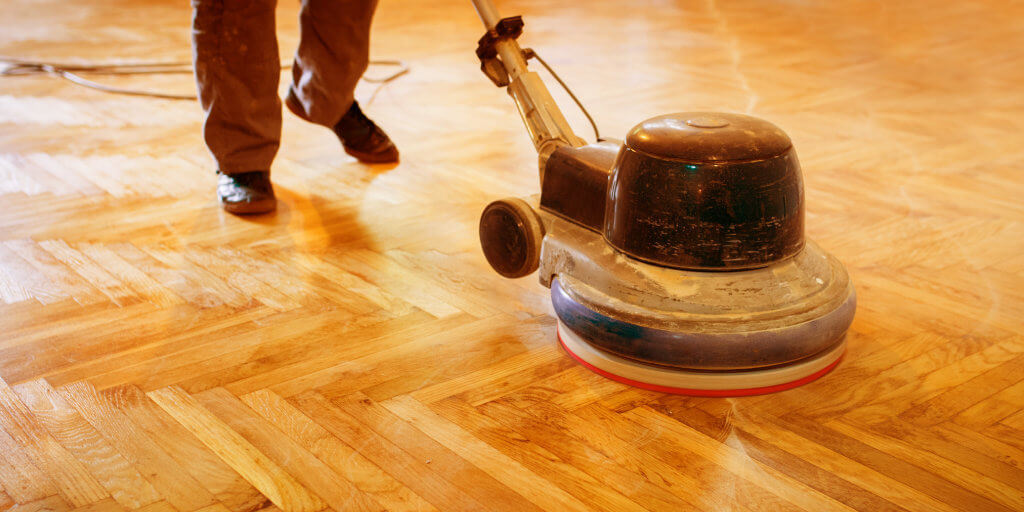
Step 2: Sanding
Don protective gear before you start sanding. Using the sander, start with a coarse-grit sandpaper to remove the old finish and any imperfections. Work in the direction of the wood grain and keep the sander moving to avoid creating dips or gouges.
After the first pass, vacuum or sweep up the dust before moving to a medium-grit sandpaper for the second pass. Repeat the process, gradually moving to finer grits until the floor is smooth and all traces of the old finish are gone.
Step 3: Buffing
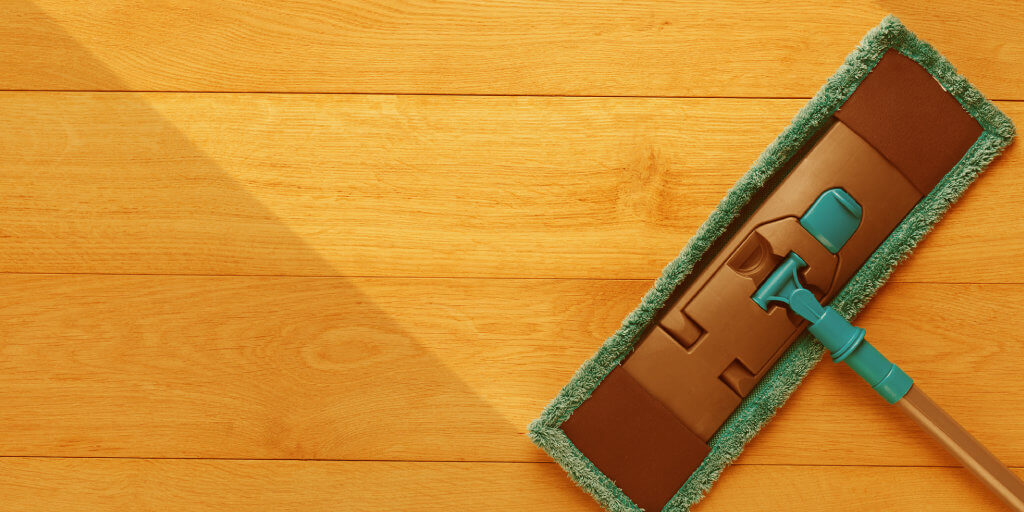
Buffing evens out the surface, ensuring a smooth, consistent finish. Using the buffing machine and a fine-grit sanding screen, work in the direction of the grain. After buffing, clean up the dust with a vacuum and a damp mop.
Step 4: Applying the Finish
Choosing the right finish is critical to achieving the look you desire. Polyurethane finishes are popular due to their durability and ease of application. Apply the finish using a high-quality brush or roller, starting at the furthest corner and working your way towards the exit. Allow sufficient time for each coat to dry before applying the next one. Typically, two to three coats are necessary.
Step 5: Polishing
Once the final coat has dried thoroughly, use a buffing machine with a polishing pad to add an extra shine to your floor. Be sure to buff along the grain for best results.
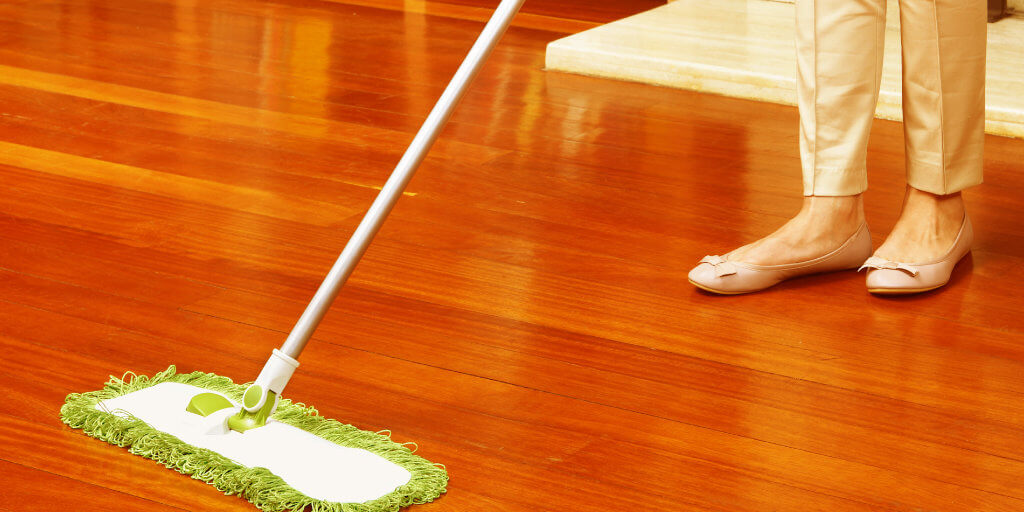
Step 6: Maintenance
Regular cleaning and maintenance are crucial for keeping your floors looking their best. Avoid using harsh chemicals, mop spills immediately, and use furniture pads to prevent scratches.
The Benefits of Refinish Your Hardwood Floors
Refinishing your hardwood floors comes with several key benefits:
- Enhances Appearance: Over time, hardwood floors can lose their shine and get scratched or stained. Refinishing can make them look as good as new, enhancing the aesthetics of your entire room or house.
- Increases Home Value: Refinished hardwood floors can significantly increase the value of your home. If you're planning to sell your house, this can be a cost-effective way to attract potential buyers and secure a better price.
- Improves Durability: The process of refinishing involves sanding the surface and applying a new layer of finish, which strengthens the wood and makes it more resilient against future wear and tear.
- Easier Maintenance: Once your floors have been refinished, they are generally easier to clean and maintain. The new finish serves as a barrier, protecting the wood from spills and stains.
- Cost-Effective: Compared to the cost of completely replacing your hardwood floors, refinishing is a more affordable option. It extends the life of your current flooring and saves you from the expense and disruption of installation.
- Promotes a Healthy Environment: Scratches and dents in your floor can trap dirt and allergens. Refinishing your floors removes these imperfections, promoting a cleaner, healthier living environment.
- Restores Original Wood: Refinishing allows you to restore the original wood, which may be of a higher quality or have a more appealing grain than newer wood flooring options.
Pro Tips for Refinishing Hardwood Floors
Experience, they say, is the best teacher. Let's delve into some seasoned advice that can help you navigate common obstacles and achieve professional-grade results.
Selecting the Right Sander
The choice between a drum sander and an orbital sander can be critical. Drum sanders are powerful and efficient, but they can be aggressive on your floors if not used correctly. Orbital sanders are less aggressive and easier to handle but might take longer. Your choice should depend on your comfort level and the condition of your floors.
Choosing the Right Finish
When it comes to finishes, you have a host of options. Polyurethane finishes are popular for their durability and water resistance. They come in two types: oil-based and water-based. Oil-based polyurethane offers a warm glow and is quite durable, but it takes longer to dry and has a strong odor. Water-based polyurethane dries faster and has a clear finish, but it might not be as durable as its oil-based counterpart.
Perfecting the Buffing Process
Buffing helps to smooth out any minor imperfections left after sanding. It's an important step that ensures your finish will be even and look professional. Always buff along the grain of the wood, and ensure you've cleaned up all the dust before moving to the next step.
Addressing Challenges and Troubleshooting
Despite your best efforts, you might encounter a few issues during the refinishing process. Let's look at some common challenges and their solutions.
Uneven Sanding
This problem might occur if you spend too much time in one area with the sander. If you notice dips or uneven areas, don't panic. You can often correct this issue by sanding the area again using an orbital sander, which is less aggressive and offers better control.
Bubbles in the Finish
Bubbles can occur if you shake your polyurethane before applying it, or if you work too quickly when applying the finish. To fix this, you will need to sand the area lightly to remove the bubbles, then apply a new layer of finish. To prevent bubbles, stir your polyurethane gently before use, and take your time when applying it.
The Environmental Factor
Refinishing your hardwood floors is a sustainable choice as it extends the life of the wood. However, you should take steps to ensure the process is as eco-friendly as possible. Opt for low-VOC (volatile organic compounds) finishes and water-based solutions when possible. Moreover, ensure proper ventilation during the process and dispose of waste materials responsibly.
Conclusion
The journey of refinishing hardwood floors is undeniably both a demanding and fulfilling endeavor. Despite the complexities it brings, the rewards it offers far outweigh the challenges. The transformation it imparts to your dwelling is remarkable—breathing life back into your floors and significantly augmenting the aesthetics of your home.
Patience is an indispensable virtue in this venture. It isn't a process to be rushed; taking the time to meticulously go through each step ensures you do not miss any important detail that might compromise the quality of the end result. The right materials—ranging from high-quality sandpaper to the perfect finish—are also instrumental in the success of this task. The right tools, paired with precision and care, can turn a daunting task into a manageable one, ultimately reviving your floors' shine and elegance.