DIY Lash Lift
At some point, almost everyone has dreamt of waking up with effortlessly curled and glamorous lashes. A lash lift, a treatment that curls your lashes upwards, can make this dream a reality. In this comprehensive guide, we'll take you through a step-by-step process on how to do a DIY lash lift at home safely and effectively. Let's dive in!
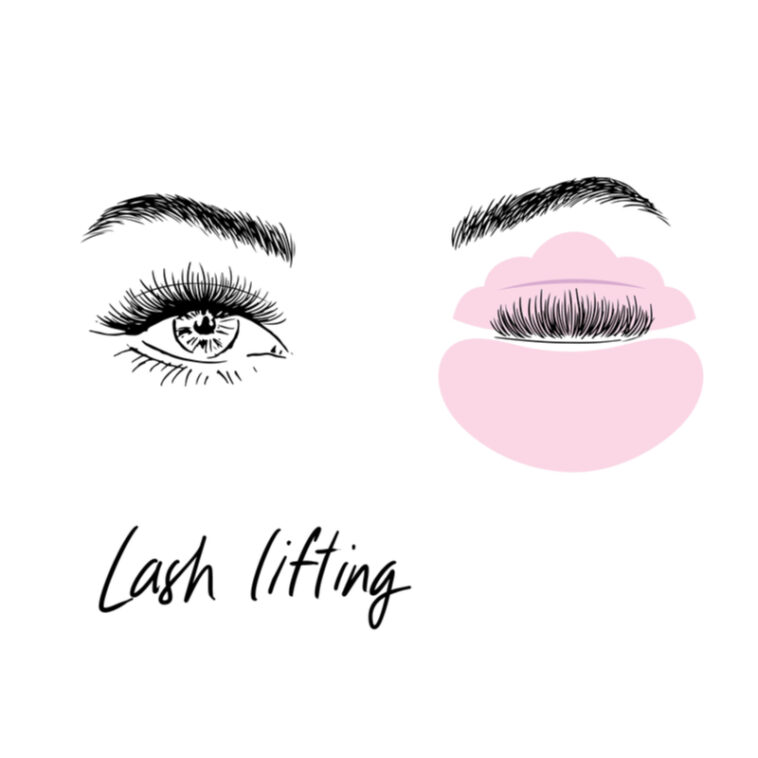
Understanding What a Lash Lift Is
A lash lift, also known as eyelash perm, is a beauty procedure that involves curling the lashes using a special solution. The result is a semi-permanent lift and curl that can last 6-8 weeks, giving the illusion of longer, fuller lashes. It's a perfect alternative for those who want to avoid the hassle of using eyelash curlers daily or maintaining lash extensions.
Safety Measures for a DIY Lash Lift
When it comes to any beauty treatment, especially those concerning your eyes, safety should be a top priority. Follow these safety guidelines:
Patch Test: Always do a patch test 24-48 hours before applying any new product near your eyes. This can prevent any adverse reactions.
Cleanliness: Ensure all your tools are clean and your hands are washed to prevent any potential infection.
Precision: Be meticulous in application to avoid getting the solution into your eyes.
Follow Instructions: Always follow the product's instructions closely.
Required Tools and Materials for a Lash Lift
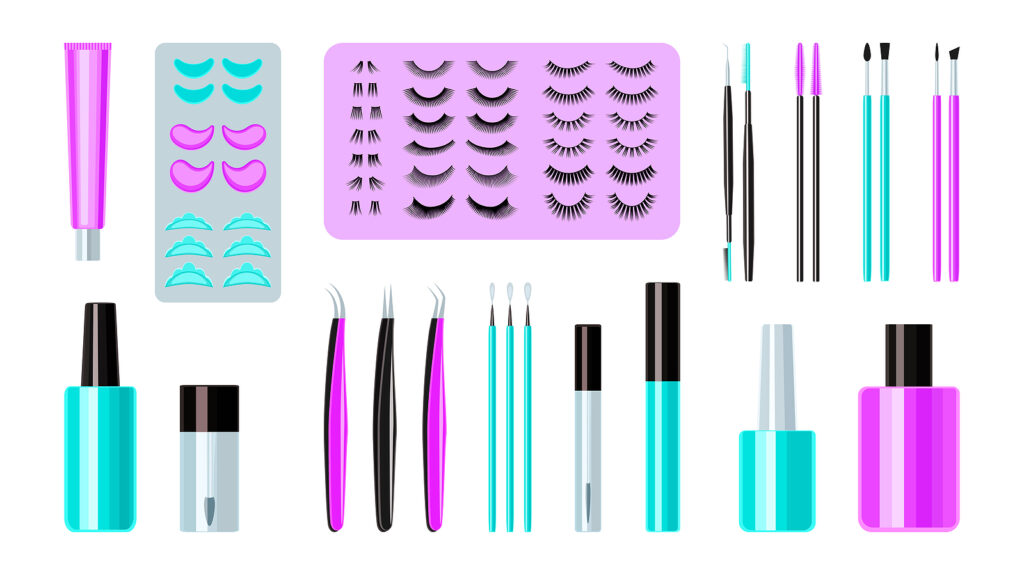
For a DIY lash lift, you'll need a lash lift kit which generally includes:
- Silicone pads
- Lash glue
- Lash perm solution
- Setting lotion
- Nourishing oil
- Clean tool (a comb-like tool)
- Lint-free applicators
Step-By-Step Guide to a DIY Lash Lift
Once you've assembled all your materials, you're ready to start:
Step 1: Thorough Cleaning of Your Lashes
The first step in any beauty procedure is ensuring that your canvas is clean. For a lash lift, this canvas is your eyelashes. Using a gentle, oil-free cleanser, thoroughly clean your lashes to remove any residual makeup, natural oils, or dirt that could interfere with the lifting process. After cleansing, dry your lashes carefully, ensuring no moisture remains.
Step 2: Precise Application of the Silicone Pads
Next, you'll need to apply the silicone pads that are essential for shaping your lashes. Start by applying a small amount of lash glue to the back of the silicone pad. Then, carefully adhere it to your eyelid, positioning it as close to your lash line as possible. Ensure the pad is secure and comfortable, adjusting as needed.
Step 3: Careful Attachment of Your Lashes to the Pad
Now that your silicone pad is in place, it's time to shape your lashes. Apply a thin layer of lash glue to the front of the silicone pad, ensuring full coverage. Then, use the clean tool provided in your lash lift kit to delicately pull your lashes up, sticking them to the pad. Try to spread the lashes evenly for a uniform lift.
Step 4: Delicate Application of the Lash Perm Solution
Grab a lint-free applicator and dip it into the lash perm solution. Carefully apply this solution to the middle and top sections of your lashes, being cautious to avoid the base and prevent any contact with your eyes. Leave the solution on for about 8-12 minutes (or according to the instructions provided in your kit) to allow the lashes to form their new shape.
Step 5: Application of the Setting Lotion
Once the perm solution has done its job, it's time to set your lashes in place. Use a clean cotton pad to gently remove the perm solution from your lashes. Then, apply the setting lotion to your lashes. This lotion will help solidify the new shape of your lashes. Again, leave this on for the same amount of time as the perm solution.
Step 6: Removal of the Lotion and Silicone Pad
After the setting lotion has worked its magic, it's time to clean up. Use a new, clean cotton pad to carefully remove the setting lotion from your lashes. Once your lashes are clean, gently peel off the silicone pad from your eyelid, ensuring you don't pull on your newly shaped lashes.
Step 7: Application of the Nourishing Oil
Lastly, it's crucial to rehydrate and nourish your lashes after the lifting process. The perm solution and setting lotion can be drying, so apply a generous amount of nourishing oil to your lashes. This oil will restore moisture and shine, leaving you with healthy, beautifully lifted lashes.
Aftercare Tips and Tricks
Preserving the effects of your DIY lash lift and ensuring the continued health of your lashes require dedicated post-treatment care. Here's a detailed guide on the do's and don'ts during this period:
Tip 1: Keep Your Lashes Dry for the First Day
Your newly lifted lashes are at their most vulnerable during the first 24 hours after treatment. As such, it's crucial to avoid getting them wet during this period. This includes splashing your face with water, crying, sweating profusely, or exposure to rain or humidity. Water can disrupt the setting process, causing your lashes to lose their new curl.
Tip 2: Abstain from Makeup and Lash Curlers for Two Days
Though you might be excited to showcase your stunning lashes, it's essential to resist the urge to apply makeup, specifically mascara, for at least 48 hours post-procedure. Mascara can weigh down your lashes, potentially compromising the lift. Similarly, avoid using lash curlers during this period. Curlers can put undue stress on your lashes, leading to potential breakage or weakening of the lash structure.
Tip 3: Regular Application of a Lash Serum
To keep your lashes healthy, strong, and vibrant, consider incorporating a lash serum into your daily routine. These products, rich in vitamins, peptides, and amino acids, can promote lash growth, strength, and thickness. It's especially beneficial after a lash lift, as the treatment process can sometimes leave lashes a bit dry. Regular application of a lash serum can provide the hydration and nourishment your lashes need to stay luscious and strong.
Frequently Asked Questions
Here are some more detailed answers to your questions regarding lash lifts:
1. What is the typical duration of a lash lift's effect?
The effects of a lash lift generally last between six to eight weeks. However, this can vary depending on your personal lash growth cycle. It's essential to note that your lashes continue to grow and shed naturally, meaning the treated lashes will eventually be replaced by new, untreated ones. Therefore, most people find that they need to redo the treatment every 6-8 weeks to maintain the lifted appearance.
2. Is there a risk of a lash lift damaging my lashes?
A lash lift, when performed correctly and responsibly, should not cause damage to your lashes. That being said, improper application techniques or excessive use of the perming solution can potentially lead to damaged lashes. This could mean brittle, excessively dry lashes, or in extreme cases, lash loss. Always adhere to the instructions provided with your lash lift kit to minimize these risks.
3. Can I apply mascara after getting a lash lift?
Yes, you can certainly apply mascara after having a lash lift. However, it's recommended to wait at least 48 hours after the procedure to allow the lashes to fully set. This waiting period ensures the lifting solution has completely taken effect and won't be disturbed by the application of makeup.
Adding to these, here are more questions that you might find useful:
4. Are lash lifts safe for everyone?
While lash lifts are generally safe, certain individuals should avoid this procedure. For instance, those with eye conditions, sensitive skin, or allergies to the ingredients used in the perming solution might need to opt-out. It's always recommended to conduct a patch test 24-48 hours before performing a lash lift.
5. Is a lash lift painful?
No, a lash lift procedure should not be painful. You might feel a slight discomfort due to the tightness of the silicone pad or the feeling of solutions on your lashes, but there should be no pain. If you experience any stinging or burning sensation, immediately remove the product and rinse your eyes with water.
6. Can I wash my face after a lash lift?
Yes, but it's recommended to avoid getting your lashes wet for at least 24 hours after a lash lift. This allows the lifting solution to fully take effect. After this period, you can return to your regular facial cleansing routine.
Conclusion
Armed with the comprehensive knowledge imparted by this guide, you are now proficiently prepared to embark on a DIY lash lift adventure in the comfort of your own home. Always bear in mind the crucial importance of prioritizing safety above all else – your eyes are delicate and deserve the utmost care. Pay close attention to each step and adhere to the instructions meticulously for a seamless, professional-grade result. Enjoy the journey towards more glamorous, uplifted lashes!