
How to Caulk Anything
Caulking is a versatile and cost-effective way to freshen up and improve the appearance of various surfaces in your home. Whether you're dealing with gaps, cracks, or worn-out sealants, caulking can provide a clean and polished finish while preventing moisture damage. In this comprehensive guide, we will walk you through the step-by-step process of caulking different areas and materials, ensuring you achieve a professional-looking result. From choosing the right caulk to mastering the art of a perfect bead, this guide will equip you with the knowledge and skills needed to tackle any caulk project. Get ready to transform old and grimy surfaces into a fresh and revitalized space.
Benefits of Caulking
Caulking offers numerous benefits beyond just improving the appearance of surfaces:
- Waterproofing: Caulk acts as a barrier, preventing water from seeping into cracks and gaps, which can lead to costly water damage and mold growth.
- Energy Efficiency: By sealing gaps and leaks around windows and doors, caulk helps reduce drafts and improves the energy efficiency of your home, resulting in potential energy savings.
- Improved Aesthetics: Caulking creates a clean and finished look by filling in unsightly gaps and cracks, giving your surfaces a polished and well-maintained appearance.
- Soundproofing: Properly caulked gaps can help reduce noise transmission, making your home quieter and more comfortable.
- Increased Lifespan: Caulk helps protect surfaces from moisture and air infiltration, extending the lifespan of materials such as wood, tile, and concrete.
Choosing the Right Caulk
Selecting the appropriate caulk is crucial for achieving a successful and long-lasting result. Consider the following factors when choosing the right caulk for your project:
1. Understanding Different Types of Caulk
There are various types of caulk available, each designed for specific applications. The most common types include:
- Silicone Caulk: Ideal for areas exposed to water, such as bathrooms and kitchens, silicone caulk provides excellent water resistance and flexibility. It's suitable for sealing joints, sinks, showers, and tubs.
- Acrylic Latex Caulk: This versatile caulk is easy to work with and is suitable for both indoor and outdoor use. It's paintable, dries quickly, and offers good flexibility. Acrylic latex caulk is commonly used for sealing gaps around windows, baseboards, and trim.
- Polyurethane Caulk: Known for its durability and strong adhesion, polyurethane caulk is suitable for both indoor and outdoor applications. It's great for sealing gaps in concrete, masonry, and metal surfaces.
- Butyl Rubber Caulk: With excellent weather resistance and adhesion properties, butyl rubber caulk is commonly used for sealing roof flashing, gutters, and automotive applications.
2. Considering the Surface and Environment
Take into account the specific surface and environmental conditions when choosing caulk:
- Interior vs. Exterior: Determine whether your project is indoors or outdoors. The exterior caulk should be weatherproof and able to withstand UV exposure, temperature changes, and moisture.
- Substrate Compatibility: Consider the type of material you're caulking. Different caulk types adhere better to specific surfaces, such as wood, metal, or concrete. Ensure the caulk you choose is compatible with the substrate to provide proper adhesion.
- Moisture Exposure: Determine the level of moisture exposure in the area you're caulking. Bathrooms, kitchens, and other high-moisture areas require caulk with excellent water-resistance properties.
- Flexibility and Movement: If you're caulking areas that experience movement, such as expansion joints, choose a caulk with good flexibility to accommodate the shifts without cracking or breaking.
Necessary Tools and Materials
Before you start caulking, gather the essential tools and materials:
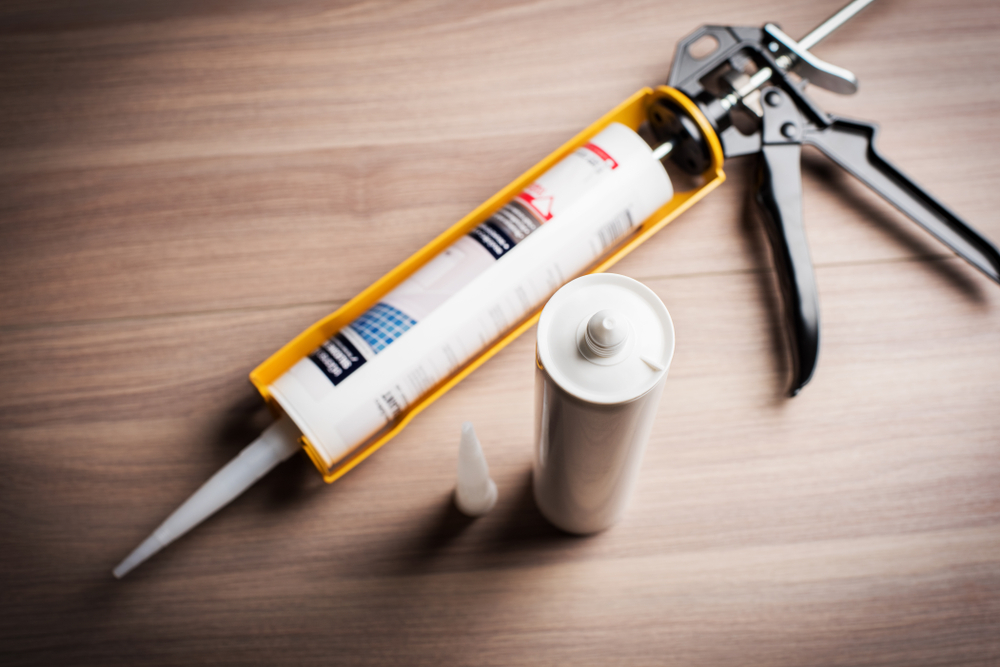
- Caulk Gun: Choose a high-quality caulk gun that fits comfortably in your hand and offers smooth control for dispensing the caulk.
- Caulk Tubes: Purchase caulk tubes in the appropriate type and color for your project. Consider the size of the gap you need to fill to determine how many tubes you'll need.
- Caulk Tool or Smoothing Tool: A caulk tool or smoothing tool helps create a smooth and even bead while removing excess caulk.
- Utility Knife or Caulk Cutter: Use a utility knife or caulk cutter to cut the tip of the caulk tube at a 45-degree angle for precise application.
- Masking Tape: Masking tape is useful for creating clean edges and preventing caulk from spreading to unwanted areas.
- Cleaning Supplies: Have a damp cloth or sponge and a bucket of warm soapy water nearby for cleaning up any messes during and after caulking.
Step-by-Step Guide to Caulking
Follow these steps to achieve a professional-looking caulk application:
1. Preparing the Surface
- Thoroughly clean and dry the surface you plan to caulk. Remove any existing caulk, dirt, dust, or loose debris using a scraper or putty knife.
- Use a mild detergent or surface cleaner to remove any grease or residue. Wipe the surface dry with a clean cloth or towel.
2. Cutting the Caulk Tube
- Use a utility knife or caulk cutter to cut the tip of the caulk tube at a 45-degree angle. Start with a smaller opening and gradually increase the size if needed, depending on the width of the gap you're filling.
3. Applying the Caulk
- Load the caulk tube into the caulk gun and ensure it's secure.
- Hold the caulk gun at a 45-degree angle and gently squeeze the trigger to begin dispensing the caulk. Apply consistent pressure to create a steady flow of caulk.
- Slowly move the caulk gun along the gap, applying a continuous bead of caulk. Maintain a consistent speed to ensure an even application.
4. Smoothing and Shaping the Bead
- Wet your finger or use a caulk tool to smooth and shape the caulk bead immediately after applying it. Wetting your finger or tool prevents the caulk from sticking and allows for easier shaping.
- Run your finger or the tool along the caulk bead, applying light pressure to spread and smooth the caulk evenly. Work in one continuous motion to create a uniform appearance.
- If using masking tape, remove it immediately after smoothing the caulk to achieve clean edges.
5. Cleaning Up
- While the caulk is still wet, use a damp cloth or sponge to remove any excess caulk or smudges. Rinse the cloth or sponge frequently and change the water as needed.
- Be careful not to disturb the caulk bead while cleaning up. Pay close attention to corners and edges to ensure a neat and tidy finish.
Tips and Tricks for a Professional Finish
Consider these tips and tricks to achieve a professional-looking caulk application:
1. Using Masking Tape
Apply masking tape along the edges of the gap before caulking to create clean lines and prevent the caulk from spreading to unwanted areas. Remove the tape immediately after smoothing the caulk bead for crisp edges.
2. Wetting Your Finger or Tool
Wetting your finger or caulk tool with a small amount of water or soapy water prevents the caulk from sticking and allows for easier shaping and smoothing of the bead.
3. Working in Small Sections
If you're caulking a large area, divide it into smaller sections. Work on one section at a time to ensure the caulk doesn't dry out before you have a chance to smooth and shape it.
4. Removing Excess Caulk
If you accidentally apply too much caulk or create an uneven bead, use a caulk removal tool or a scraper to carefully remove the excess caulk. Wipe away any residue with a damp cloth or sponge.
Common Caulking Mistakes to Avoid
Avoid these common mistakes for a successful caulking project:
- Skipping Surface Preparation: Failing to clean and prepare the surface properly can hinder the caulk's adhesion and result in a subpar finish.
- Overfilling Gaps: Applying too much caulk can lead to messy and uneven results. Be mindful of the gap size and apply the appropriate amount of caulk to fill it without excess.
- Not Smoothing the Bead: Neglecting to smooth the caulk bead can result in an unprofessional and messy appearance. Take the time to shape and smooth the caulk for a polished finish.
- Using the Wrong Type of Caulk: Selecting the wrong type of caulk for the specific application can lead to inadequate adhesion or premature deterioration. Ensure you choose the appropriate caulk based on the surface, environment, and intended use.
Frequently Asked Questions (FAQs)
Address common questions about caulking:
- How long does caulk take to dry?
- The drying time of caulk varies depending on the type and brand. It's important to refer to the manufacturer's instructions on the caulk tube for specific drying times. In general, caulk can take anywhere from a few hours to several days to fully dry and cure. Factors such as temperature, humidity, and ventilation in the area can also affect the drying time.
- Can I paint over the caulk?
- Yes, many types of caulk, such as acrylic latex caulk, are paintable once fully cured. It's important to allow the caulk to dry completely before applying paint. Ensure that the caulk you choose is compatible with the type of paint you intend to use. Some caulk may require priming before painting to enhance adhesion and ensure a smooth finish.
- How long does caulk last?
- The lifespan of a caulk depends on various factors, including the type of caulk, the environmental conditions, and the quality of installation. On average, caulk can last anywhere from 5 to 10 years. However, it's important to note that caulk may deteriorate or lose its effectiveness over time, especially in areas exposed to extreme temperatures, sunlight, or moisture. Regular inspection and maintenance are recommended to identify any signs of deterioration and to reapply caulk as necessary to maintain its effectiveness.
- Can I remove the old caulk before applying the new caulk?
- Yes, it's generally recommended to remove old, deteriorated caulk before applying new caulk. Removing the old caulk helps ensure better adhesion and a clean finish. Use a caulk removal tool, a scraper, or a utility knife to carefully remove the old caulk from the joint or surface. Clean the area thoroughly to remove any residue or debris before applying the new caulk.
- Can I use caulk in wet areas like showers or tubs?
- Yes, caulk specifically designed for wet areas, such as showers, tubs, and sinks, is available. Silicone caulk is commonly used in these areas due to its excellent water resistance and flexibility. It forms a durable and waterproof seal that helps prevent water from seeping into cracks and gaps. It's important to choose a caulk that is specifically labeled for wet areas and follow the manufacturer's instructions for application and curing time.
- Can I use caulk to fill large gaps or cracks?
- While the caulk is suitable for filling small to medium-sized gaps and cracks, it may not be the best solution for large gaps. In cases where the gap exceeds the recommended width for caulk, it's advisable to use other materials, such as foam backer rod or expanding foam, to fill the gap before applying caulk. These materials provide better insulation and support for the caulk, ensuring a more effective seal.
- Can I use caulk on exterior surfaces?
- Yes, caulk can be used on exterior surfaces to seal gaps, cracks, and joints. However, it's important to choose a caulk specifically formulated for outdoor use. Exterior caulk is designed to withstand exposure to sunlight, temperature changes, moisture, and other environmental factors. Make sure to clean the surface thoroughly before applying the caulk, and consider using a caulk that is paintable if you plan to paint over it for added protection and aesthetics.
- Can I apply the caulk in cold temperatures?
- The temperature range for applying caulk varies depending on the specific caulk product. Some caulk types require a minimum temperature for proper adhesion and curing. It's important to check the manufacturer's instructions for the recommended temperature range. If you need to apply the caulk in cold temperatures, choose a caulk that is specifically labeled for cold weather application and follow the recommended application techniques and curing time.
Conclusion
Caulking is a valuable skill that allows you to transform old, grimy surfaces into fresh and revitalized areas. By following the step-by-step guide provided in this article and considering the tips and tricks, you can achieve professional-looking results. Remember to choose the right type of caulk for your project, gather the necessary tools and materials, and prepare the surface adequately. With proper technique and attention to detail, you can master the art of caulking and enjoy the benefits of a well-sealed and aesthetically pleasing space.