6 DIY Puppy Projects
Welcoming a new puppy into your home is an exciting and joyful experience. As a loving pet owner, you want to provide the best for your furry friend. Fortunately, there are plenty of do-it-yourself (DIY) projects that can enhance your puppy's life while allowing you to showcase your creativity. From homemade treats to personalized accessories, these DIY projects offer fun and budget-friendly ways to bond with your puppy and make their time with you even more special. In this comprehensive guide, we will explore six delightful DIY puppy projects that are easy to make and will bring happiness to both you and your adorable pup.
DIY Dog Treats
What better way to show your love for your puppy than by making delicious homemade dog treats? Creating your own dog treats allows you to control the ingredients and ensure that your pup gets wholesome and nutritious snacks. Here's a simple recipe for homemade dog treats:
Ingredients:
- 2 cups whole wheat flour
- 1/2 cup peanut butter (make sure it does not contain xylitol)
- 1/4 cup unsweetened applesauce
- 1/4 cup water
Instructions:
- Preheat your oven to 350°F (175°C) and line a baking sheet with parchment paper.
- In a mixing bowl, combine the whole wheat flour, peanut butter, unsweetened applesauce, and water. Stir until well combined and a dough forms.
- Roll out the dough on a floured surface to about 1/4-inch thickness.
- Use cookie cutters to cut out shapes or simply slice the dough into small squares.
- Place the treats on the prepared baking sheet and bake for 15-20 minutes, or until golden brown.
- Allow the treats to cool completely before giving them to your furry friend.
Remember to store the homemade dog treats in an airtight container to maintain their freshness. Your pup will love these tasty and wholesome treats made with love!
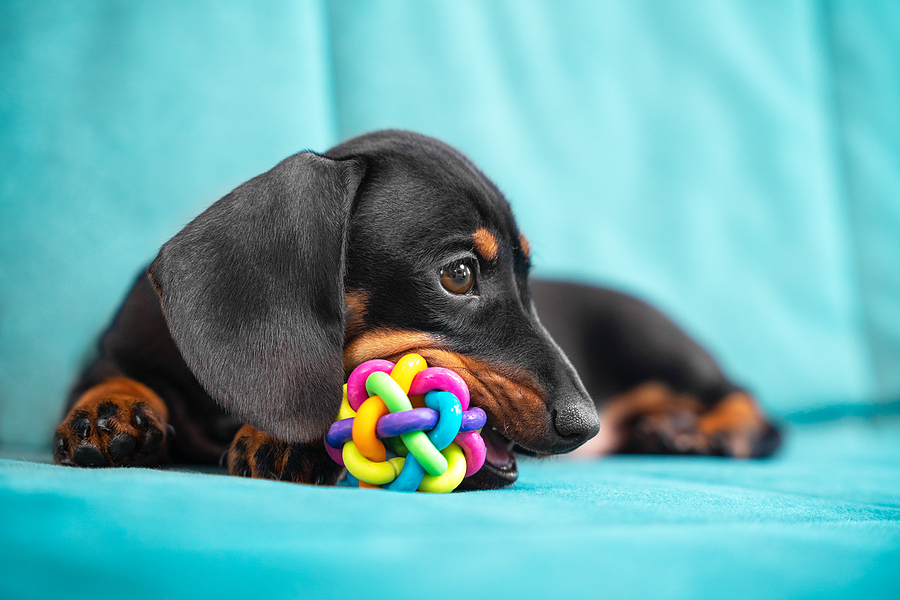
Puppy Toys: DIY Chewers and Tug Toys
Puppies love to play, chew, and tug on toys. Instead of spending money on store-bought toys, why not create your own personalized toys for your puppy? Here are two simple DIY toy ideas:
DIY Chewer Toy:
- Take an old clean sock and stuff it with crinkled-up newspaper or old fabric scraps.
- Tie a knot at the open end of the sock to secure the stuffing.
- You can also soak the sock in low-sodium chicken broth and freeze it to provide soothing relief for teething puppies.
DIY Tug Toy:
- Cut three long strips of fleece or old t-shirts.
- Tie a knot at one end of the strips to hold them together.
- Braid the strips tightly and tie another knot at the other end.
- You can make the braid longer or add more strips for a larger tug toy.
These DIY toys provide mental stimulation and entertainment for your puppy while giving you the satisfaction of creating something special just for them.
Cozy DIY Dog Bed
Every pup deserves a comfortable place to rest and sleep. Create a cozy and stylish DIY dog bed for your furry friend using simple materials. Here's a basic guide to making a dog bed:
Materials:
- Two pieces of fabric (e.g., cotton, fleece) cut to your desired bed size
- Stuffing or old pillows/blankets
- Sewing machine or needle and thread
Instructions:
- Place the two fabric pieces together with the right sides facing each other.
- Sew around the edges, leaving a small opening for stuffing.
- Turn the fabric right side out through the opening.
- Stuff the bed with the desired amount of stuffing or repurpose old pillows and blankets.
- Hand stitch or use the sewing machine to close the opening.
Feel free to get creative with fabric patterns and designs to match your home décor. Your pup will appreciate their new cozy spot for relaxation and sleep.
Homemade Puppy Shampoo
Bathing your puppy is an essential part of their hygiene routine. Rather than using store-bought shampoos that may contain harsh chemicals, create a gentle and natural homemade puppy shampoo. Here's a recipe for a simple and effective DIY puppy shampoo:
Ingredients:
- 1 cup gentle baby shampoo or castile soap
- 1 cup water
- 1 tablespoon coconut oil (optional)
- 1-2 drops of lavender or chamomile essential oil (optional)
Instructions:
- In a mixing bowl, combine the gentle baby shampoo or castile soap with water.
- If desired, add the coconut oil for its moisturizing properties and the essential oil for a pleasant scent.
- Stir well to mix all the ingredients thoroughly.
- Transfer the shampoo to a clean bottle or container for easy use.
Before bathing your puppy, wet their fur with warm water, apply a small amount of the homemade shampoo, and gently massage it into their coat. Rinse thoroughly and towel-dry your pup. This homemade shampoo will leave their fur clean, soft, and smelling delightful.
Personalized Dog Tags
Ensure your puppy's identification and add a touch of personalization with a DIY dog tag. Creating your own dog tags is not only cost-effective but also allows you to customize the design. Here's a simple method to make personalized dog tags:
Materials:
- Metal or plastic tag blanks (available at craft stores or online)
- Permanent markers or engraving tools
- Hole punch
- Keyring or split ring
Instructions:
- Choose a metal or plastic tag blank in the desired shape and size.
- Use permanent markers or engraving tools to write your puppy's name and your contact information on the tag.
- Allow the ink to dry completely.
- Use a hole punch to create a hole near the top of the tag.
- Attach a keyring or split ring through the hole.
Your DIY dog tag will not only serve as a means of identification but also showcase your pup's unique personality.
DIY Agility Course
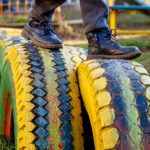
Create an exciting and enriching experience for your furry friend by designing a DIY agility course right in your backyard. This homegrown agility course serves as an excellent platform for enhancing your puppy's physical coordination, cognitive abilities, and strengthening the bond between you and your pet. Below, you'll find a detailed breakdown of various elements you can incorporate into your DIY agility course:
Weave Poles: Construct a line of vertical poles, which can easily be fashioned from materials like PVC pipes or even pool noodles. Teach your puppy to deftly weave through these poles, challenging their agility and focus.
Tunnel: Craft a tunnel using large cardboard boxes or PVC pipes covered with fabric or a tarp. This tunnel will provide an exhilarating experience as your puppy dashes through it, honing their courage and agility.
Jumping Hurdles: Utilize PVC pipes or wooden dowels to create adjustable hurdles set at various heights. Encourage your puppy to leap over these hurdles, promoting strength, coordination, and confidence.
Balance Beam: Lay a long, sturdy wooden plank on the ground, or elevate it slightly using bricks or blocks. Train your puppy to walk across the beam without losing their balance, enhancing their proprioception and balance skills.
DIY Puppy Puzzle Toys
Engaging your puppy's intellect and ensuring their mental well-being is essential for their overall development. DIY puppy puzzle toys are an excellent way to achieve this. Crafted from easily available materials, these toys not only keep your pup entertained but also mentally sharp and engaged. Here are some innovative DIY puppy puzzle toy ideas, each designed to stimulate your furry friend's cognitive abilities:
- Treat Dispenser Bottle: Transform a clean, plastic water bottle into a captivating treat dispenser. Simply puncture holes into the bottle and fill it with small treats or kibble. Your puppy will need to decipher the technique of rolling or pawing at the bottle to release the tasty rewards. This puzzle toy encourages problem-solving and persistence.
- Muffin Tin Game: Elevate treat time with a muffin tin game. Load a muffin tin with small treats or bite-sized dog food pieces. Now, cover each opening with a tennis ball. Challenge your pup to reveal the hidden treats by moving the balls aside. This game enhances your puppy's spatial awareness and strategy skills.
- Snuffle Mat: Create a sensory-rich snuffle mat by weaving strips of fleece or fabric through a rubber mat or sturdy base. Conceal treats or kibble within the fabric strips, turning mealtime into a delightful treasure hunt. Your puppy will enjoy using their keen sense of smell to forage for hidden goodies, fostering their olfactory and problem-solving abilities.
- Frozen Treat Dispenser: Fill a silicone ice cube tray with a mixture of plain yogurt and mashed banana or peanut butter. Insert small dog treats or pieces of fruit into each compartment and freeze. Your puppy will enjoy the challenge of licking and gnawing at the frozen treat to reveal the hidden goodies. This puzzle toy offers both mental and sensory stimulation.
- Cardboard Box Hide-and-Seek: Take a cardboard box and cut several small holes in it. Place treats or toys inside the box and then seal it shut. Your puppy will need to figure out how to manipulate the box to access the hidden treasures. This DIY puzzle encourages problem-solving and persistence.
- DIY Treat Puzzle Feeder: Create a treat puzzle feeder using PVC pipes or plastic containers with removable lids. Cut holes or slits in the container, just large enough for treats to pass through. Fill the container with treats, and your puppy must roll, bat, or nudge it to release the treats gradually. This puzzle toy promotes physical activity along with mental engagement.
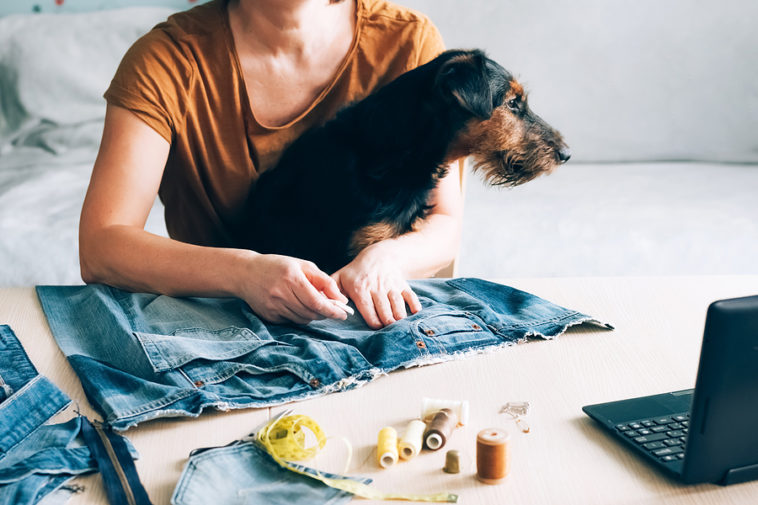
DIY Puppy Clothing and Accessories
Elevate your puppy's style game and enhance their comfort with a dash of creativity by crafting DIY clothing and accessories. These personalized items not only make your pup look adorable but also serve practical purposes such as protection from the elements. Here are some detailed ideas to help you get started:
1. Custom Bandanas: Design one-of-a-kind bandanas using fabric scraps that reflect your puppy's personality. Cut out triangles or squares from the chosen fabric, fold over the edges, and fasten them with Velcro or snaps for easy and secure attachment. These bandanas not only add flair to your pup's appearance but also help keep them cool or warm, depending on the season.
2. No-Sew Dog Sweater: Give an old sweater or sweatshirt a new lease on life by fashioning it into a cozy dog sweater. Measure and cut holes for your puppy's legs and tail, creating a snug fit. This no-sew solution ensures your furry friend stays warm and stylish without the need for sewing skills.
3. Bow Ties or Hair Bows: Elevate your puppy's formal or playful look with handmade bow ties or hair bows. Use vibrant ribbons to craft these accessories. Fold and secure the ribbon in the center, attaching an elastic band or collar loop for easy wearing. These chic additions allow your pup to stand out during special occasions or daily outings.
4. Pet Scarves: Create trendy scarves to protect your puppy from chilly weather. Choose soft, comfortable fabrics, and stitch them into scarf shapes, ensuring they can easily loop around your pup's neck. Your furry companion will stay snug and fashionable during colder seasons.
5. Dog Booties: Craft protective booties to shield your puppy's paws from harsh terrain or extreme weather conditions. Utilize durable fabric, like fleece or canvas, to make these paw-wear accessories. Ensure they fit snugly but comfortably on your puppy's feet to provide traction and warmth.
6. Personalized Collars: Fashion a unique collar for your puppy using materials such as leather, fabric, or paracord. Add their name, contact information, or personalized charms to make it truly special and functional.
DIY Puppy Photo Booth
Capture precious memories with your puppy by creating a DIY photo booth. Set up a designated area with fun props and decorations, and snap adorable pictures of your furry friend. Here's how to create a DIY puppy photo booth:
Backdrop: Hang a colorful sheet or fabric as the backdrop for your photo booth. Alternatively, decorate a large cardboard or foam board with paw prints, bones, or cute puppy-themed designs.
Props: Gather various props such as hats, sunglasses, boas, and signs with funny or cute phrases. You can make these props using paper, cardboard, or foam sheets.
Lighting: Make sure the photo booth area is well-lit to capture clear and vibrant photos. Use natural light or add some additional lamps or string lights for a festive atmosphere.
Encouragement and Treats: Use treats and toys to encourage your puppy to pose and engage with the props. Be patient and reward them for their cooperation.
With your DIY puppy photo booth, you'll have memorable snapshots of your furry friend to cherish for years to come.
Remember to have fun with these DIY puppy projects while prioritizing your puppy's safety and well-being. Enjoy the process of creating personalized items for your four-legged companion, and cherish the moments spent together.
FAQs for DIY Puppy Projects:
What are DIY puppy projects?
DIY puppy projects are creative and budget-friendly activities that pet owners can undertake to enhance their puppy's life and well-being. These projects can range from making homemade treats and toys to crafting personalized accessories and even building agility courses for puppies.
Why should I consider DIY puppy projects?
DIY puppy projects offer several benefits. They allow you to create customized items for your puppy, strengthening the bond between you and your furry friend. These projects are also cost-effective and enable you to provide wholesome treats, comfortable beds, and engaging toys tailored to your puppy's needs.
What are some easy DIY puppy projects for beginners?
If you're new to DIY puppy projects, consider starting with simple ones like homemade dog treats, no-sew dog sweaters, or personalized dog tags. These projects are relatively easy to complete and require minimal crafting skills.
How can I ensure the safety of my puppy during DIY projects?
Safety should always be a top priority when engaging in DIY projects with your puppy. Ensure that materials used are non-toxic and safe for pets. Supervise your puppy closely to prevent them from ingesting or choking on small objects, and use age-appropriate toys and treats.
What materials do I need for DIY puppy projects?
The materials needed for DIY puppy projects can vary depending on the specific project. Common materials include fabric, fleece, cardboard, PVC pipes, markers, treats, and basic crafting tools like scissors, glue, and sewing equipment.
Are there any DIY projects for homemade puppy shampoo?
Yes, you can make homemade puppy shampoo using gentle baby shampoo or castile soap, water, and optional ingredients like coconut oil and essential oils for fragrance. This DIY shampoo is gentle on your puppy's skin and fur.
What is the purpose of a DIY puppy agility course?
A DIY puppy agility course serves as a fun and enriching activity for your puppy. It helps improve their physical coordination, cognitive abilities, and strengthens the bond between you and your pet. Agility courses are great for exercise, mental stimulation, and training.
Can I personalize dog accessories through DIY projects?
Yes, you can personalize dog accessories such as bandanas, collars, and tags through DIY projects. Adding your puppy's name, contact information, or unique designs allows you to create items that reflect their personality and style.
How can I encourage my puppy to use DIY puzzle toys?
To encourage your puppy to use DIY puzzle toys, start with easy puzzles and gradually increase the difficulty. Use high-value treats or their favorite toys as rewards to motivate them. Be patient and offer guidance until they become familiar with the toys.
How can I create a DIY photo booth for my puppy?
To create a DIY photo booth for your puppy, you'll need a backdrop (fabric or decorated board), props (hats, sunglasses, signs), good lighting, and treats or toys for encouragement. Set up the booth, engage your puppy with props, and capture adorable memories.
Conclusion
Engaging in DIY puppy projects not only allows you to bond with your furry friend but also provides them with personalized and budget-friendly essentials. From homemade treats to toys, beds, and even agility courses, these DIY projects cater to your pup's physical, mental, and emotional well-being. Enjoy the process of creating and customizing these projects, and watch as your puppy delights in their new handmade treasures.