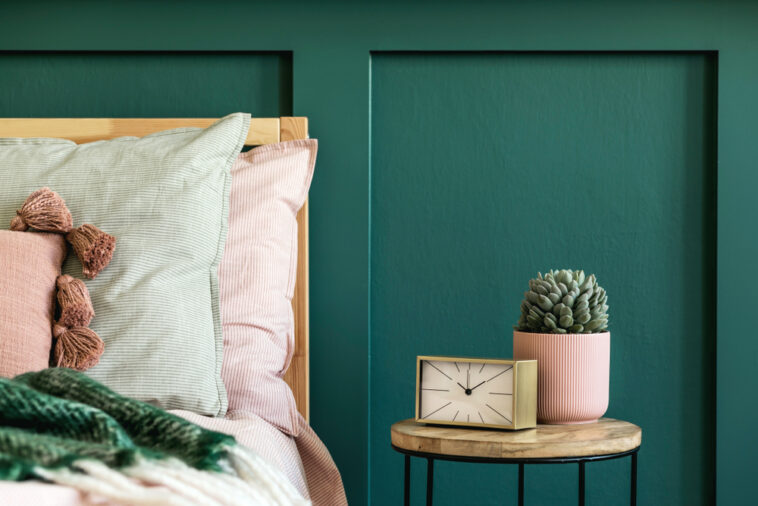
When it comes to interior design, wall panelling can add an elegant and sophisticated look to any room. If you are looking to spruce up your walls, DIY wall panelling can be a fun and satisfying project. In this detailed guide, we will discuss how to prepare your wall surface and add a dado rail. You'll be surprised at the transformation your walls will undergo, turning a drab room into a chic space.
Understanding Wall Panelling and Dado Rails
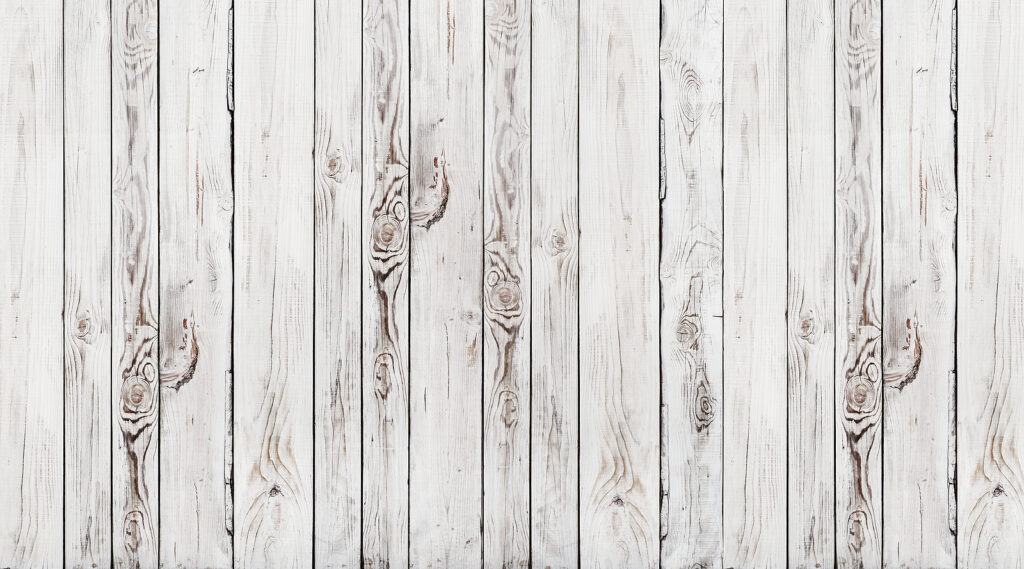
Wall panelling is a versatile design option that involves covering a wall with pieces of material—typically wood, but it can also be PVC or other materials—to create a decorative or practical effect. Panels can vary in size, shape, and style, offering numerous opportunities to personalize your space.
The dado rail, also known as a chair rail, is a type of moulding fixed horizontally to the wall around the perimeter of a room. Traditionally, the dado rail is positioned about one-third of the way up from the floor, although the height can be adjusted based on personal preference and room height. The main purposes of a dado rail are to protect the wall from damage and to provide a decorative boundary between different wall coverings.
Materials and Tools You Will Need
Before you start the process of preparing your wall surface and adding a dado rail, ensure that you have all the necessary materials and tools. Here's a list of what you will need:
- Wall panels
- Dado rail
- Hammer
- Nails
- Adhesive
- Saw
- Tape measure
- Spirit level
- Sandpaper
- Primer
- Paint
Make sure to select the style and material of your wall panels and dado rail that best suits your taste and the style of your room.

Preparing Your Wall Surface for Panelling
Before diving into the process of panelling, your wall surface needs thorough preparation. This crucial step ensures that the panelling adheres securely and looks its best. Follow these detailed steps to prepare your wall:
Step 1: Thoroughly Clean the Wall Surface
The initial step in preparing your wall surface involves a comprehensive clean. Start with these tasks:
- Remove Nails: Look over your wall for any protruding nails. Use a claw hammer or nail puller to remove them gently, ensuring not to damage the wall surface further.
- Peel off Wallpaper: If your wall is covered with wallpaper, peel it off starting from a corner. Use a scraper or putty knife to assist you, and consider using a wallpaper remover solution for stubborn areas.
- Clear Old Paint: Old, flaking paint can interfere with adhesion. Use a paint scraper or wire brush to clear away loose paint. Be careful not to gouge the wall in the process.
Step 2: Sand the Wall for a Smooth Finish
The next step involves sanding the wall to create an even surface:
- Select the Right Sandpaper: A medium-grit sandpaper (around 120-grit) is typically appropriate for wall preparation.
- Sand the Wall: Use your sandpaper to smooth over the wall. This removes remaining small imperfections and provides a surface to which the adhesive can bond effectively. Always sand along with the grain, if evident, to avoid scratching the surface.
- Wipe Away Dust: After sanding, wipe the wall with a slightly damp cloth or use a vacuum cleaner with a brush attachment to remove the dust.
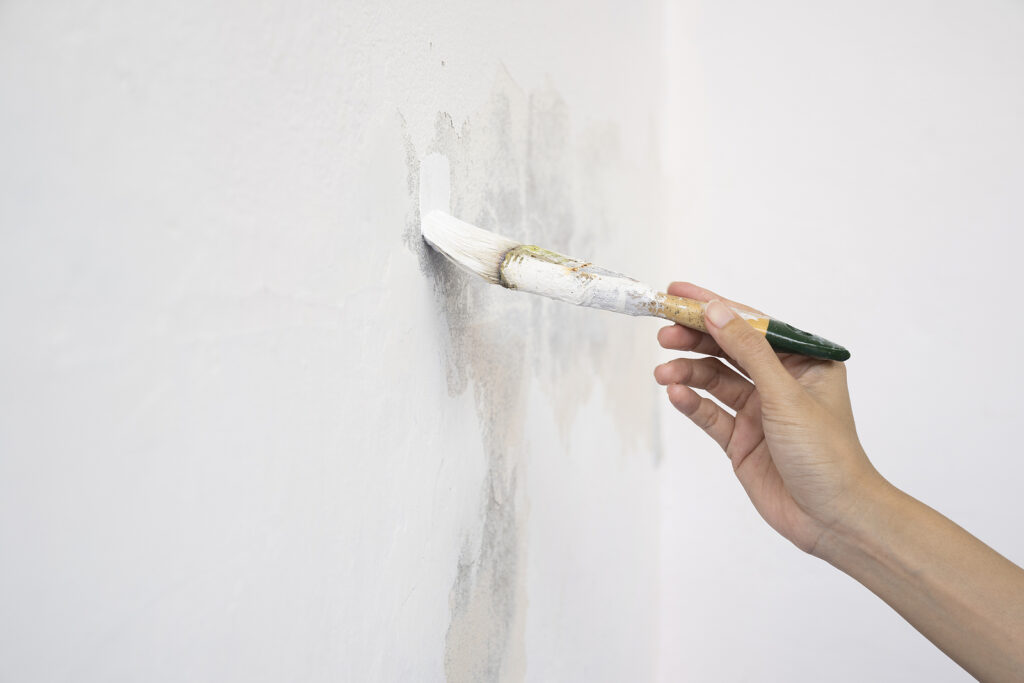
Step 3: Apply Primer for Enhanced Adhesion
Priming the wall forms the final step in your wall preparation:
- Choose a Suitable Primer: Select a primer that complements the wall material and the type of panel you plan to install. Your local hardware store can help with this.
- Apply the Primer: Use a paint roller for wide, even strokes. Start from the top of the wall and work your way down, ensuring the entire surface is covered. For corners and edges, a smaller brush may be more effective.
- Let it Dry: Allow the primer to dry completely before proceeding. Drying time can vary, so refer to the manufacturer's instructions for guidance.
Installing Your Wall Panelling
Embarking on a DIY wall panelling project requires precision, patience, and proper preparation. Follow the steps below to ensure a seamless installation process:
Step 1: Accurate Measurement of the Wall
Taking accurate measurements of your wall is the foundation of your panelling project. Start by measuring the height from floor to ceiling and the width from one end to another. These dimensions will help you calculate the area of your wall, which is critical for determining how many panels you'll need. Also, consider any unique features of your wall, such as windows, doors or outlets, and account for these in your measurements.
Step 2: Precise Cutting of the Panels
With your measurements at hand, you can now cut your panels to fit perfectly onto your wall. Using a saw, carefully cut your panels to the exact size. Remember, it's always better to cut a bit larger than your measurements, as you can trim down excess material later. If you're working with a patterned or textured panel, pay attention to the orientation of the pattern or texture when cutting.
Step 3: Proper Application of Adhesive
The next step is applying adhesive to the back of each panel. A good adhesive is crucial for a secure and long-lasting installation. When applying, ensure an even spread over the entire back of the panel. Don't skimp on the adhesive—apply enough to ensure a strong bond, but avoid excessive amounts that could seep out from the sides when the panel is pressed onto the wall.
Step 4: Attaching the Panels to the Wall
Starting from one corner of your room, methodically attach the panels onto the wall. Press each panel firmly onto the wall, moving your hand across the surface to remove any air bubbles and ensure a strong bond with the adhesive. As you progress, use a spirit level after each panel is attached to ensure they are perfectly vertical. Maintaining straight lines is crucial for achieving a professional finish.
Step 5: Securing the Panels
After the adhesive has dried—typically after a few hours or overnight, depending on the product—it's time to further secure the panels to the wall. Using a hammer and nails, secure each panel at the corners and along the sides. This not only strengthens the bond between the panel and the wall but also ensures the panels stay flush against the wall surface. Consider using nail caps or countersinking the nails for a cleaner look.
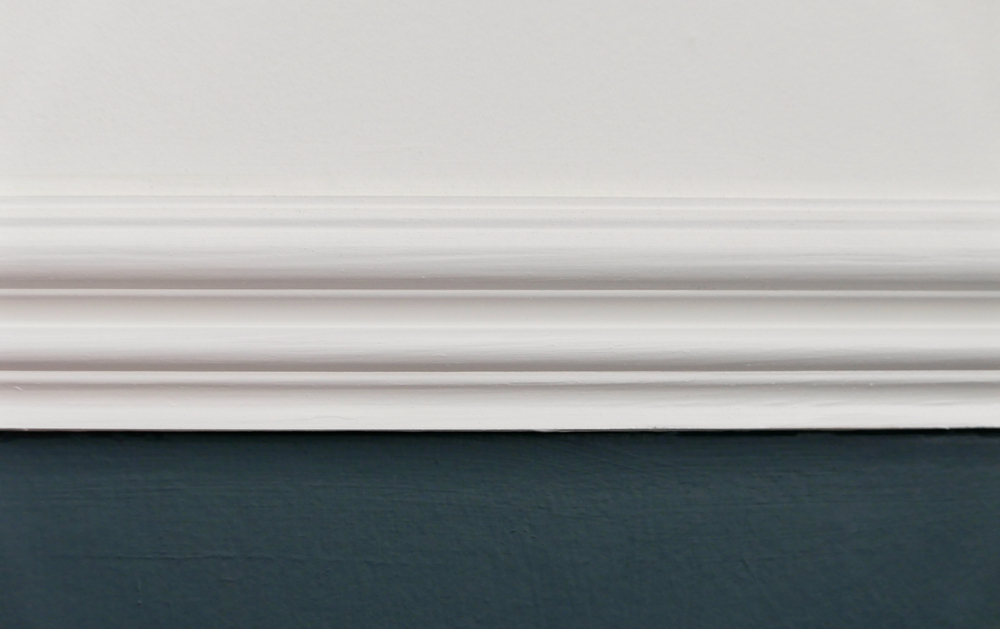
Adding a Dado Rail
Adding a dado rail to your wall panelling can offer a refined and professionally designed appeal to your room. The installation of a dado rail involves several carefully conducted steps which we have broken down in detail for you:
Step 1: Calculate the Perimeter of Your Room
The initial step involves measuring the total perimeter of your room. This can be done using a measuring tape. Ensure you measure along the height where you plan to install the dado rail, usually around one-third of the total wall height from the floor. These measurements will provide you with the total length of the dado rail you require.
Step 2: Precision Cutting of the Dado Rail
Based on the measurements obtained, proceed to accurately cut the dado rail to the required size. This can be done using a hand saw or a power saw for more accurate cuts. Ensure you wear appropriate safety gear while performing this step to prevent any accidents.
Step 3: Preparation and Application of Adhesive
The third step requires the application of a strong adhesive to the backside of your dado rail. Ensure a generous and even coating of adhesive to all the areas that will make contact with the wall for a secure fit. An adhesive with a longer drying time can be beneficial, as it provides a margin for adjustments.
Step 4: Firmly Attach the Dado Rail to the Wall
Now, carefully position and attach the dado rail to the wall. Use a spirit level to ensure that it is perfectly horizontal, providing a neat and professional appearance. Apply pressure evenly along the length of the rail to ensure good contact between the adhesive and the wall.
Step 5: Secure the Dado Rail with Additional Fastening
Once the adhesive has fully dried and the dado rail is firmly in place, consider reinforcing the attachment with additional nails. This ensures the dado rail stays secure over time and can withstand any potential knocks or accidental impacts. Always verify that the nail heads are flush with the rail surface to maintain a smooth and seamless finish.
Finishing Touches and Paint
The installation of your wall panelling and dado rail marks a significant point in your DIY project, but it's not the final stage. The finishing process, which typically includes painting, is equally important in achieving the best aesthetic outcome for your room. Below is a comprehensive guide on how to apply the finishing touches to your newly installed panelling and dado rail:
Step 1: Smoothening the Panelling and Dado Rail
Begin by meticulously sanding the surfaces of both the wall panelling and the dado rail. The objective here is to achieve a completely smooth finish while simultaneously getting rid of any minor imperfections that may have resulted from the installation process. This step is essential as it not only enhances the final look but also ensures the subsequent stages go on smoothly.
Step 2: Cleaning the Sanded Surfaces
Upon completion of the sanding process, thoroughly clean all sanded surfaces. This is crucial to remove any dust or debris that may interfere with the painting process. Utilize a damp cloth, ensuring you wipe over every panel and every section of the dado rail to create a clean surface that's ready for the primer.
Step 3: Priming the Surfaces
The next step involves applying a primer to the surfaces. A primer is an intermediary layer that ensures your paint adheres properly to the wall panelling and dado rail. It provides a uniform surface that can drastically improve the appearance of your final paint job. Make sure you let the primer dry entirely before proceeding to the next step.
Step 4: Painting the Wall Panelling and Dado Rail
Once the primer has dried completely, it's time to paint your wall panelling and dado rail. Choose a paint colour that complements your interior decor to create a cohesive look. Carefully apply the paint on both the panelling and the dado rail, ensuring you maintain consistency in your brush strokes for an even finish. Depending on the type of paint you have chosen, you may need to apply more than one coat to achieve the desired appearance. Remember, it's crucial to let each coat dry thoroughly before applying the next.
Maintenance and Care of Wall Panelling
Wall panelling is quite easy to maintain and can last for many years with proper care. Here are some tips:
- Cleaning: Use a soft cloth or sponge with mild detergent to clean the panels. Avoid using harsh chemicals that can damage the paint and material of the panels.
- Inspection: Regularly inspect your wall panels for any signs of damage or wear.
- Repair: If a panel gets damaged, it can often be replaced without disturbing the entire wall.
Alternative Panelling Materials and Styles
While wood is a popular choice for wall panelling due to its classic look, there are other materials and styles available that may better suit your aesthetic or functional needs:
- PVC Panelling: PVC panelling is waterproof and easy to install, making it ideal for kitchens or bathrooms.
- Metal Panelling: Metal panelling can provide a modern or industrial look and is often used in commercial settings.
- Faux Brick or Stone Panelling: These panels mimic the look of natural materials and can add a rustic or traditional touch to your space.
- Wainscoting: This style of panelling only covers the lower half of the wall and is often combined with a dado rail.
Conclusion
And that's it! With a bit of time and effort, you can transform your walls with DIY wall panelling and a dado rail. This project not only improves the aesthetic appeal of your space but also increases your home's value. Remember to prepare your wall surface correctly, carefully install your wall panelling, and don't forget to add a stylish dado rail to finish off your project.
Sources:
- “A Guide to Dado Rails.” Homebuilding & Renovating. www.homebuilding.co.uk.
- “How to Prepare a Wall for Painting.” Dulux. www.dulux.co.uk.