DIY Chairs
Are you tired of generic chairs that lack character and personality? Why settle for ordinary when you can create your own unique DIY chairs? Building your own chairs allows you to unleash your creativity and tailor them to your specific style and comfort preferences. In this comprehensive guide, we will walk you through the step-by-step process of building your own DIY chairs. Whether you're a seasoned DIY enthusiast or a beginner looking for a rewarding project, this guide has got you covered. Get ready to embark on a creative journey and craft stunning chairs that will become the centerpiece of any room.
Benefits of DIY Chairs
Building your own chairs comes with numerous benefits, including:
- Customization: With DIY chairs, you have the freedom to customize every aspect according to your preferences. From the design and dimensions to the materials and finishes used, you can create a chair that perfectly matches your unique vision and complements your existing decor. The end result is a one-of-a-kind piece that reflects your personal style and taste.
- Cost Savings: Building your own chairs can be a cost-effective alternative to purchasing ready-made chairs. By sourcing materials and using your existing tools, you can significantly reduce the expenses associated with buying brand-new furniture. Additionally, you have the flexibility to choose materials that fit your budget without compromising on quality or style.
- Quality and Durability: When you build your own chairs, you have control over the quality of materials and construction methods. You can handpick sturdy and durable materials that will withstand the test of time. By utilizing proper joinery techniques and craftsmanship, you can ensure that your chairs are built to last. This attention to detail and quality results in chairs that are not only beautiful but also structurally sound and reliable.
- Creative Expression: DIY chairs provide a unique opportunity for creative expression. You have the ability to showcase your craftsmanship and unleash your creativity in designing and building chairs that are tailored to your specific taste. From choosing interesting shapes and patterns to experimenting with different finishes and upholstery options, you can infuse your personality into every aspect of the chair-building process.
- Satisfaction and Pride: Completing a DIY chair project brings immense satisfaction and a sense of pride in your accomplishment. Watching your vision come to life and being able to enjoy a functional piece of furniture that you built with your own hands is a rewarding experience. The sense of achievement and pride that comes with creating something from scratch is unmatched.

Choosing the Right Chair Design
When selecting a chair design for your DIY project, consider these factors to ensure the perfect fit:
- Assessing Your Skill Level
Consider your woodworking skill level before choosing a chair design. Start with a design that aligns with your abilities and gradually challenge yourself with more complex projects as you gain experience. Here are some skill levels to consider:
- Beginner: Opt for simpler chair designs with straightforward joinery techniques, such as basic butt joints or pocket screws.
- Intermediate: Take on designs that involve moderate joinery techniques like mortise and tenon joints or dowel joinery.
- Advanced: If you have advanced woodworking skills, you can tackle intricate chair designs with complex joinery, such as dovetails or chairmaking techniques like coopering or steam bending.
- Considering Chair Functionality
Think about the purpose and functionality of the chair you want to build. Different types of chairs have specific requirements for comfort, ergonomics, and construction techniques. Consider these common chair types:
- Dining Chairs: These chairs need to be sturdy, comfortable for extended sitting, and easy to clean. Look for designs with proper back support and consider upholstery options for added comfort.
- Lounge Chairs: Lounge chairs prioritize comfort and relaxation. Look for designs that incorporate ergonomic features like contoured seats, armrests, and adjustable angles.
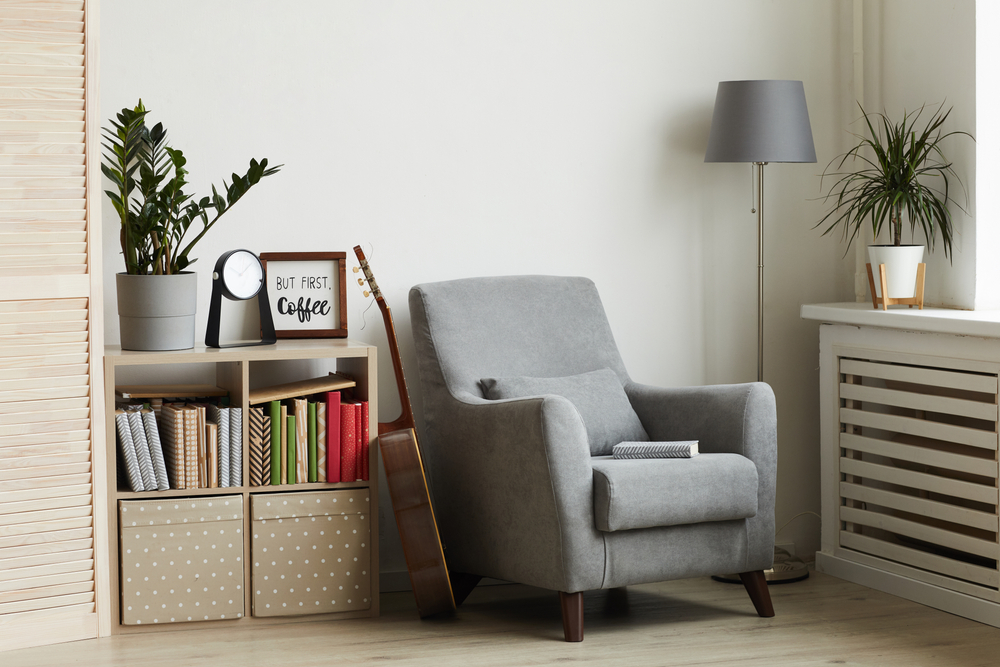
- Accent Chairs: These chairs serve as statement pieces and can be more decorative than functional. Consider unique shapes, materials, and upholstery options to make a bold design statement.
- Determining Chair Style and Aesthetics
Choose a chair style that suits your personal taste and complements your existing decor. Here are some popular chair styles to consider:
- Traditional: Classic and timeless designs with ornate details, such as cabriole legs, curved backs, and intricate carvings.
- Modern: Clean lines, minimalist aesthetics, and use of materials like metal and molded plywood characterize modern chair designs.
- Rustic: Emphasizes natural elements, with designs featuring rough-hewn wood, distressed finishes, and a cozy, organic feel.
- Contemporary: Incorporates elements of both modern and traditional designs, often combining sleek lines with unique shapes or materials.
- Assessing Space and Size Requirements
Consider the available space where the chair will be placed. Measure the area to ensure the chair will fit comfortably without overwhelming the room. Additionally, consider the size of the chair itself in relation to the intended user. Ensure the dimensions provide ample seating space and ergonomic support.
- Researching Chair Plans and Inspiration
Once you have a clear understanding of your skill level, functionality, style, and space requirements, start researching chair plans and gathering inspiration. Look for reputable woodworking websites, magazines, and books that offer detailed plans, step-by-step instructions, and design inspiration. Analyze different chair designs, take note of the materials and joinery techniques used, and identify any customization options that appeal to you.
Gathering Tools and Materials
Before starting your chair-building journey, gather the necessary tools and materials. The specific requirements will depend on the chosen chair design, but here are some common tools and materials you may need:
Tools:
- Power drill with drill bits
- Jigsaw or circular saw
- Chisels
- Clamps
- Measuring tape
- Square ruler
- Sandpaper or sanding block
- Wood glue
- Screwdriver set
- Paintbrushes
Materials:
- Wood boards or plywood
- Screws or dowels
- Wood stain or paint
- Varnish or sealer
- Foam padding (if upholstering)
- Fabric or leather (if upholstering)
Step-by-Step Guide to Building a DIY Chair
Follow these step-by-step instructions to construct your own DIY chair:
1. Planning and Design
- Research and select a chair design that aligns with your preferences.
- Create a detailed plan or blueprint for the chair, including dimensions and joinery techniques.
- Consider ergonomics and ensure the chair provides comfortable seating.
2. Measuring and Cutting Materials
- Measure and mark the wood boards or plywood according to the design specifications.
- Use a jigsaw or circular saw to cut the pieces accurately.
- Double-check the measurements before proceeding to the next step.
3. Assembling the Chair Frame
- Begin by assembling the chair frame, following the design and joinery techniques.
- Apply wood glue to the joints and secure them with screws or dowels.
- Use clamps to hold the pieces together until the glue dries.
4. Attaching the Seat and Backrest
- Attach the seat and backrest to the chair frame.
- Ensure a secure fit and use appropriate fasteners such as screws or dowels.
- Double-check the stability and adjust if necessary.
5. Sanding and Finishing Touches
- Smooth out any rough edges or surfaces using sandpaper or a sanding block.
- Apply wood stain or paint to achieve the desired finish.
- Once dry, apply varnish or sealer to protect the wood and enhance its durability and appearance.
Upholstering and Customizing Your DIY Chair
To add comfort and a personal touch to your DIY chair, consider upholstering and customizing it:
- Measure and cut foam padding to fit the seat and backrest.
- Cover the foam with fabric or leather of your choice.
- Secure the upholstery to the chair using staples or upholstery tacks.
- Add decorative elements like buttons or piping for extra flair.
Maintaining and Caring for Your DIY Chairs
To ensure your DIY chairs last for years to come, follow these maintenance tips:
- Regularly clean the chairs with a mild soap solution and a soft cloth.
- Avoid placing the chairs in direct sunlight or near heat sources to prevent warping or discoloration.
- Tighten any loose screws or connections periodically.
- Touch up any nicks or scratches with matching paint or stain.
Frequently Asked Questions (FAQs)
Address common questions about building DIY chairs with detailed answers:
- What type of wood is best for DIY chairs?
- Hardwoods like oak, maple, or cherry are commonly used for chairs due to their strength, durability, and appealing grain patterns. These woods are resistant to wear and provide sturdy support. However, other types of wood, such as birch or pine, can also be suitable depending on your budget, availability, and aesthetic preferences.
- Can I build a chair without advanced woodworking skills?
- Yes, you can build a chair without advanced woodworking skills. There are chair designs available that cater to different skill levels, including beginners. Start with simpler designs that utilize basic joinery techniques such as butt joints or pocket screws. As you gain experience and confidence, you can gradually tackle more complex chair designs that incorporate advanced joinery methods like mortise and tenon or dovetail joints.
- Can I modify the dimensions of a chair design to fit my needs?
- Yes, you can modify the dimensions of a chair design to suit your specific needs. It's important to consider factors like the height, width, and depth of the chair to ensure it provides ergonomic and comfortable seating. However, when altering the dimensions, it's crucial to maintain proper proportions and structural integrity. Make sure that the chair remains stable and well-balanced after modifications.
- Is it necessary to use power tools to build DIY chairs?
- No, it is not necessary to use power tools to build DIY chairs, although they can make the construction process more efficient. Basic hand tools such as a handsaw, chisels, mallet, screwdrivers, and a drill can suffice for constructing chairs. However, power tools like a jigsaw, circular saw, or power drill can expedite cutting and drilling tasks. Adapt the design and techniques based on the tools available to you, ensuring safety and precision in your work.
- How do I ensure the chair is sturdy and stable?
- To ensure the chair is sturdy and stable, pay attention to the joinery techniques and connections. Use strong and secure joinery methods such as mortise and tenon, dowels, or screws to create reliable joints. Ensure that all connections are tight and flush. Consider reinforcing critical areas, such as the legs or armrests, with additional support blocks or braces. Regularly test the chair for stability and make any necessary adjustments to guarantee its strength.
- Can I upholster a DIY chair?
- Yes, you can upholster a DIY chair to add comfort and style. After constructing the chair frame, you can apply foam padding to the seat and backrest, followed by covering it with fabric or leather. Secure the upholstery using staples, upholstery tacks, or adhesive. Upholstery adds a personalized touch and allows you to choose materials that complement your decor.
- How long does it take to build a DIY chair?
- The time it takes to build a DIY chair depends on various factors, including the complexity of the design, your skill level, and the availability of tools and materials. Simple chair designs can be completed in a few hours, while more intricate and detailed designs may require several days or weeks. It's important to allocate sufficient time for each step of the construction process, including planning, measuring, cutting, assembly, and finishing.
Conclusion
By building your own DIY chairs, you have the opportunity to create beautiful, customized pieces that reflect your style and craftsmanship. With the right design, tools, and materials, you can embark on a rewarding journey of chair construction. Remember to consider your skill level, chair functionality, and aesthetics when selecting a design. Follow the step-by-step instructions provided and don't be afraid to add your personal touch through upholstery and customization. With proper care and maintenance, your DIY chairs will bring comfort and joy for years to come.