Core Wood Burning Tips
Crafting custom gifts and unique artwork has never been more popular, and one of the most exciting mediums for creatives is pyrography, also known as wood-burning. This mesmerizing art form utilizes heat to burn designs and patterns into wood, creating stunning effects. This blog post will provide five core wood-burning tips that can help both beginners and experienced artists enhance their craft. Let's fire up your creativity and explore the art of wood-burning!
Understanding Wood Burning Basics
Firstly, it's crucial to understand the process of wood-burning to maximize your craft's outcome. The technique involves using a heated tool to burn or scorch designs onto a wood surface. With patience, precision, and practice, you can create unique artwork ranging from detailed illustrations to stunning typography.
The main factor impacting the final result is heat – higher temperatures will cause the wood to darken, while lower temperatures leave a lighter shade. By manipulating the temperature and pressure, you can create a range of effects and a richness of detail in your designs.
Essential Tools for Wood Burning
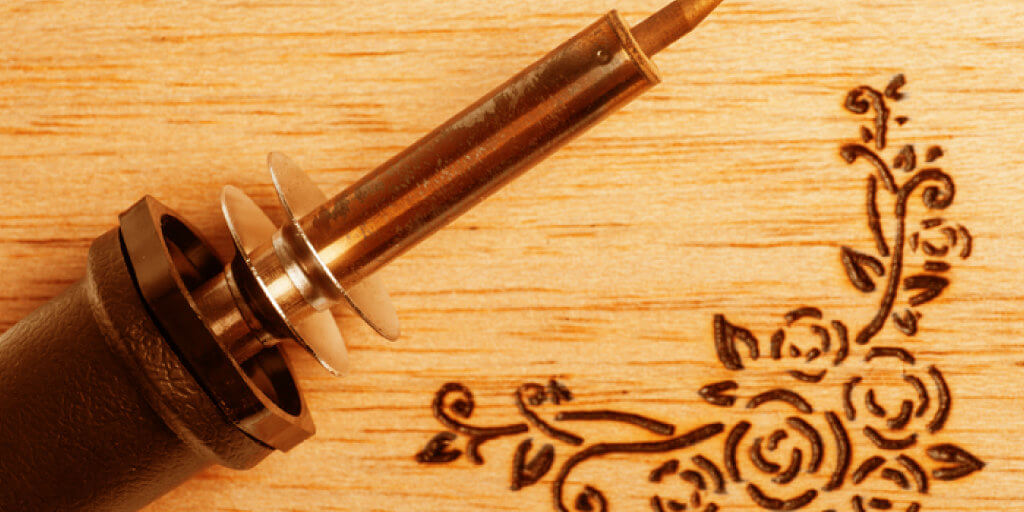
Secondly, having the right tools is pivotal for successful wood burning. There are various wood-burning tools available in the market, ranging from simple soldering irons to professional pyrography pens.
Here are the three essential tools you should consider:
1. Pyrography Pen:
This is the main tool you'll use for wood burning. A pyrography pen resembles a soldering iron but is specifically designed for wood burning. It typically comes with adjustable temperature controls and a variety of interchangeable tips.
2. Wood-Burning Tips:
Different tips create different effects. For instance, a universal tip is great for line work, shading tips for gradient effects, and calligraphy tips for lettering.
3. Carbon Paper:
Carbon paper can be extremely helpful for transferring your design onto the wood. This allows you to burn over a pre-drawn image, which can be a game-changer for complex designs.
Techniques for Creating Beautiful Designs
Next, let's discuss the essential techniques that can elevate your wood-burning artistry.
1. Line Work:
Mastering line work is crucial. Practise creating a variety of lines – straight, curved, thick, thin, light, and dark. This will help you add depth and dimension to your designs.
2. Shading:
Shading can bring your designs to life by creating gradients and textures. There are several shading techniques like circular motion, cross-hatching, or stippling that you can use to achieve different effects.
3. Layering:
Layering can add richness and depth to your work. Start with lighter shades and gradually build up to darker ones.
Remember, practice is key to mastering these techniques. Start with simple designs and gradually work your way up to more complex projects.
Wood Burning Safety Tips
Lastly, it's vital to practice safety while working with wood-burning tools. Here are some key safety tips:
- Wear protective gear: Always wear heat-resistant gloves and safety goggles to protect yourself from accidental burns or flying wood particles.
- Work in a well-ventilated area: Wood burning produces smoke that can be harmful if inhaled. Make sure to work in a well-ventilated space or use a fume extractor.
- Keep a fire extinguisher nearby: While unlikely, it's always better to be safe than sorry. Keep a fire extinguisher close in case of any accidents.
- Let your tools cool: Never try to change the tip of your pyrography pen while it's still hot. Always turn off the tool and let it cool down first.
Success Starts with the Right Wood
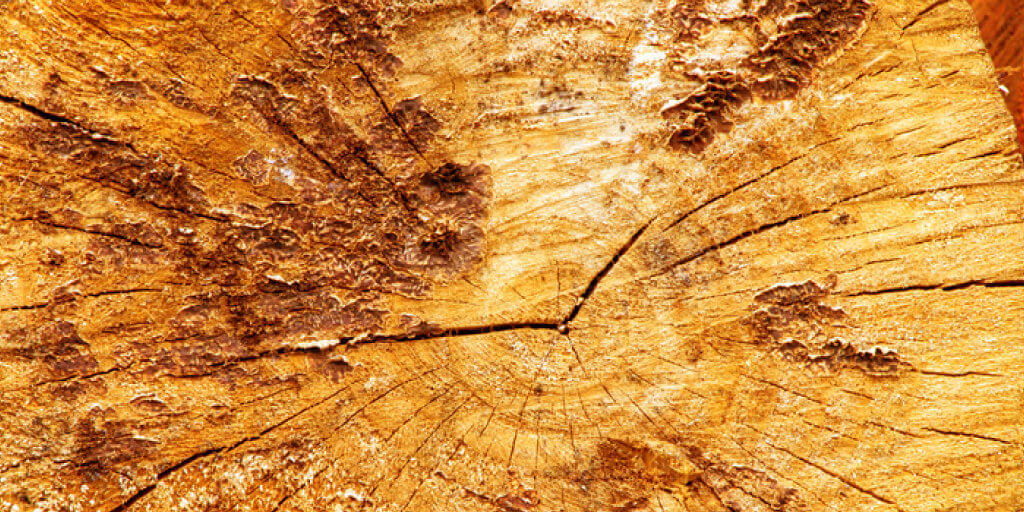
While you are definitely going to want to invest in quality wood-burning tools (the cheapo $10 options you can pick up at most hardware stores or department stores are fine for entry-level work, but will really handicap you later), the biggest impact on your wood-burning skills in the beginning will ALWAYS be the kind of wood you use.
No, you do not have to study everything there is to know about wooden construction materials today to become a master wood burner. You certainly don’t have to learn everything there is under the sun about trees, how wood is grown and harvested, and the steps wood goes through to get from the forest to your workbench.
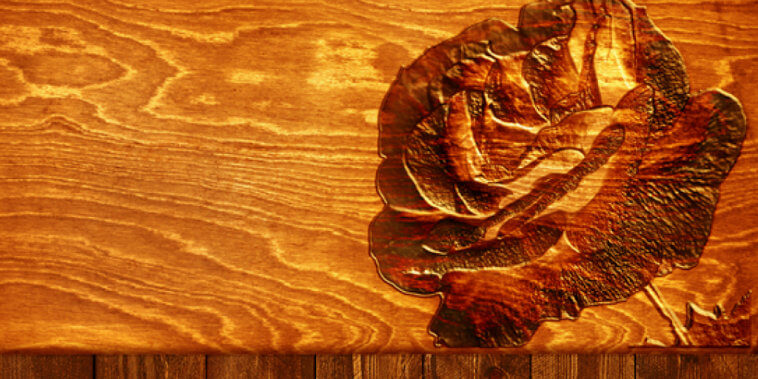
You definitely have to understand critical difference between softwoods and hardwoods, however.
Softwoods
Softwoods – pine and cedar in specific – are going to help you a lot in the early stages of your wood-burning experiments. Not only are they a lot easier to work with because they are so soft, but they are also a lot less expensive too.
In fact, plenty of people that have gone on to create truly amazing wood-burning pieces of art started off with scrap 2 x 4 pine material they pulled out of construction projects at no cost to them. You can certainly get set up with a couple of 2 x 10 boards from your local home improvement store and have more than enough material to develop your hand and your skill.
Cedar is a little bit more expensive but you won’t have to worry so much about the kinds of knots you will find in a lot of construction grade pine. Most of the cedar you’ll find, even at big-box stores, is going to come in “clear” designations. This means the grain is pretty tight, pretty consistent, and there aren’t a lot of obvious defects that would throw your wood-burning pattern off while you draw.
Hardwoods
Hardwoods like oak can also be burned with wood-burning tools but you want to skip out on those until you develop your touch and your technique. Not only are they a lot more expensive (often times almost unbelievably more expensive) than softwood materials of the same size and dimension but they are a lot harder to work with as well.
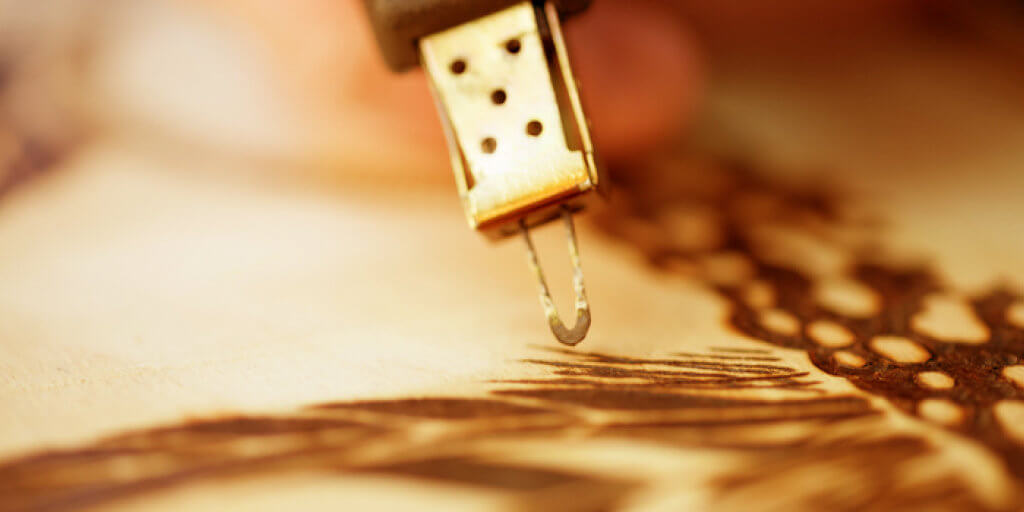
Use the Right Tip for the Task at Hand
Another big piece of the puzzle when it comes to getting started in the world wood-burning is finding the right tip for the kind of design you are creating.
Unsurprisingly, wood-burning pen tips are available in all different shapes and sizes and give you a lot more control over the finished result of your project. You can find wood-burning pen tips that look like pen tips, pencil tips, scalpel tips, and even wood carving tips.
All of them are going to react differently to your strokes and to your drawing movements and you’ll want to master at least half a dozen different tips and how they respond before you start to tackle more intricate projects.
A shading tip looks like a teardrop and it allows your art to have a lot more dimensionality. Branding tips are little more geometric in design and can also add texture to your art. Universal tips are kind of “pen and pencil” tips – as are dot tips – and calligraphy tips and groove tips round out the options that you want to get comfortable with straightaway.
The more wood burning pen tips you become comfortable with the more versatility you’ll have when tackling different designs. You won’t feel like your wood-burning tool is handicapping your creativity once you learn how these pen tips need to be used to get the results you’re after.
Slow and Steady Strokes Work Best
A lot of first-time wood burners have a very difficult time with the pace of this kind of hobby, especially those that are coming from a more traditional drawing or sketching background.
Creative people are used to being able to hammer out sketches and drawings in a hurry, operating just as quickly as their hand can move and seeing their results instantly reproduced on the paper they are working with.
Wood burners do not have that luxury.
Sure, you’re going to be able to see your results in “real-time” but you are going to have to move a whole lot slower than you might be used to when drawing and sketching. You are burning through wooden construction materials, after all, carving through the material with heat and it’s going to take quite a bit longer than gliding a pen or pencil across a piece of high quality paper.
Instead of quick strokes like you might produce when pumping out a sketch you will want slower, steady strokes that go in one direction. Larger wood-burning pen tips can allow you to “draw” more of your finished product at a time, but for fine detail work you’re going to have to learn to love the slow and steady process or you might become frustrated.
Wood Burn the Same Way You’d Spray Paint
Wood burners that are getting started can learn a lot from those that use spray paint often and understand the value of a lot of later layers building up to the finished result.
Anyone that has ever spray-painted anything (and we mean anything) understands that trying to get complete coverage in one shot produces a “wet” painted project that runs, that bubbles, and that doesn’t look anywhere near as high quality as most of us would expect.
Instead, using a number of light passes over and over again – layers building on top of layers – is the secret to working with spray paint and the same is true with wood-burning.
You’ll want to do a number of consecutive light passes, building your project with each individual layer and adding depth and dimensionality along the way. There’s a lot of permanency with wood-burning that you don’t really get with other art forms. That is why you need to think through each move you make, focus on slow and steady strokes, and build your art in layers.
Learn to Love Stencils
Finally, and this can be really difficult for those that are particularly creative, there’s a lot to be learned from falling in love with stencils and making your first few wood-burning projects bland and basic.
A lot of creative people are going to feel like they are painting the inside of the numbers when working with stencils. But if you commit to filling out an entire 8 foot 2 x 10 with stencil wood-burning projects that you have no intention of keeping you might only spend $15 on materials and a couple of hours of your time in this practice – but the dividends will pay off every single time you fire up your wood-burning tools.
Stencils can be created on your computer as well, opening up a lot of extra creativity you might not have seen with stencils before. They allow you to design your projects on the computer (in Adobe Illustrator or Photoshop, for example) and from there you can print them out and transpose them onto the wood that you will then burn.
This shortcuts the design process significantly and guarantees that you get a much higher quality and more professional result right out of the gate. Creating your own stencils like this avoids running into roadblocks the way you might with long strokes and layers when you go free hand, and it definitely frees up a lot of mental bandwidth so that you can see the design already on wood and burn just what has to be burned to get the results you’re after.
Conclusion
In the realm of art and craft, pyrography or wood-burning is an exceptional medium that offers a world of creativity. Whether you are creating custom gifts or unique artwork, the joy of shaping your imagination into tangible pieces is unparalleled.
With our comprehensive guide on the core aspects of wood burning, we trust you are equipped to start your pyrography journey or enhance your existing skills. By understanding the basics, selecting appropriate tools and materials, mastering diverse techniques, and practicing safety, you can elevate your wood-burning artistry to new heights.
Remember, patience and practice are the key ingredients for success in this art form. Start small, experiment freely, make mistakes, and learn. With time, you'll see your progress and develop your unique style. Let your creative sparks fly and keep the fire of your creativity burning. The world of wood-burning awaits you!